Paper mache is a popular crafting medium that uses paper to create sculptures and other objects. Paper mache is made by layering sheets of newspaper or other types of paper over a mold, then applying glue to the surface and letting it dry. The result is a hard shell that can be painted or decorated with different materials like beads or buttons.
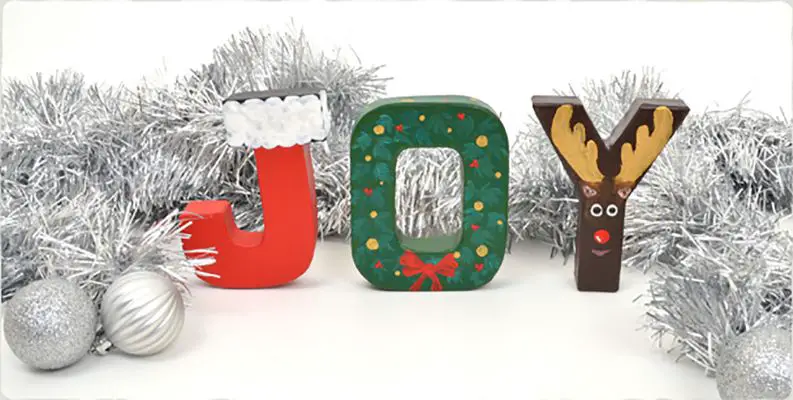
Paper mache has been used for centuries as an art form to preserve items such as masks and figures from nature. Today it’s most often used by children who enjoy making dolls from this inexpensive material; however, adults have also discovered its versatility!
Making Large Paper Mache Numbers
Making large paper mache numbers is a similar process to making small ones, but there are a few things you need to consider.
- First, you’ll need much more paper mache paste than you would for smaller letters or numbers. It’s important to ensure the paste covers all the cardboard to hold up when it dries and hardens.
Also, ensure your mold is large enough for whatever size number or letter you’re trying to make (you can use this guide). You’ll also want something sturdy underneath where your number will sit while drying–a table or workbench would be ideal–so that it doesn’t warp as it dries out over time.
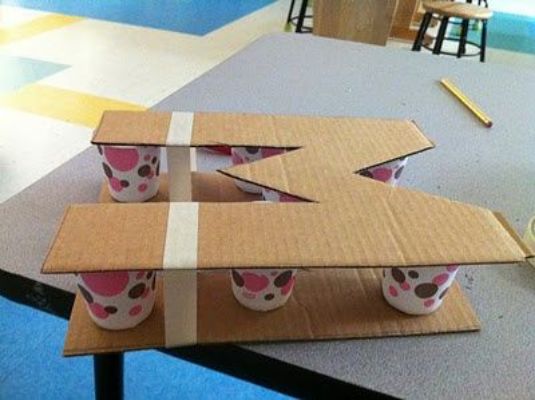
DIY Paper Mache Letter Fillable Cardboard Letter Boxes
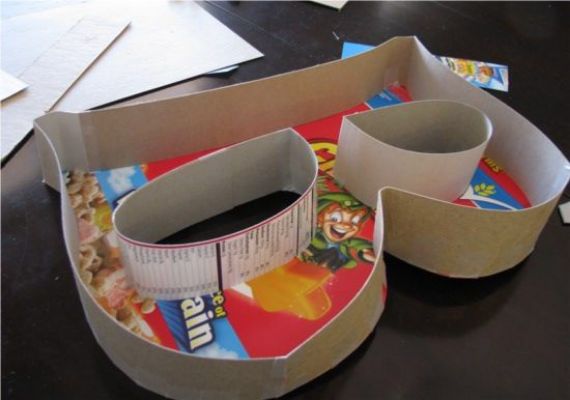
Gather the tools and materials needed to make your paper mache letter fillable cardboard letters. You will need the following:
- Cardboard (a cereal box or a piece of corrugated cardboard works great)
- Paper Mache Clay (this can be purchased at any craft store)
Method
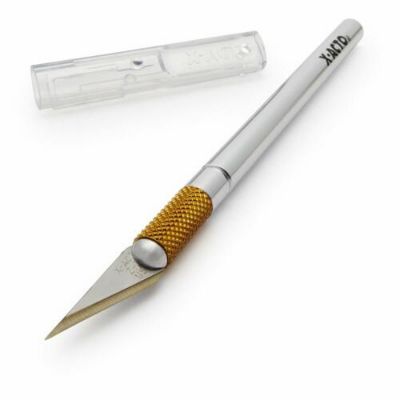
- Cut out the shape of your letter/number from the cardboard using an X-ACTO knife or scissors. Ensure all edges are smooth so they don’t hurt anyone when they touch them!
- Cover each side with newspaper until it is completely covered in newsprint, then paint one side with white glue using a paintbrush and let dry overnight before moving on to step 4 below.
Creating Paper Mache Number Art
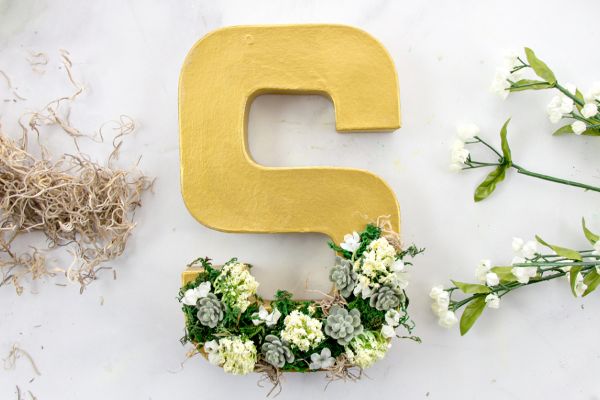
To create your paper mache number art, follow these steps:
Tools Required
Gather the tools and materials you will need. You will need to gather the following items:
- Paper mache paste (you can make your own by mixing flour and water)
- A paintbrush or sponge to apply the paste
- Scissors or a knife to cut out shapes from newspaper or magazines that you want to turn into letters or numbers
- Finishing Touches
Method
- Once you’ve finished the letter or number, it’s time to paint and seal it. You can use any color you want! I chose red because that’s what I had on hand then, but if you want something more subtle, try white or gray.
- Once your paint has dried completely (about 12 hours), apply two coats of gloss spray sealer. This will keep your paper mache letters looking shiny and new for years!
Conclusion
Creating paper mache letters and numbers is a fun way to add personality to your home. The process is simple, and the materials are readily available. You can create letters in any size or shape you like!
If you’re looking for an easy way to personalize your space without breaking the bank, this project is for you!
