Printmaking is a captivating art form cherished throughout history for its ability to produce multiple copies of artwork. Printmaking offers endless possibilities for artistic expression, from simple designs to intricate creations. This guide will delve into printmaking, focusing on easy ideas for kids. By introducing printmaking to young minds, we nurture their creativity and teach them about the rich history and techniques behind this captivating medium.
Additionally, we will explore the concept of a DIY printing press, providing a hands-on experience for children to delve deeper into printmaking. So, get ready to unlock the magic of printmaking as we embark on a journey of imagination, exploration, and artistic discovery.
| Encourage creativity with techniques like Leaf Painting, where kids use leaves as stamps to create unique artworks. |
Printmaking For Kids Tutorial – Step-By-Step Guide
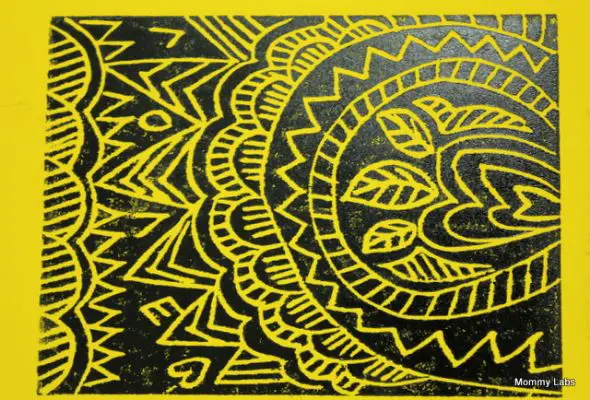
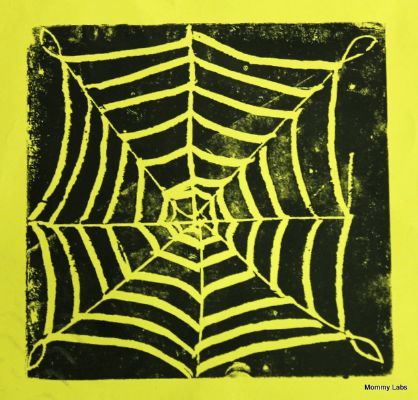
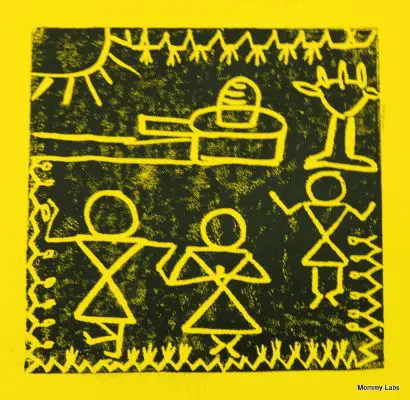
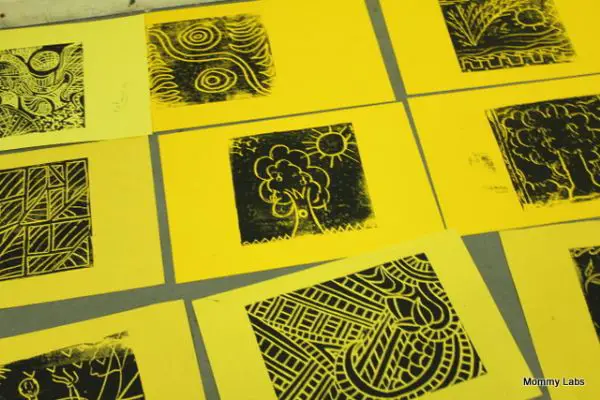
Materials Needed
| Material | Uses | Alternative Options |
| Carving block | Surface for creating designs | Soft carving block, erasers |
| Carving tools | Carving designs on the block | Small carving tools, craft knives |
| Brayer (roller) | Applying ink/paint to the block | Rubber brayer, paintbrush |
| Printing ink or paint | Creating the printed image | Acrylic paint, watercolor |
| Printing paper | Surface for printing the design | Construction paper, cardstock |
| Pencil | Sketching the design | Colored pencils, markers |
| Tracing paper | Transferring the design | Wax paper, parchment paper |
| Newspaper or protective surface | Protecting the work area | Plastic tablecloth, old fabric |
| Spoon or barren | Applying pressure for printing | Back of a wooden spoon, rolling pin |
| Apron or old clothes | Protecting clothing | Oversized shirt, smock |
Instructions:
Step 1: Prepare the carving block
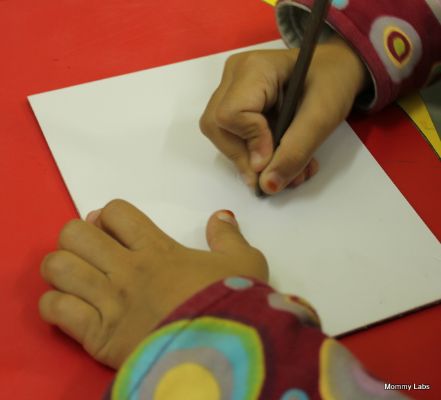
- Start sketching a design or pattern on the carving block using a pencil. Encourage your child to create a simple and bold design.
Step 2: Transfer the design
- Place tracing paper over the carving block and trace the design using moderate pressure. This will transfer the design onto the block.
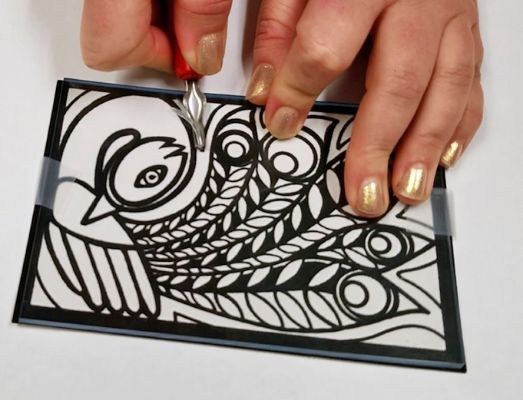
Step 3: Carve the design
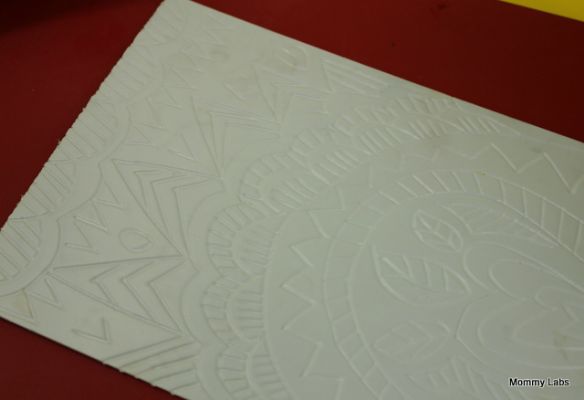
- With adult supervision, carefully use the carving tools to carve along the traced lines on the block. Remind your child to keep their fingers behind the carving tool and to carve away from themselves. Start with the larger areas and then move on to the smaller details.
Step 4: Prepare the ink or paint
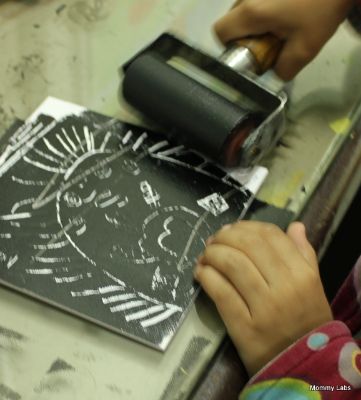
- Squeeze a small amount of printing ink or acrylic paint onto a palette or flat surface. Add a few drops of water to thin the ink/paint if needed. Use a brayer to roll the ink/paint back and forth until it forms a thin and even layer on the brayer.
Step 5: Ink the carving block
- Roll the inked brayer over the carved surface of the block, ensuring that the entire design is evenly covered with ink/paint. Encourage your child to experiment with different colors or create a layered effect using multiple colors.
Step 6: Make a print
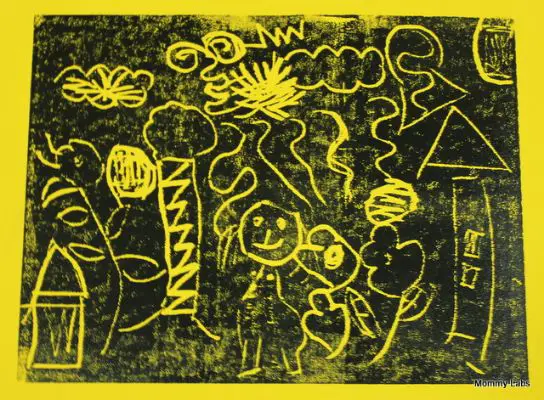
- Place a sheet of printing paper on a protective surface (newspaper works well). Carefully place the inked carving block onto the paper, positioning it exactly where you want the print to be. Apply even pressure to the back of the block using a spoon or barren, or use your hands to press down firmly and evenly.
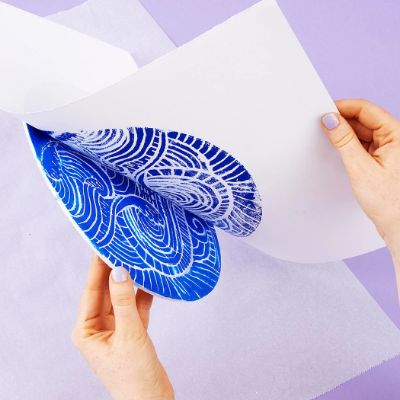
Step 7: Reveal the print
- Gently lift the carving block off the paper to reveal the printed design. Let the paint dry completely before moving on to the next one.
Step 8: Repeat and experiment
- Encourage your child to repeat the process with different designs, colors, and techniques. They can try mixing colors, layering prints, or experimenting with different papers to see how it affects the final result.
10 Pressed Flower Art DIY Ideas
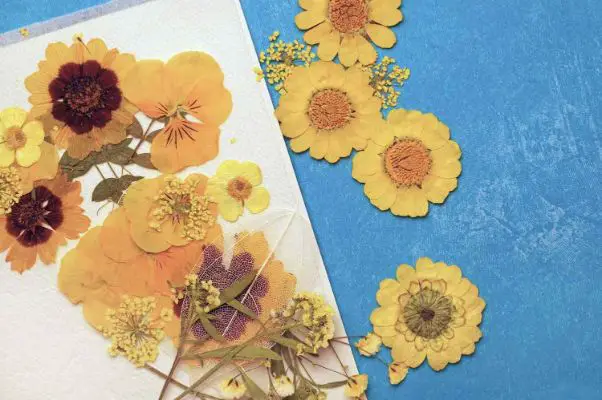
Here are 10 DIY pressed flower art ideas for you to explore:
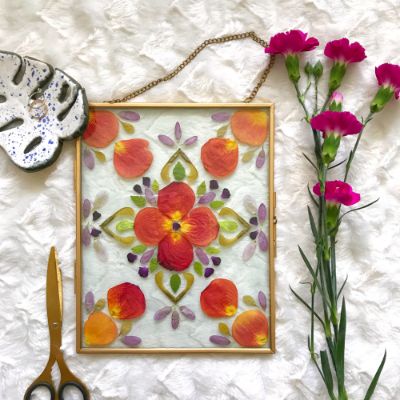
Pressed Flower Framed Art
Arrange pressed flowers in a pleasing pattern on paper or cardstock and frame it to create beautiful botanical artwork.
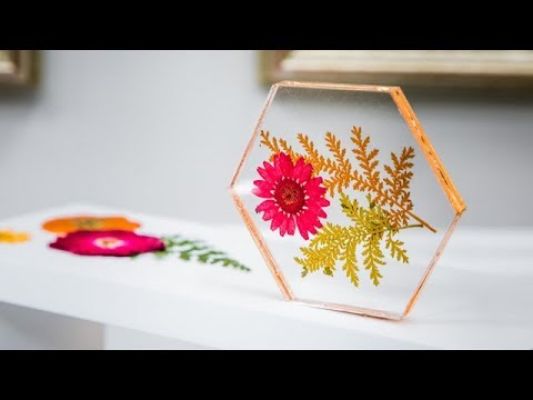
Pressed Flower Coasters
Seal-pressed flowers between two clear acrylic coasters to create unique and decorative coasters for your home.
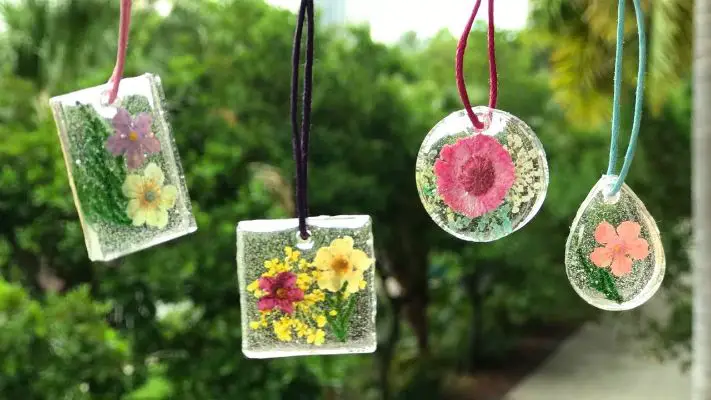
Pressed Flower Resin Jewelry
Embed pressed flowers in resin molds to make stunning pendants, earrings, or bracelets that showcase the delicate beauty of nature.
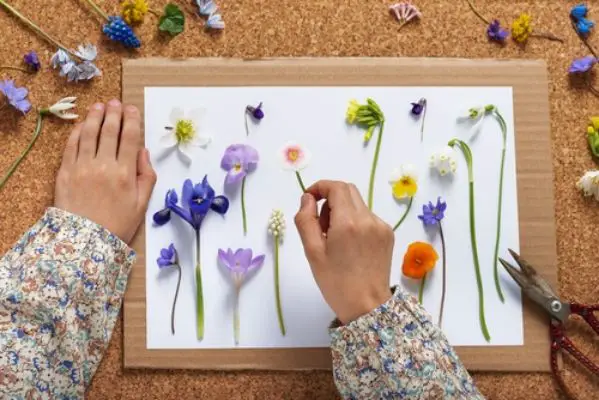
Pressed Flower Greeting Cards
Create personalized greeting cards by adhering pressed flowers onto cardstock and adding heartfelt messages for special occasions.
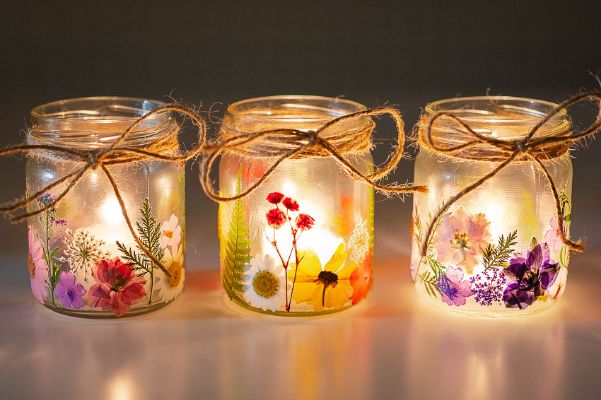
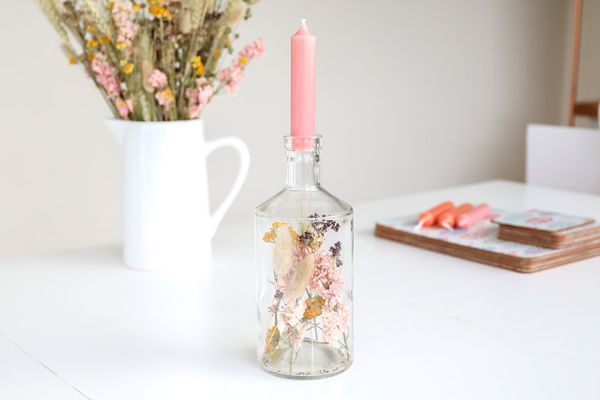
Pressed Flower Candleholders
Decorate glass candleholders by adhering to pressed flowers using decoupage glue, adding a natural elegance to your candlelight evenings.
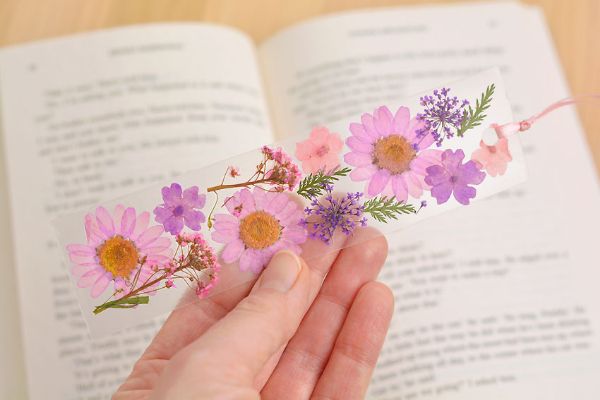
Pressed Flower Bookmark
Preserve and showcase your favorite flowers by laminating them and turning them into beautiful bookmarks that add a touch of nature to your reading experience.
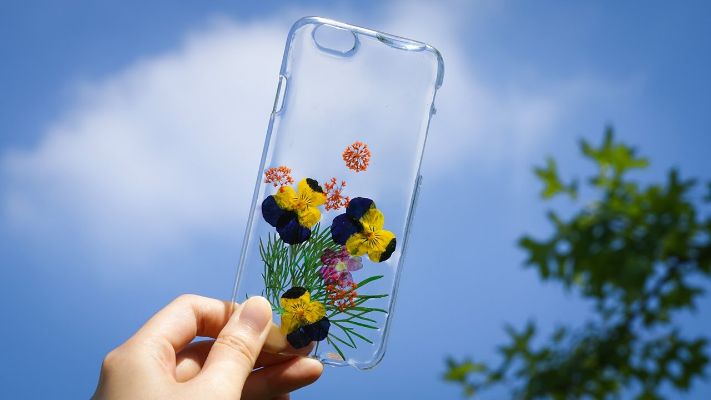
Pressed Flower Mobile
String together pressed flowers using clear thread or fishing line to create a charming mobile that can be hung near a window or garden, catching the light and creating a whimsical display.
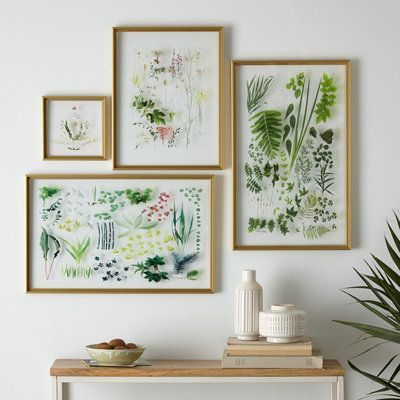
Pressed Flower Wall Art
Arrange an assortment of pressed flowers in a visually appealing pattern on a canvas or wooden board and hang it as a stunning botanical centerpiece for your walls.
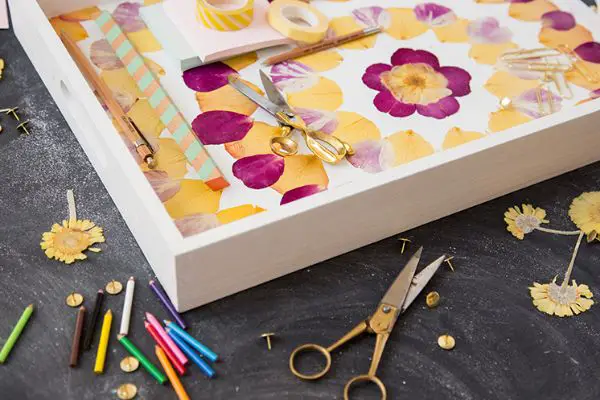
Pressed Decorative Flower Trays
Decorate wooden or acrylic trays with pressed flowers and resin to create functional and eye-catching pieces for serving or display.
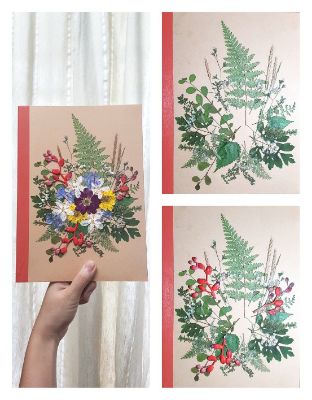
Pressed Flower Book Covers
Preserve the beauty of flowers by adhering pressed flowers onto plain book covers, transforming them into unique and personalized works of art.
10 Easy Printmaking Ideas For Kids Ideas
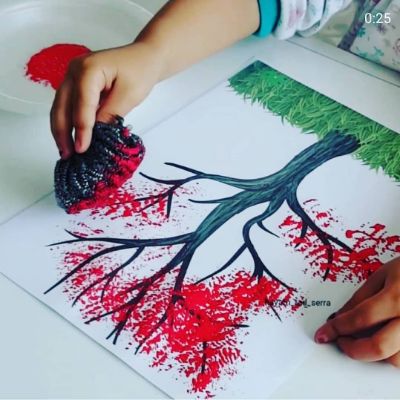
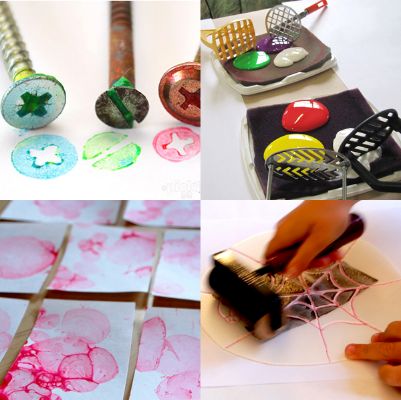
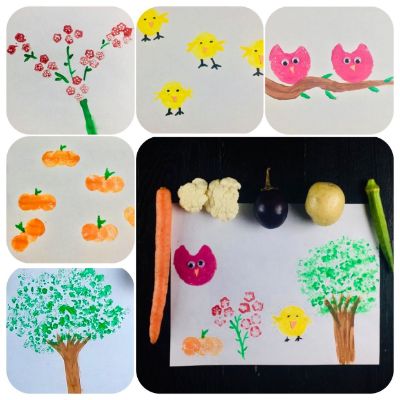
Vegetable Stamp Prints
Cut vegetables like potatoes, carrots, or celery into different shapes and use them as stamps to create fun and colorful prints.
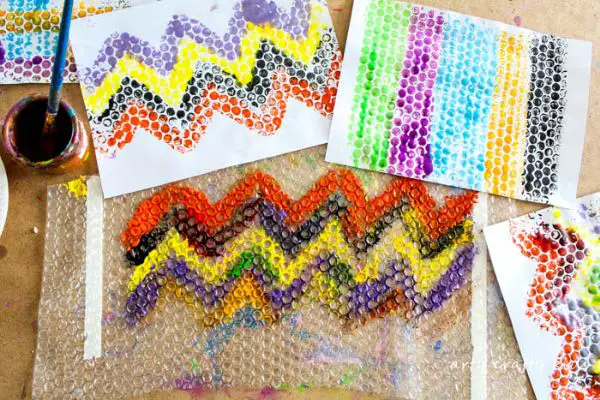
Bubble Wrap Prints
- Wrap a piece of bubble wrap around a cardboard tube.
- Dip it in paint.
- Press it onto paper to create unique textured prints.
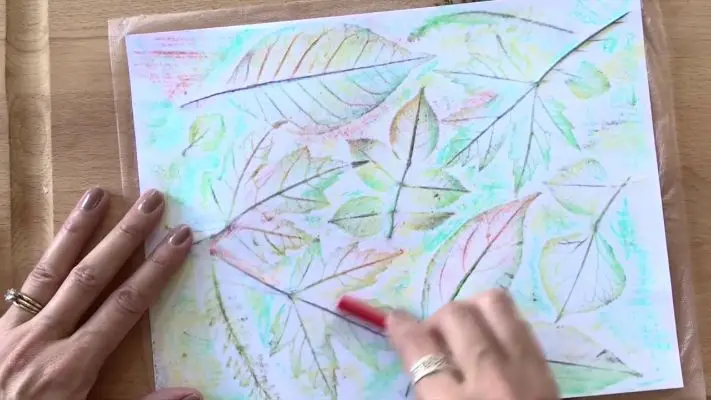
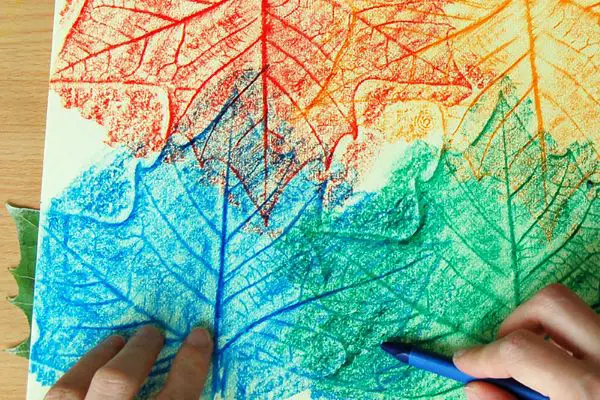
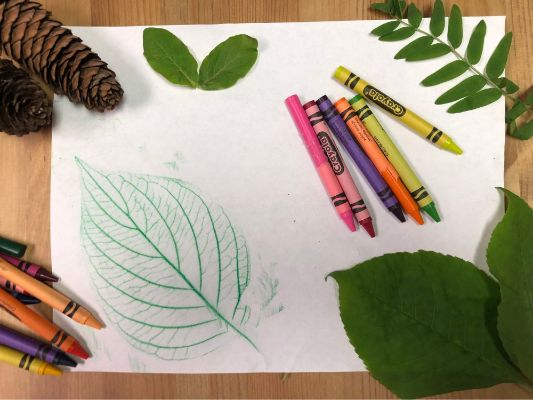
Leaf Rubbings
- Collect different leaves from the outdoors.
- Place them under a piece of paper.
- Rub over them with crayons or pencils to reveal the intricate textures and patterns.
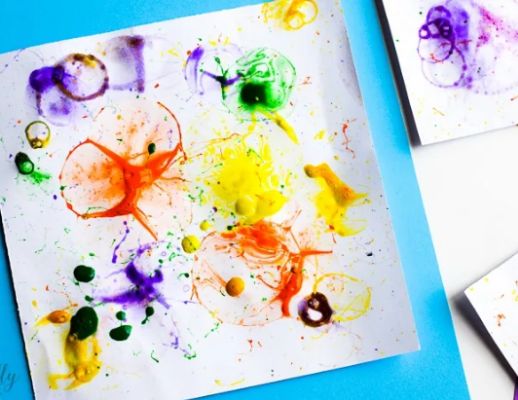
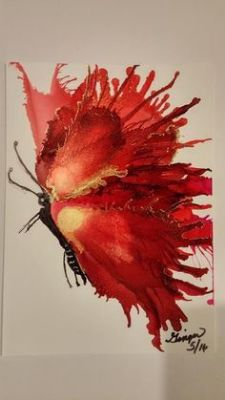
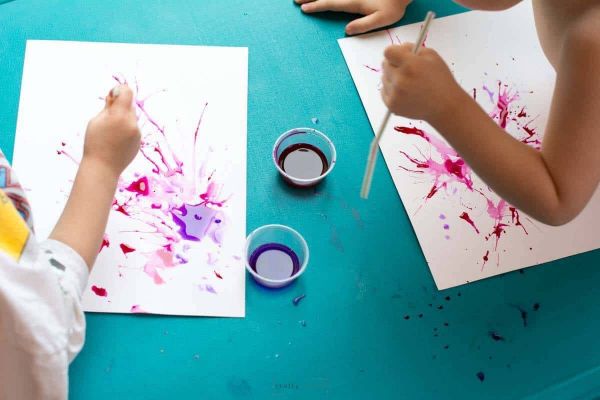
Straw Blown Prints
Drop liquid paint onto a sheet of paper and use a straw to blow the paint around, creating interesting and abstract designs.
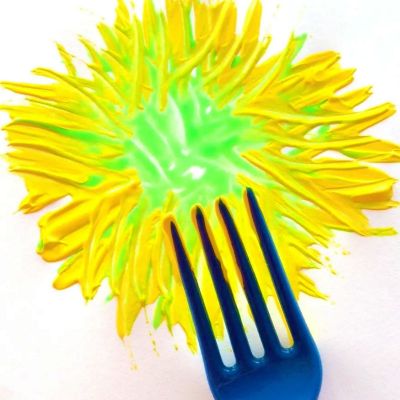
Fork Prints
Dip a fork into the paint and press it onto paper to make instant prints that resemble interesting patterns or textures.
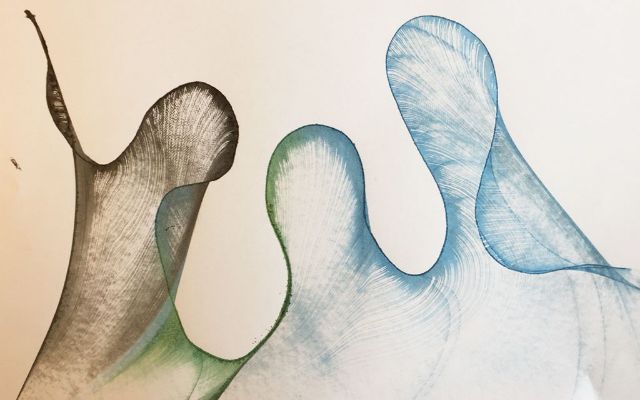
String Prints
Dip a piece of string or yarn into paint and lay it in a desired shape on paper. Press the string down and lift it off to reveal a unique print.
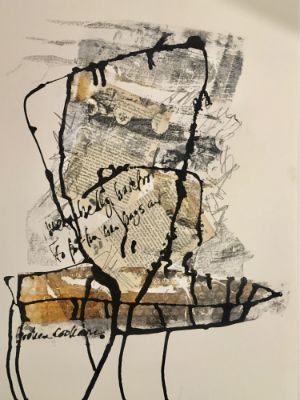
Collage Prints
Cut out different shapes or objects from magazines or colored paper and glue them onto a sheet of paper. Press the collage down firmly to create a textured print.
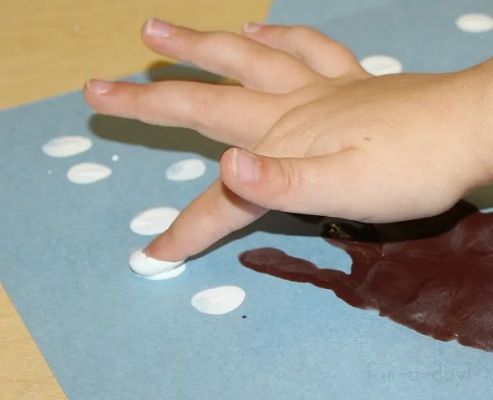
Handprint or Fingerprint Art
Dip hands or fingers into paint and press them onto paper to create handprint or fingerprint art. Add details with markers or paintbrushes to transform them into fun characters or animals.

Styrofoam Prints
Draw a simple design on a piece of styrofoam, then use a blunt pencil or pen to press into the surface, creating an imprint. Apply paint and press the styrofoam onto paper to make prints.
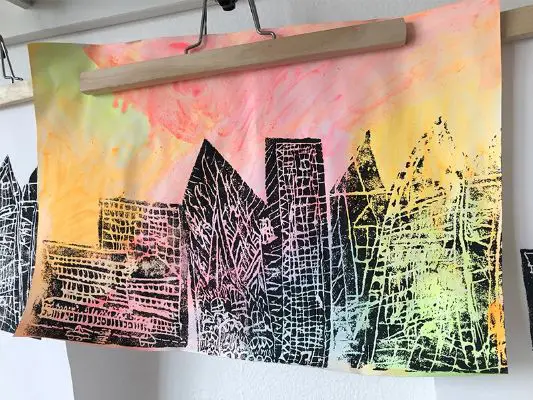
Nature Prints
Collect natural objects like leaves, flowers, or small branches. Dip them in paint and press them onto paper to create prints that capture the beauty of nature.
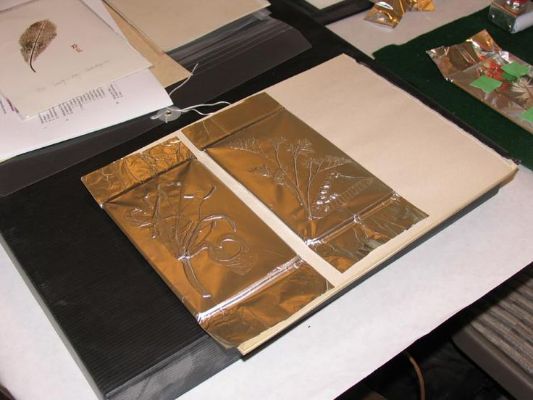
10 Artsy Printing Ideas
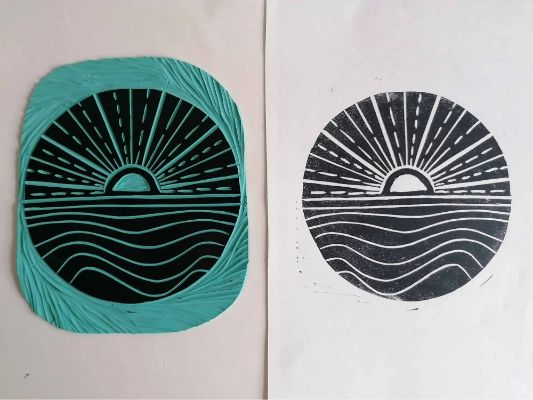
Linocut Prints
Carve a design into a linoleum block and then ink the block to create bold and intricate prints with a distinctive texture.
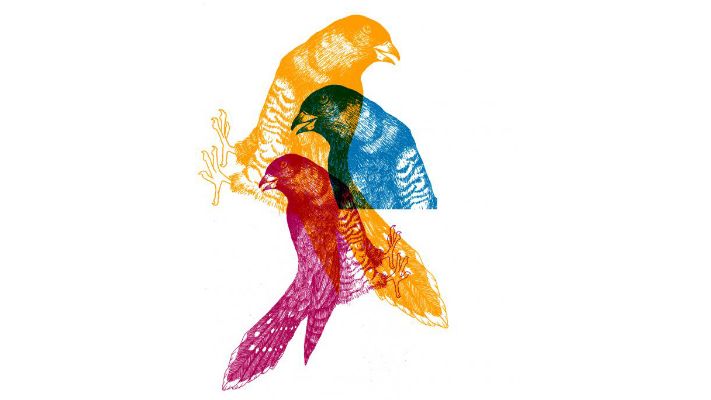
Screen Printing
Create a stencil or use a pre-made screen to transfer ink onto various surfaces, such as fabric, paper, or wood, producing vibrant and detailed prints.
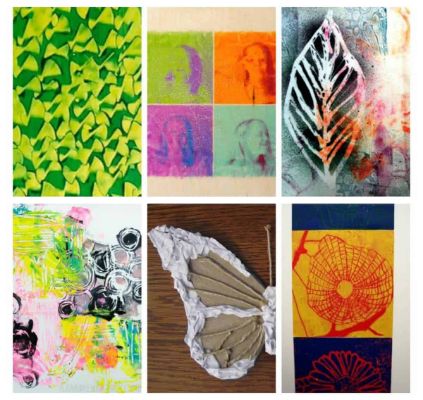
Cyanotype Prints
Use a photosensitive solution to create blue-toned prints by placing objects or negatives on treated paper and exposing them to sunlight or UV light.
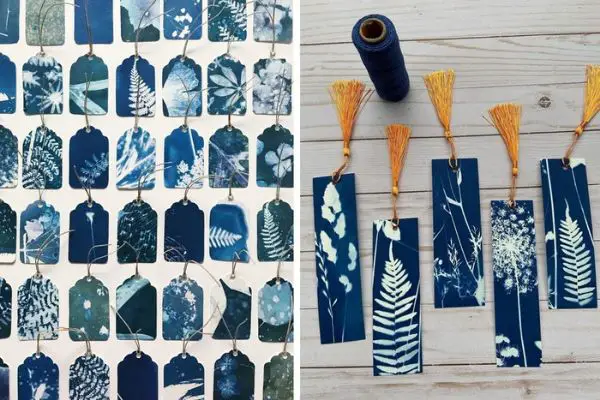
Collagraph Prints
Use cardboard, fabric, or found objects to build textures and layers on a plate. Ink the plate and press it onto paper to create unique and textured prints.
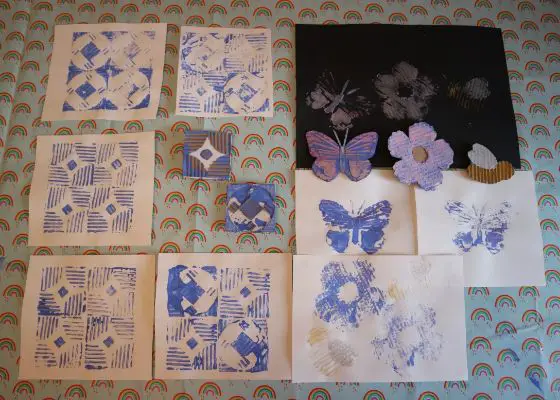
Monotype Prints
- Apply ink or paint to a smooth surface like glass or a plexiglass plate.
- Manipulate the medium.
- Press it onto paper to create one-of-a-kind prints with a painterly quality.

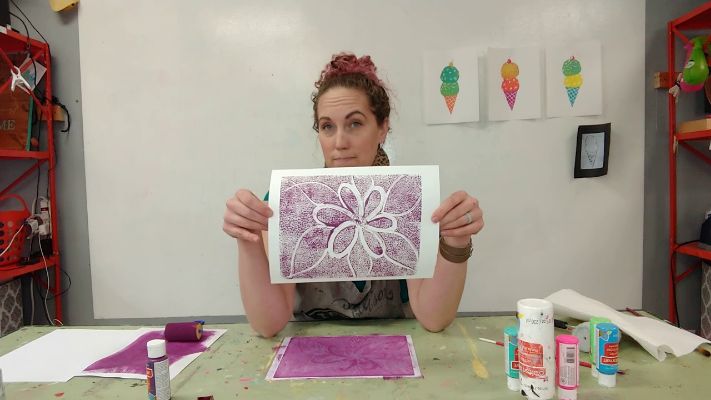
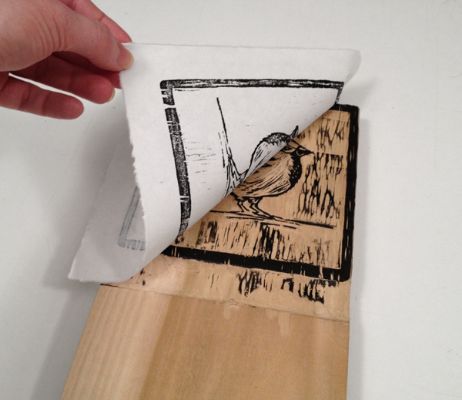
Woodblock Prints
Carve a design onto a wooden block and ink the surface to create bold and intricate prints with the distinct grain texture of wood.
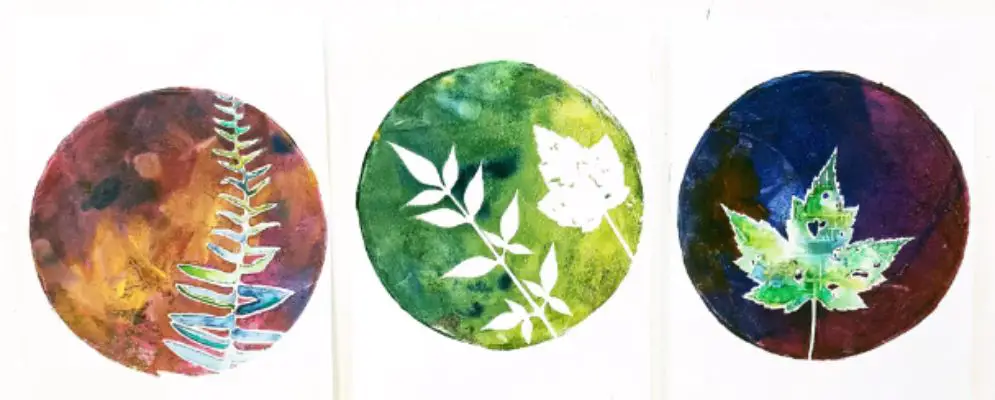
Gelli Printing
Use gel printing plate, brayer, and acrylic paint to create versatile, colorful prints with unique textures and patterns.
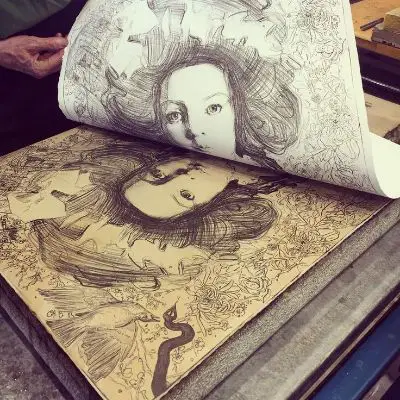
Lithography
Use the chemical interaction between oil and water to create prints by drawing or painting directly onto a limestone or metal plate and then transferring the image onto paper.
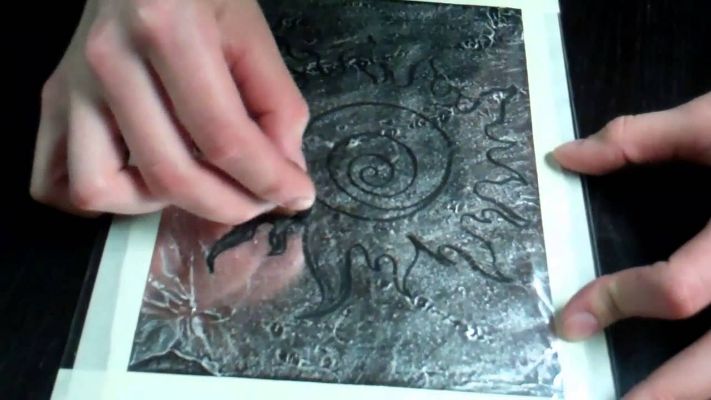
Drypoint Prints
- Scratch a design into a plate made of acrylic, metal, or plexiglass.
- Ink the plate.
- Press it onto paper to create prints with expressive and rich lines.
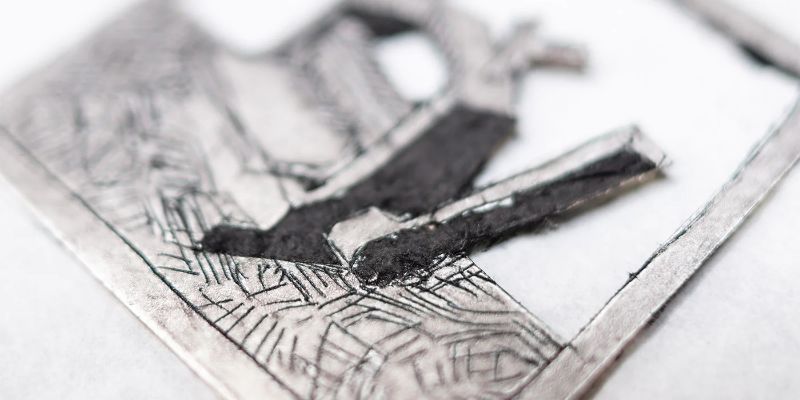
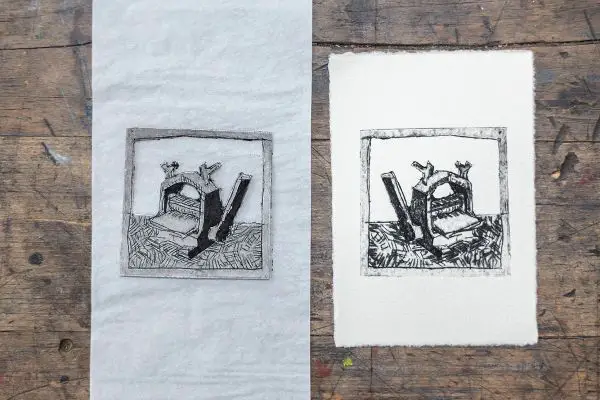
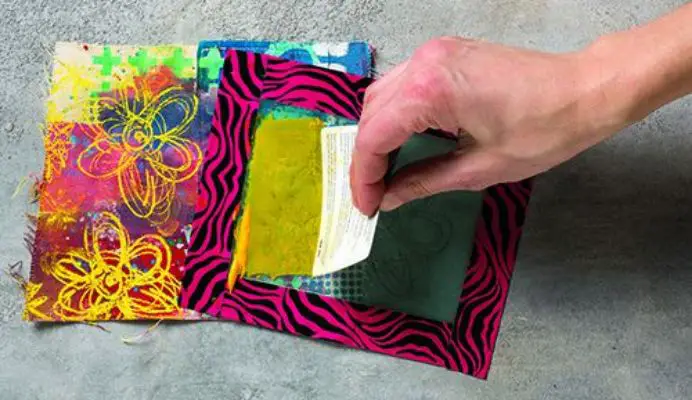
Photo Transfer Prints
Experiment with various transfer techniques to transfer images or photographs onto surfaces like fabric, wood, or canvas, creating personalized and visually captivating prints.
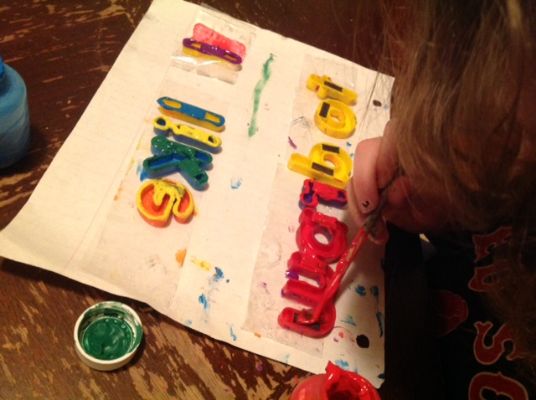
20 DIY Printing Press for Kids Ideas
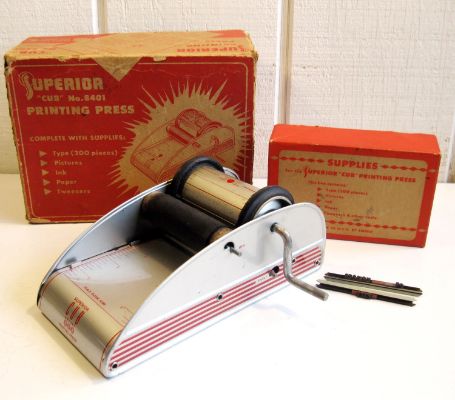
Cardboard Box Printing Press
Create a simple printing press using a sturdy cardboard box, foam sheets for rollers, and a wooden dowel as a handle.
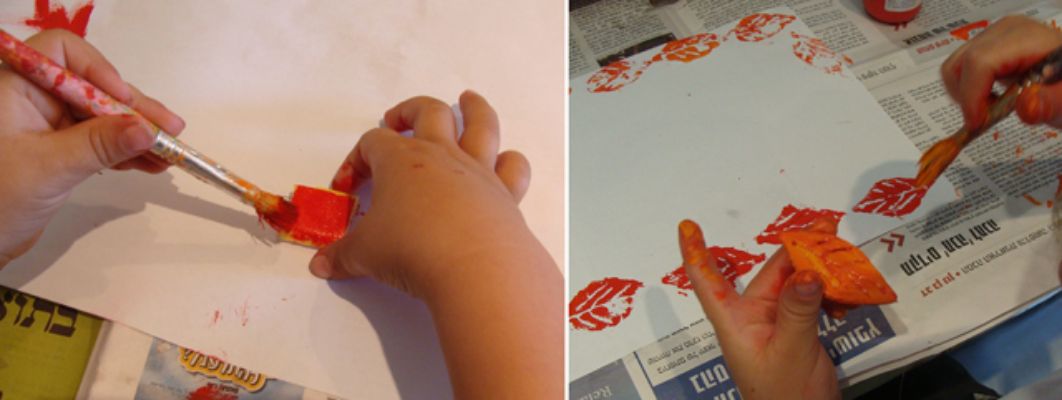
Styrofoam Tray Printing Press
Use a styrofoam tray, such as those used for food packaging, as a printing plate and press it onto paper with a wooden block or rolling pin.
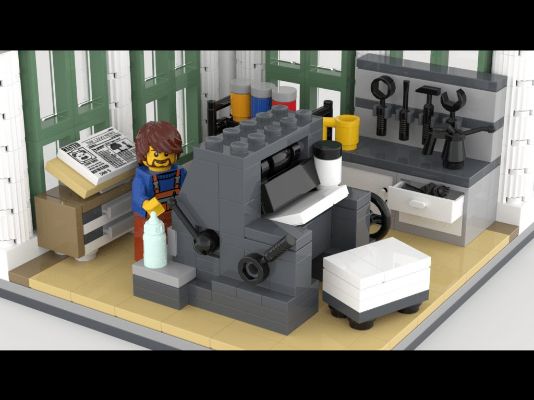
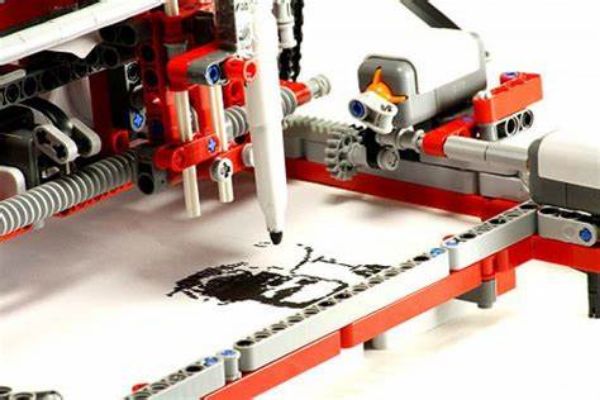
Lego Printing Press
Build a printing press using Lego bricks to create a customizable and easy-to-use press for kids.
Paper Plate Printing Press
Cut out the center of a paper plate and attach it to a wooden base with screws. Use a brayer to roll ink onto the plate and press it onto paper.
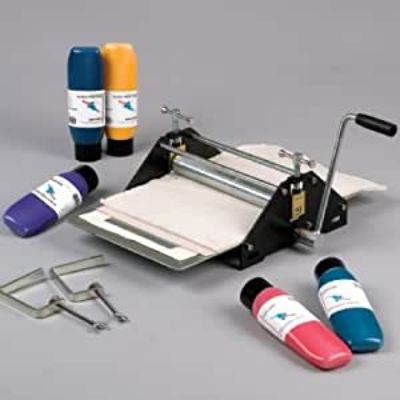
PVC Pipe Printing Press
Construct a printing press using PVC pipes, connectors, and a wooden base, creating a sturdy and adjustable press for various printmaking projects.
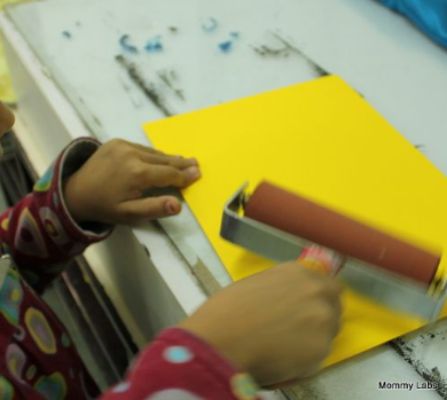
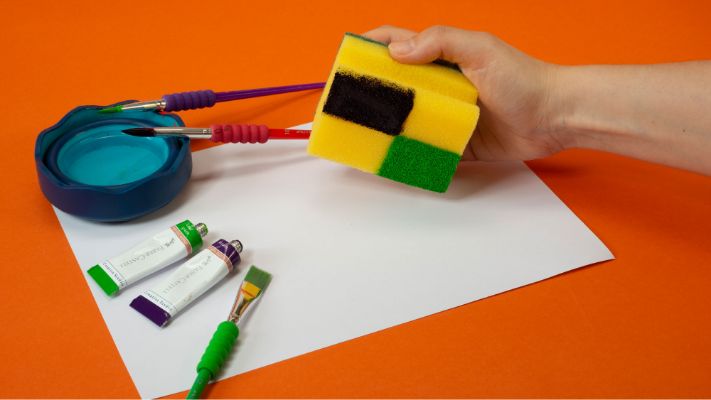
Sponge Printing Press
Glue two sponges onto a wooden block, one for ink application and the other for pressing onto paper, creating a simple and versatile printing press.
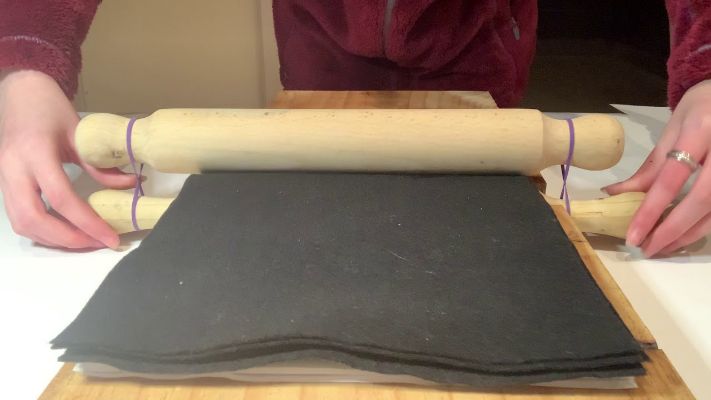
Rolling Pin Printing Press
Attach a foam sheet or carved linoleum block to a rolling pin using adhesive or rubber bands, creating a rolling pin printing press.
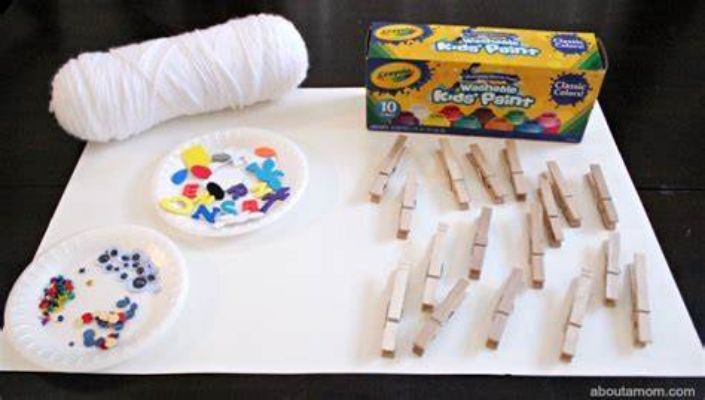
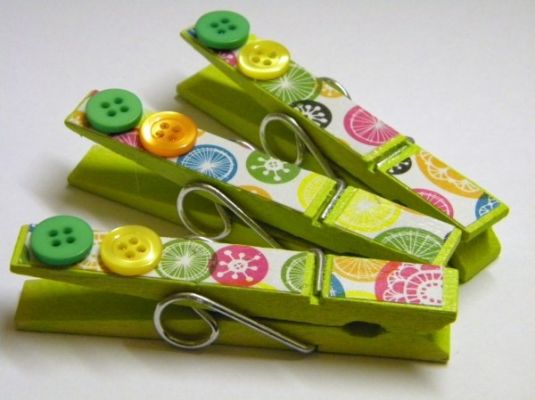
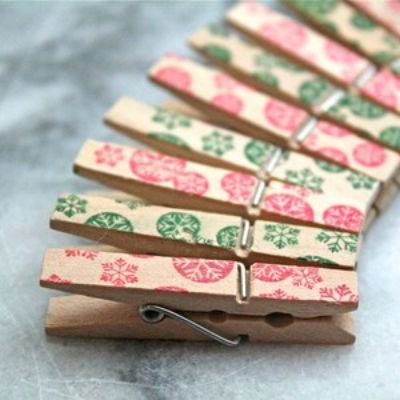
Clothespin Printing Press
Attach a foam sheet or carved linoleum block to a clothespin, allowing kids to apply pressure and create prints easily.
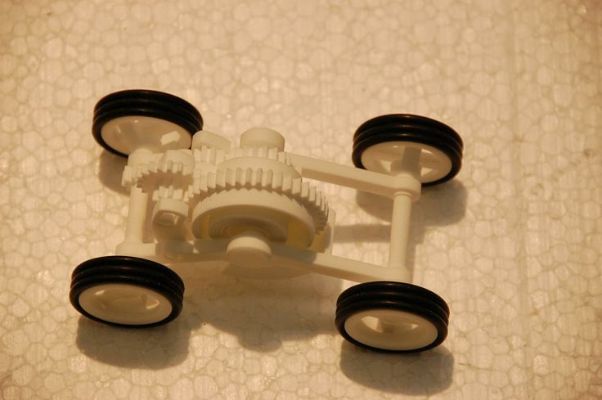
Toy Car Printing Press
Attach a small foam roller to a toy car, roll ink onto the foam, and let the car wheels transfer the design onto paper.
Rubber Band Printing Press
Stretch rubber bands around a wooden frame and secure them tightly. Ink the surface and press it onto paper for unique textured prints.
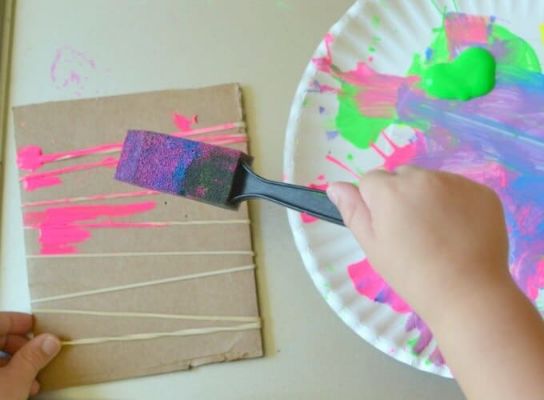
Paperclip Printing Press
Create a small printing press using paper clips as the hinges, allowing for easy adjustment and pressing of the printing plate.
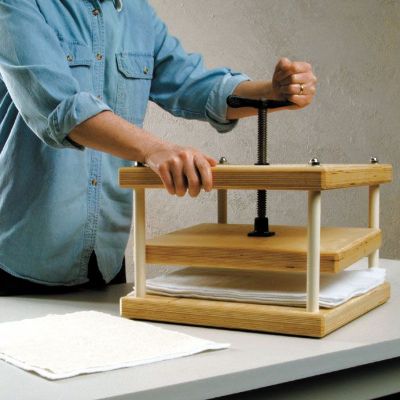
Shoebox Lid Printing Press
Attach foam sheets or a linoleum block to the inside of a shoebox lid, creating a portable and compact printing press.
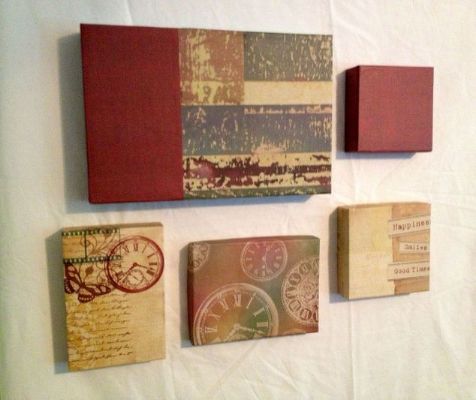
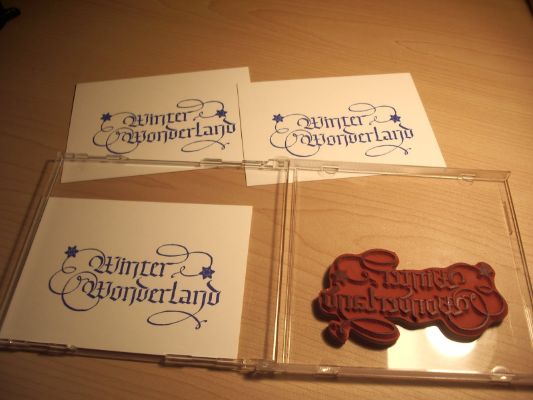
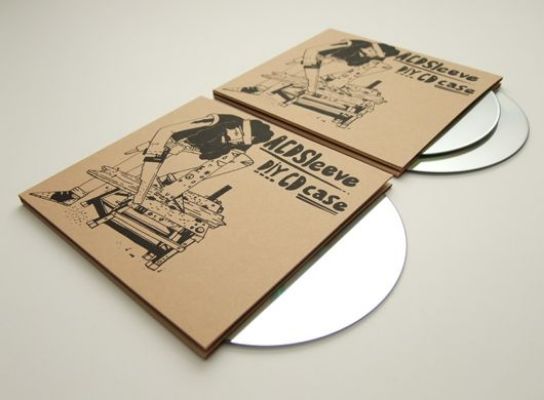
CD Case Printing Press
Remove the CD tray from a CD case and attach a foam sheet or carved linoleum block. Use the case to press onto paper.
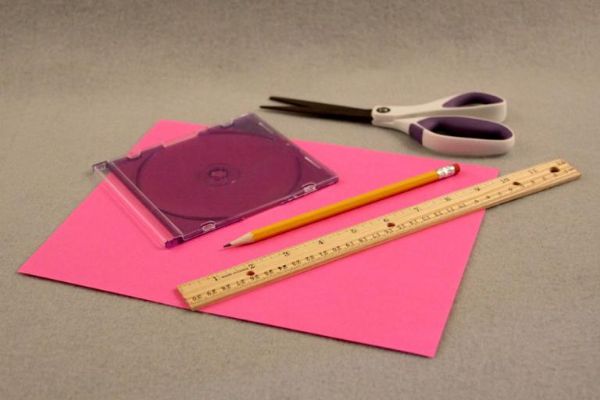
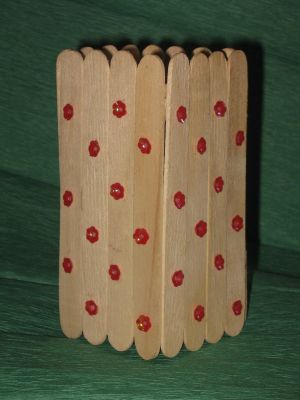
Popsicle Stick Printing Press
Glue several popsicle sticks together to create a handle, then attach a foam sheet or linoleum block to the end for printing.
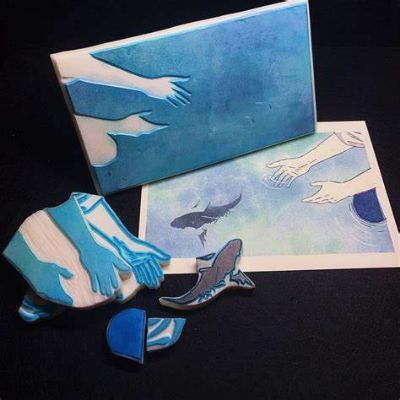
Rubber Stamp Printing Press
Mount rubber stamps onto a wooden block, then ink and press them onto paper to create repetitive and detailed prints.
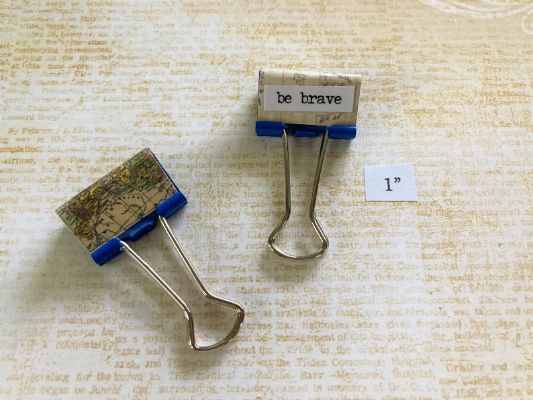
Binder Clip Printing Press
Attach a foam sheet or carved linoleum block to the end of a large binder clip, allowing easy application and pressure on the paper.
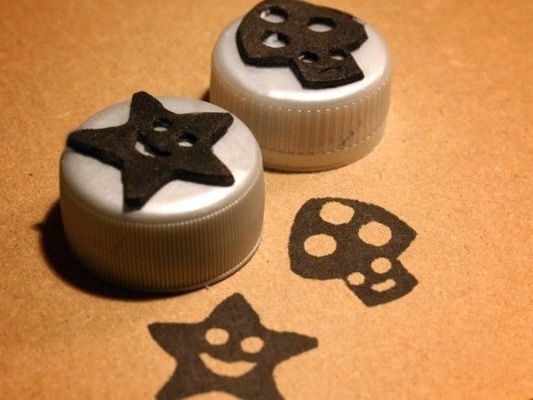
Plastic Bottle Cap Printing Press
Glue foam shapes or linoleum cuts onto plastic bottle caps, dip them in ink, and press them onto paper for small-scale prints.
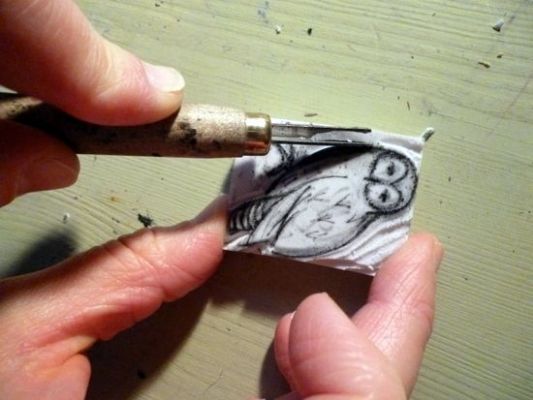
Eraser Printing Press
Carve a design onto an eraser, then attach it to a wooden block or handle for a small, precise printing tool.
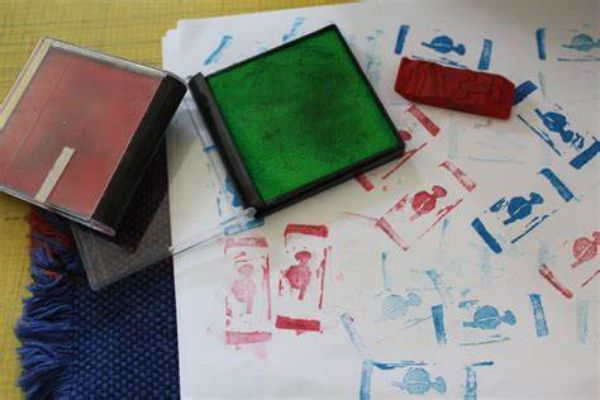
Recycled Materials Printing Press
To create unique and eco-friendly printing presses, use recycled materials like old CDs, plastic containers, or wooden scraps.
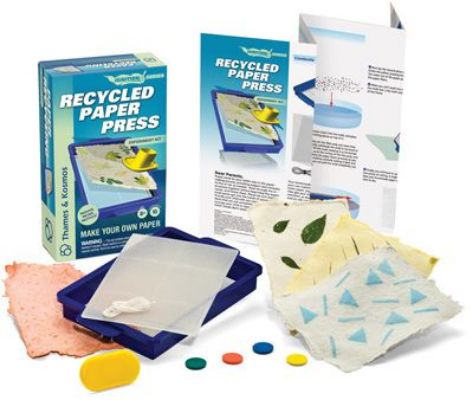
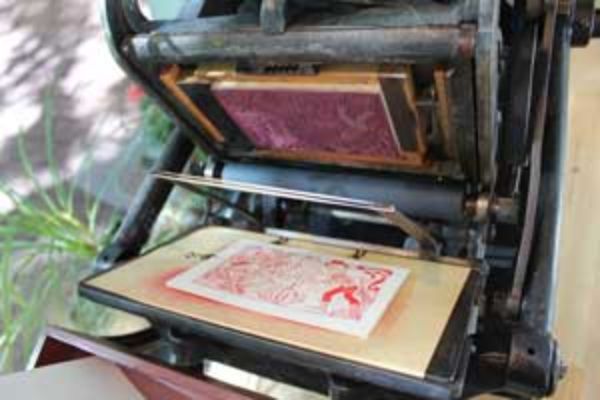
Collaboration Printing Press
Encourage teamwork and creativity by constructing a larger-scale printing press using materials like plywood, hinges, and rollers to accommodate multiple kids working together to create collaborative prints.
If you enjoyed this article check out imprint.com for printed goodies.
Conclusion
Printmaking is an exciting and versatile artistic medium that offers endless possibilities for creative expression. Whether you’re a seasoned artist or a beginner exploring new avenues of art, printmaking can open up a world of imaginative and tactile experiences. From linocuts to etchings, screenprints to lithographs, the techniques and processes of printmaking allow artists to translate their ideas onto various surfaces, producing unique and captivating artworks. With its rich history and continued relevance in contemporary art, printmaking remains a vibrant and engaging artistic exploration. So grab your tools, unleash your creativity, and dive into the captivating world of printmaking – the possibilities are limitless.
