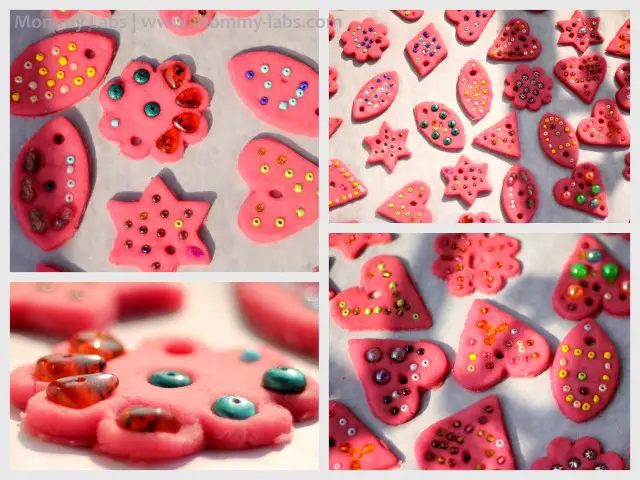
This past Friday, I was keen on Pari and I making some ornaments to decorate our Christmas tree and other corners in the house. But, I also wanted to integrate some sensory and cooking fun with it. It had been a while since she had indulged in her favorite activity -kneading the dough and rolling out ‘rotis’.
When I offered to her that we make our own playdough, she jumped at it. We had two options – cooked and un-cooked. Pari was excited about the cooked playdough, but I thought, making uncooked dough will allow her to do it mostly by herself and I knew she would enjoy the whole process – with just a tad bit help from me.
In this post, though, I won’t get into the nitty-gritty of making the un-cooked playdough. It turned out to be such an ordeal, I must dedicate a ‘whole’ post to it! Ah, well, seriously, we had to tinker with it quite a bit to ensure it would roll out super smooth – without a crack – for the ornaments that we would ‘cut’ out from it.
Eventually, the consistency and texture did turn out fine and Pari had a satisfying evening rolling it out, cutting out shapes and decorating them!
Looking for more fun activities? Check out our guide on cloud dough ice cream parlor pretend play! It’s a fantastic way to spark imagination and creativity in kids. Click here to explore.
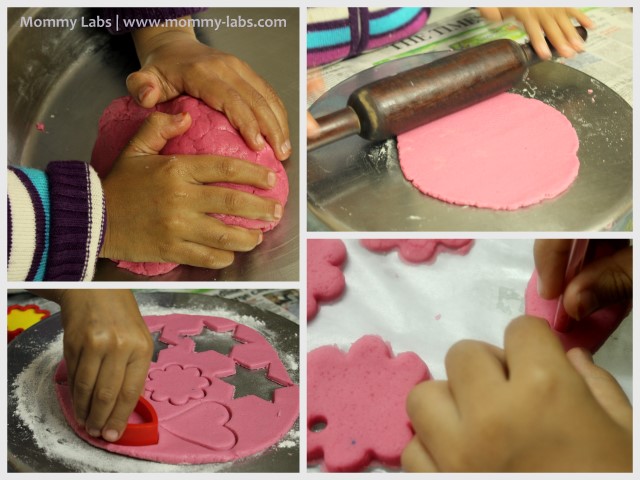
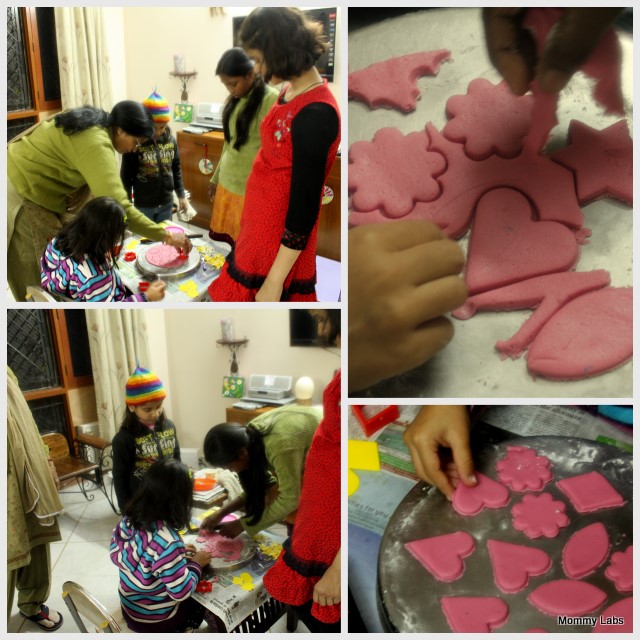
Midway through it, my mom as well as Pari’s friends joined the activity and everyone was having a blast. Or, should I honestly say – a tussle! Each was trying to have a go at cutting! I must agree – it is such a satisfying and gratifying feeling to see the shapes ’emerge’ from the rolled dough.
We spread them over a butter paper, on our dining table, as the second round of the activity – decorating the ornaments – was to ensue. I had recently seen these beaded playdough ornaments at The Artful Parent and knew Pari would love to make something like these.
Ah, our treasure box of beads and stones was going to see the light of the day. This was originally a part of the jewellery making kit but Pari hadn’t done much with it.
Embedding them into the playdough ornaments, while they were still soft, is an easier activity then beading them through wires to make jewellery. The latter needs lot of hand-holding, which is no fun – for her or for me.
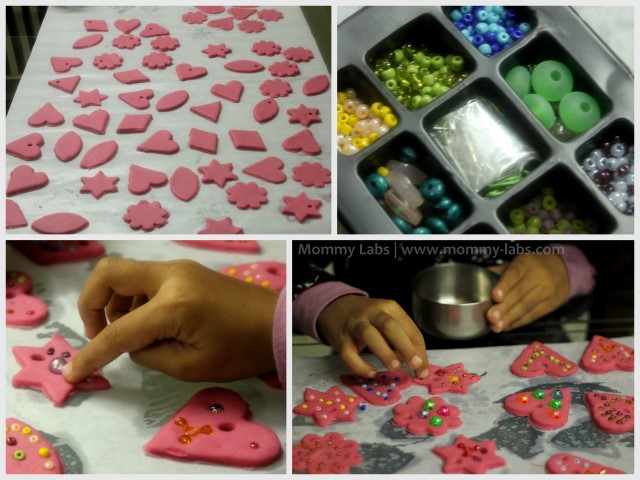
So, she set about ‘pushing the beads into the playdough, with contribution from one of her friends and a little excited ‘chipping-in’ by me.
What a bunch we had – ready to be dried over night and then the next afternoon. Well, yes, our ornaments have taken three days to dry! I’m not sure if it’s supposed to take that long? Or, is it just the weather? Winter has finally set-in in its peak form – the mist, the fog, the chill – it’s all here!

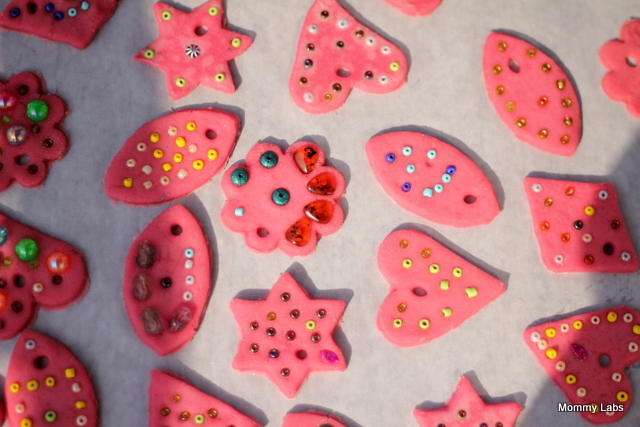
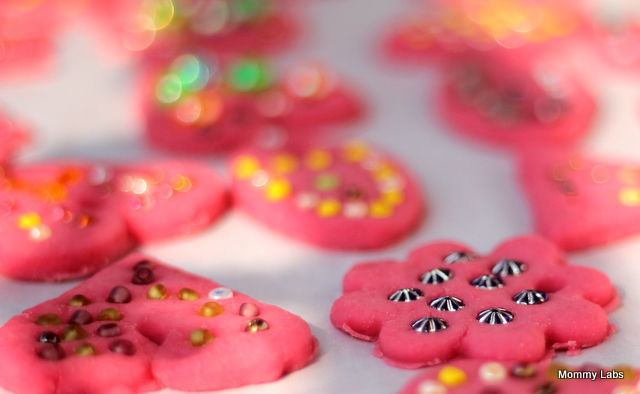
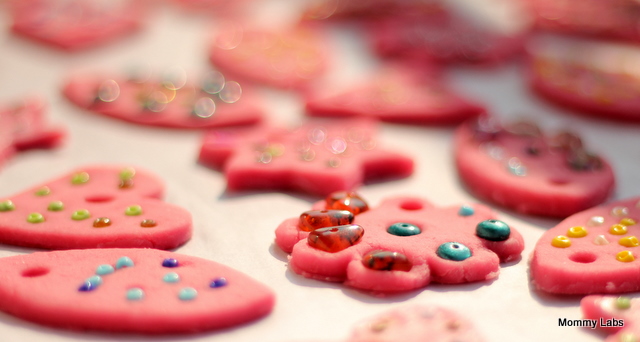
Today, we’re going to string them with ribbons etc so we can hang them and admire our hand-made effort!
Want to try making your own dough for crafts? Check out our simple playdough recipe with cream of tartar. It’s easy to follow and perfect for creating all sorts of homemade projects, from sculpting to crafting ornaments.
What Christmas crafts are you making or you’ve made at your home?
Update on Dec. 20 2011:
Here’s the recipe for this aromatic salt dough. Do check it out for the innovative twist that resulted in a very elastic and pliable dough!
