Aluminum foil art is a captivating form of artistic expression that transforms a simple household item into stunning sculptures, origami designs, and crafts. With its malleability, shimmering surface, and affordability, aluminum foil opens up a world of creative possibilities for artists and crafters alike. Whether you’re a seasoned tin foil artist or just starting, this versatile material offers endless opportunities to unleash your imagination and create unique artwork.
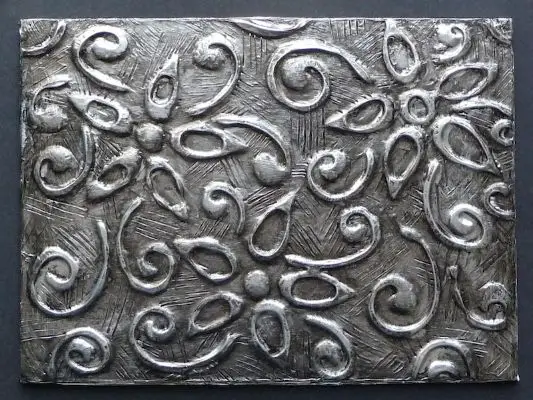
Tin Foil Artist – Mastering the Art of Sculpting and Crafting
A tin foil artist is an individual who specializes in the creation of sculptures and crafts using aluminum foil. Tin foil artists often possess a keen eye for detail, a strong sense of creativity, and a mastery of various sculpting techniques.
Techniques And Tips For Creating Stunning Tin Foil Sculptures

This section will provide a comprehensive overview of the techniques and tips employed by tin foil artists to create visually striking sculptures. It will cover topics such as:
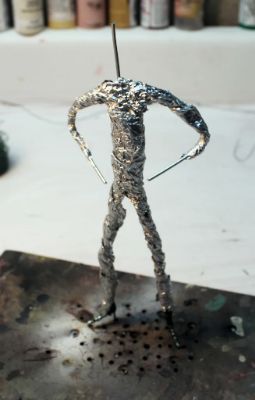
Armature construction
- Use additional materials like aluminum foil, epoxy putty, or tape to bulk up and reinforce the armature where needed, ensuring the sculpture maintains its shape and withstands the sculpting process.
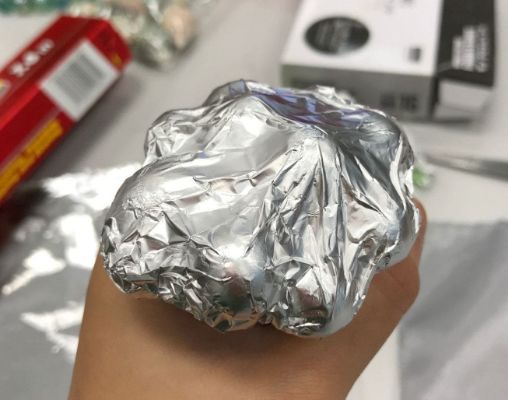
Foil manipulation
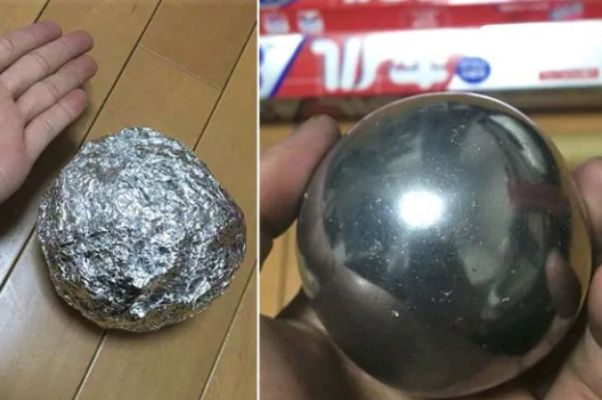
Surface finishing
Joining methods

Tools and materials
| Tool/Material | Use | Alternative Options |
| Tin Foil | Primary material for sculpting; provides flexibility and ease of shaping. | Aluminum Foil, Copper Foil, Silver Foil |
| Armature Wire | Provides structure and support for larger sculptures. | Floral Wire, Wire Hangers |
| Sculpting Tools | Used for shaping, detailing, and adding texture to the foil. | Clay Sculpting Tools, Dental Tools, Wooden Modeling Tools |
| Epoxy Putty/Adhesive | Used to secure and bond different sculpture parts. | Hot Glue Gun, Super Glue |
| Wire Cutters | Cuts, trims, armature wire, or other materials as needed. | Pliers, Scissors |
| Protective Gloves | Protect hands from sharp edges and prevents fingerprints on the foil. | Rubber or Latex Gloves |
| Reference Images/Models | Used for inspiration and reference during the sculpting process. | Photographs, Sculpture Books, 3D Models |
| Sealant/Finish | Applied to the finished sculpture to protect and preserve the artwork. | Clear Varnish, Acrylic Spray Sealant |
10 Engaging Tin Foil Crafts For Beginners And Experts Alike
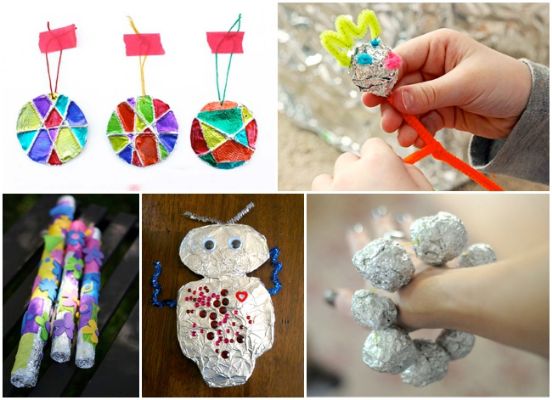
This subsection will focus on tin foil crafts that cater to individuals of all skill levels, from beginners looking for simple and accessible projects to more experienced artists seeking unique challenges.
It will showcase a range of craft ideas, including but not limited to:
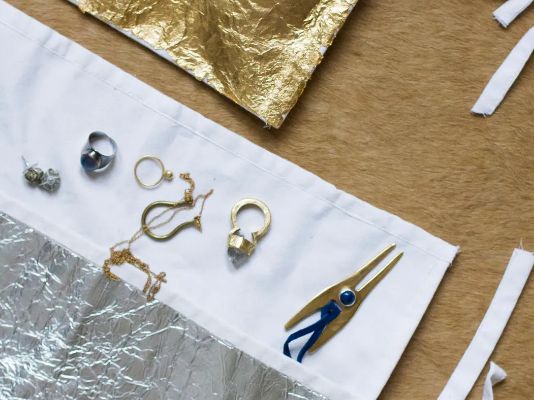
Foil Jewelry
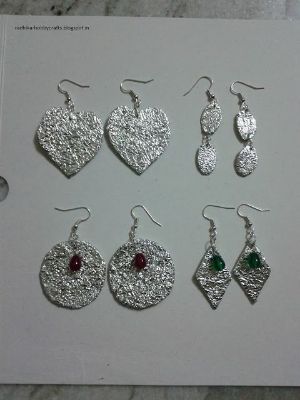
Use aluminum foil to create stylish, lightweight accessories like earrings and pendants.
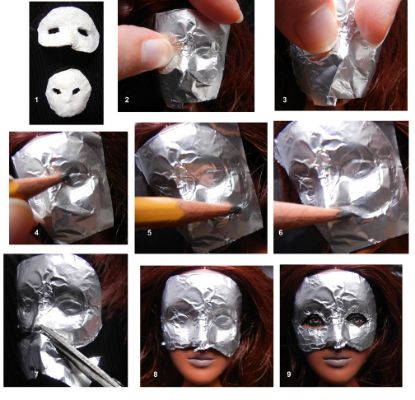
Foil Masks and Costumes
Craft intricate masks or costume embellishments by shaping and molding tin foil.
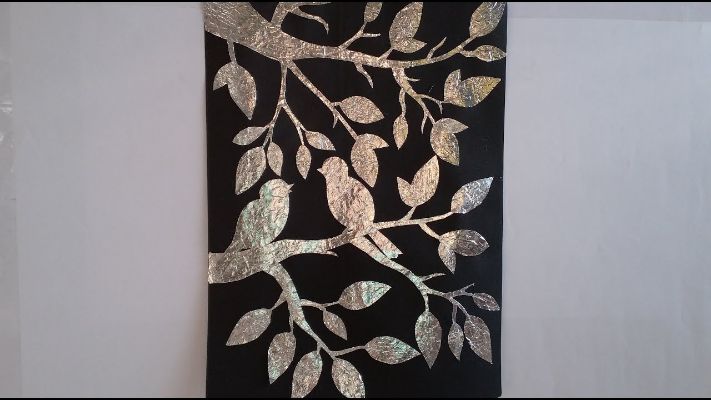
Foil Wall Art
Design stunning wall decorations by embossing, folding, and manipulating aluminum foil.
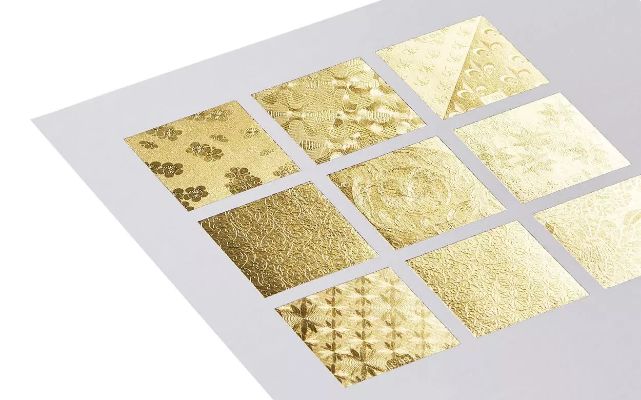
Foil Embossing
Learn the art of creating raised designs on foil by pressing or hammering it onto a surface.
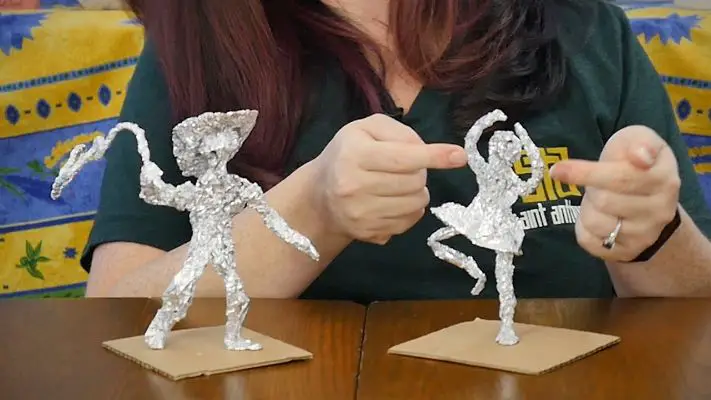
Foil Puppets and Figures
Construct whimsical characters and figures using aluminum foil for puppetry or display purposes.

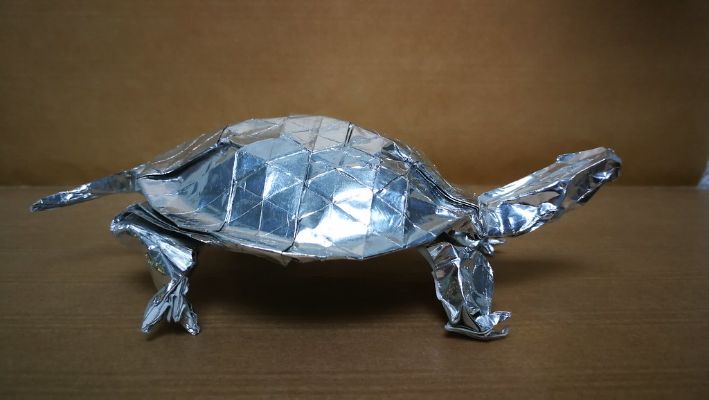
Foil Origami
Explore the world of origami with the shimmering twist of aluminum foil, folding unique and eye-catching designs.
Foil Lanterns
Illuminate your space with handmade lanterns made from folded and cut aluminum foil.

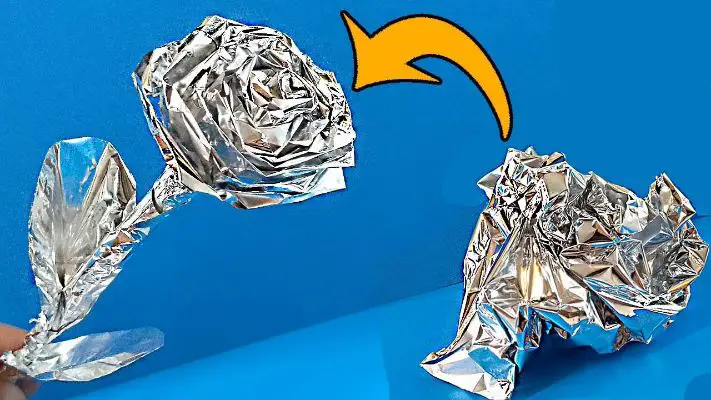
Foil-Sculpted Flowers
Create everlasting blooms by shaping and sculpting aluminum foil into beautiful floral arrangements.
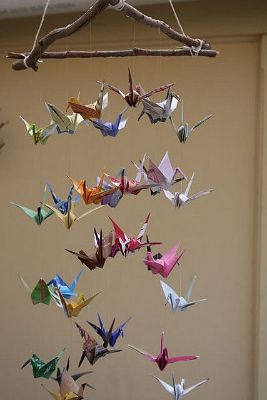
Foil Mobiles
Craft mesmerizes mobiles by suspending foil shapes and designs from a frame, creating a dynamic and reflective display.
Foil Art Cards
Make personalized greeting cards with elegance by incorporating aluminum foil as a decorative element.

Showcasing The Works Of Renowned Tin Foil Artists
| Step | Heading | Tutorial |
| 1 | Research and selection | Research and identify renowned tin foil artists through art galleries, online platforms, social media, and art communities. |
| 2 | Seek permission and collaboration | Contact the selected artists to request permission to showcase their works and offer collaboration opportunities. |
| 3 | Curate a collection | Curate a collection of the artist’s works that represent their unique style and artistic journey. |
| 4 | Craft a compelling narrative | Develop a narrative highlighting the artist’s background, influences, and creative process. |
| 5 | High-quality visuals | Capture high-resolution artwork images, ensuring proper lighting and composition. |
| 6 | Descriptive captions | Write descriptive captions for each artwork, providing insights into the artist’s inspiration, techniques, and intended message. |
| 7 | Digital or physical exhibition | Determine the platform or medium for showcasing the collection, such as a dedicated website, virtual exhibition, or physical display. |
| 8 | Promote and share | Utilise social media, art communities, and relevant platforms to promote and share the exhibition. |
| 9 | Provide artist recognition. | Give proper credit to the artists by including their names, social media handles, and portfolio links. |
Aluminum Foil Sculpting Marvels – Step-By-Step Guide
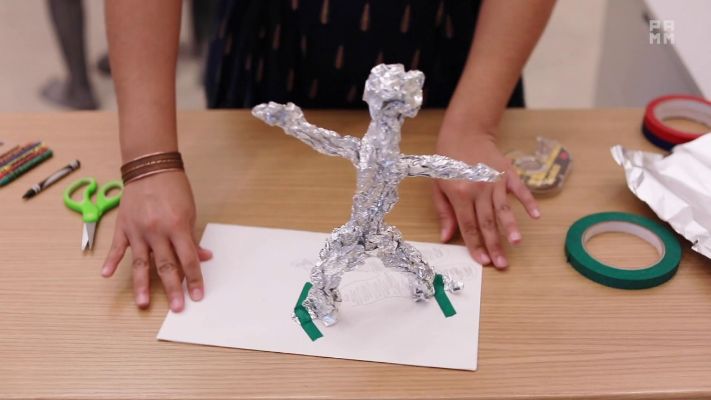
Follow this step-by-step tutorial to create stunning aluminum foil sculptures:
Step 1: Gather Materials
- Aluminum foil: Choose a roll of high-quality aluminum foil that is easy to mold and shape.
- Armature materials: Depending on your sculpture’s size and complexity, consider using materials like wire, pipe cleaners, or cardboard to create a sturdy framework for your sculpture.
- Sculpting tools: Gather various tools such as sculpting knives, wooden or metal shaping tools, and pliers for precise manipulation of the foil.
- Protective base: Prepare a sturdy and protective base to support your sculpture during the sculpting process.
Step 2: Plan and Sketch
- Visualize your sculpture and sketch the basic form and proportions on paper.
- Consider the pose, gesture, and details you want to incorporate into your sculpture.
Step 3: Build the Armature
- Use the selected armature materials to create a basic structure that represents the overall shape of your sculpture.
- Ensure the armature is stable and securely attached to the protective base.
Step 4: Layering and Shaping
- Tear off a piece of aluminum foil and crumple it into a loose ball. This will serve as the core of your sculpture.
- Gradually layer and wrap more aluminum foil around the core, building up the shape and form of your sculpture.
- Use your hands and sculpting tools to shape and mold the foil, adding details and refining the surface texture.
Step 5: Manipulating and Texturing
- Experiment with different foil manipulation techniques, such as folding, twisting, and compressing, to achieve desired forms and textures.
- Use sculpting tools to create fine details like facial features, textures, or intricate patterns.
Step 6: Refining and Finishing Touches
- Continuously step back and assess your sculpture’s overall proportions, balance, and aesthetics.
- Make adjustments and refinements to enhance the sculpture’s visual appeal and coherence.
- Pay attention to surface finishing by smoothing out rough edges and refining the surface texture.
Step 7: Display and Preservation
- Once satisfied with your foil sculpture, carefully transfer it onto a display platform or mount it securely onto a base.
- Consider using clear varnish or spray adhesive to protect and preserve the sculpture’s surface if desired.
10 Transformative Foil Paintings Ideas
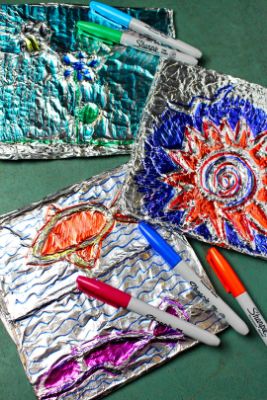
Foil Abstract Landscapes
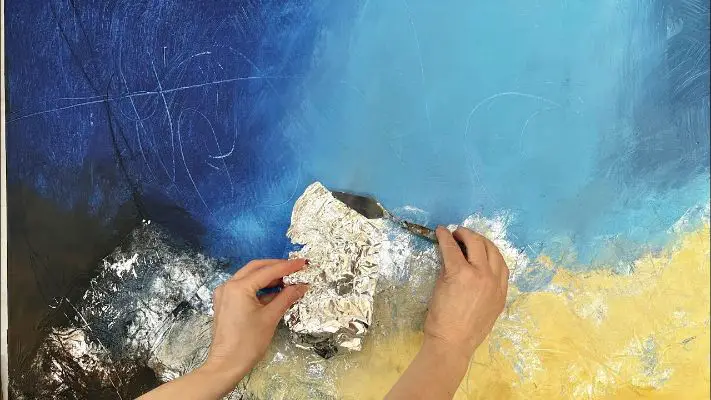
Foil Mixed Media Collage
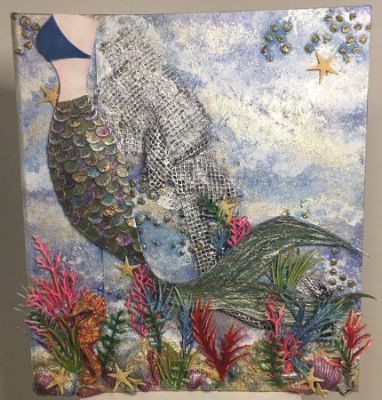
Foil Textured Portraits
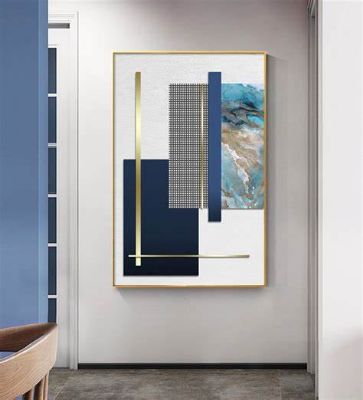
Foil Geometric Abstractions
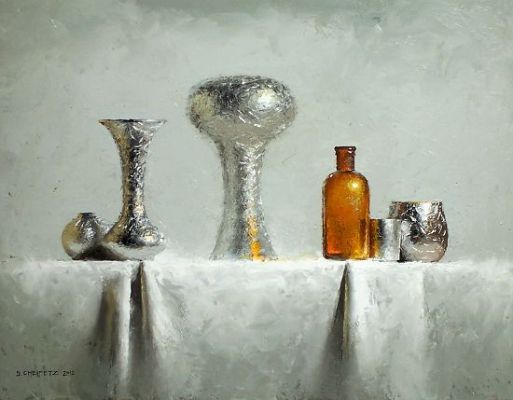
Foil Metallic Still Life
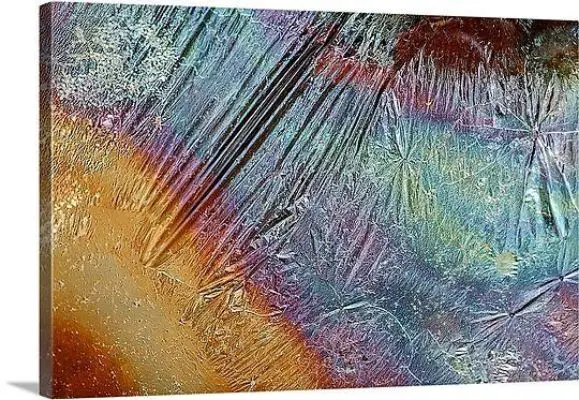
Foil Impressionistic Paintings
Foil Surrealistic Artwork

Foil Pop Art Creations

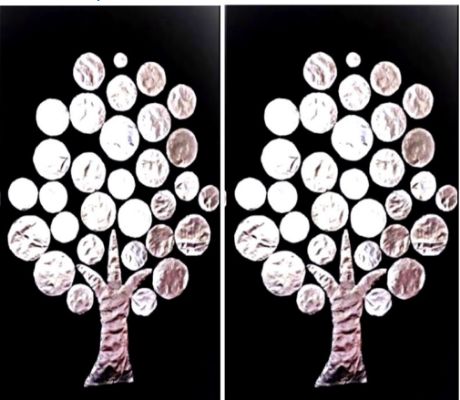
Foil Nature-inspired Paintings
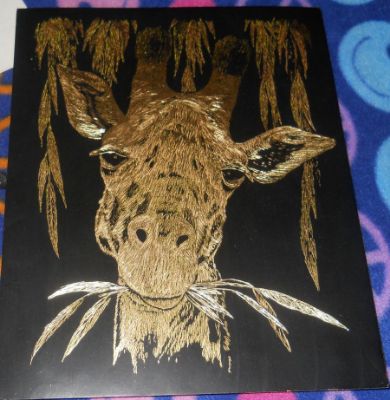
Foil Expressionistic Art Pieces

10 Shimmering Origami Foil Art
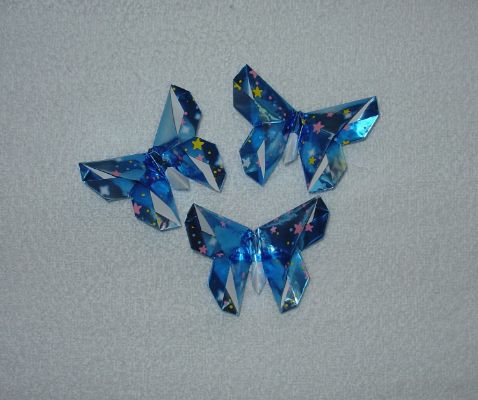
Foil Origami Animals
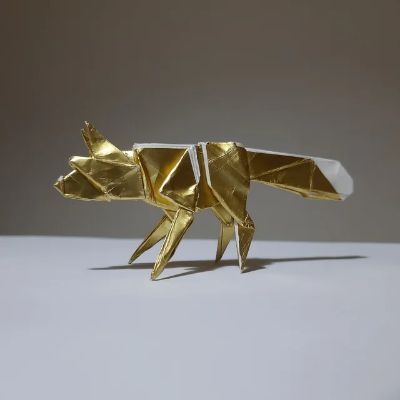
Foil Modular Origami
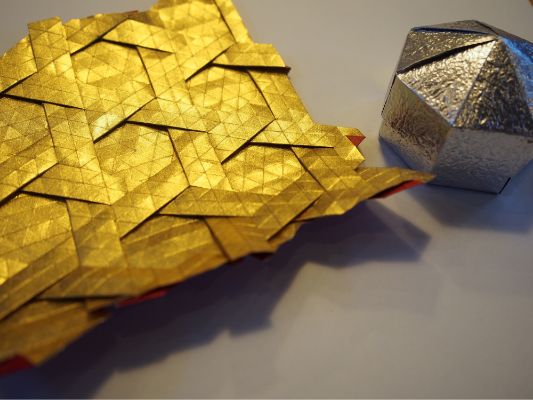
Foil Origami Flowers
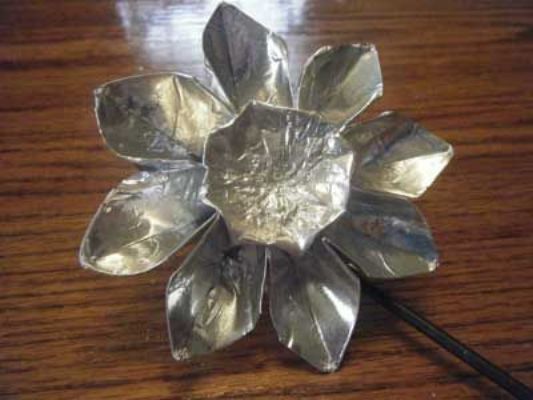
Foil Origami Jewelry
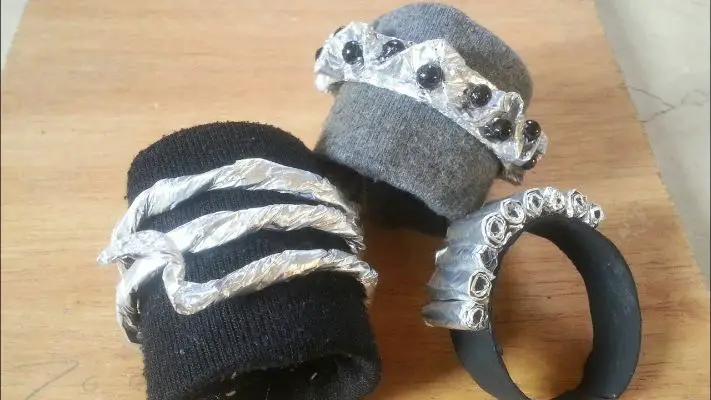
Foil Origami Decorations
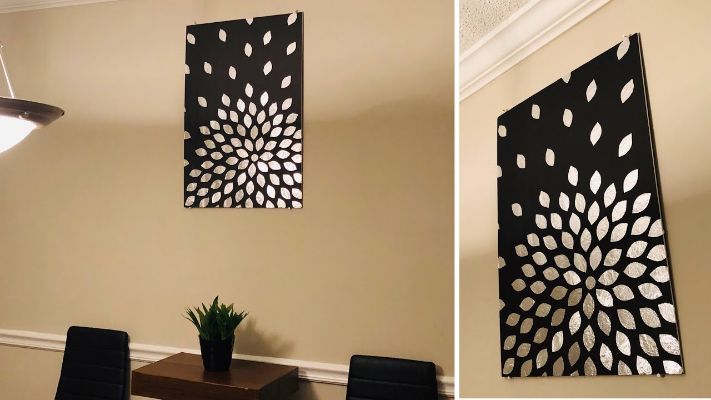
Foil Origami Geometric Shapes
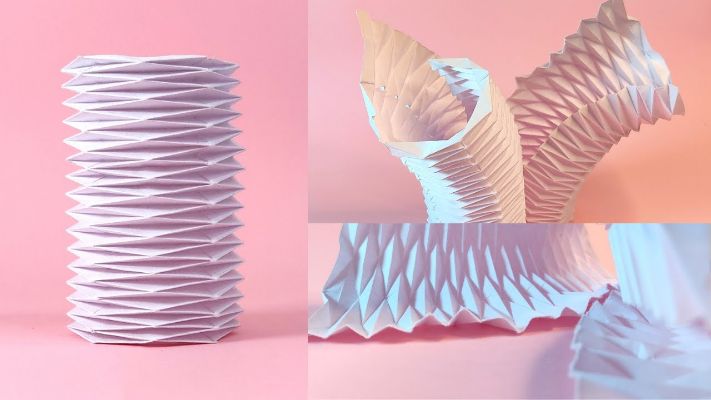
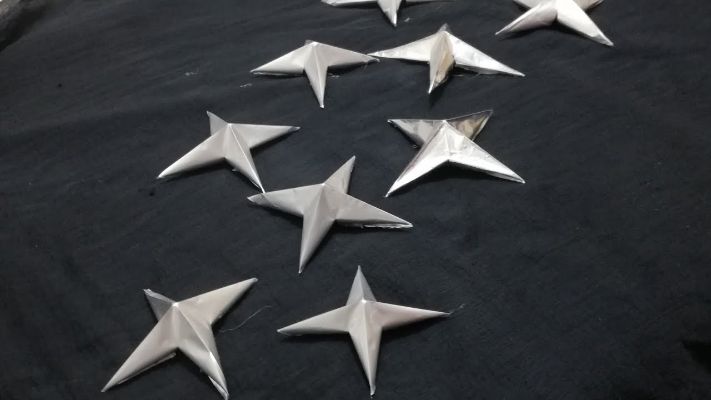
Foil Origami Stars and Mobile
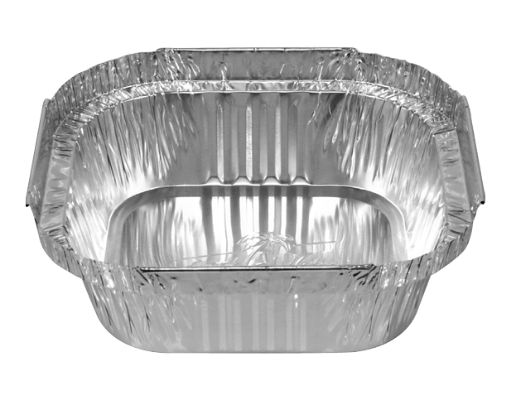
Foil Origami Boxes and Containers
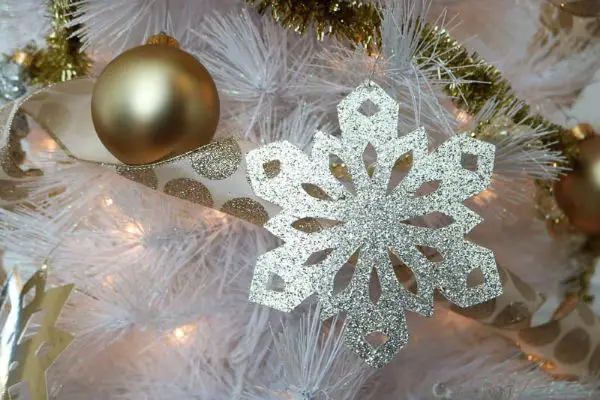
Foil Origami Christmas Ornaments
Foil Origami Miniature Figures
10 Everyday Inspirational Foil Art – Foil in Functional and Decorative Objects
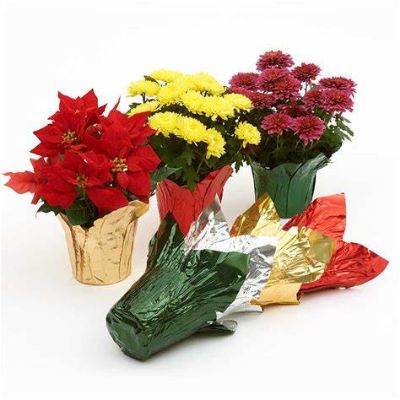
Foil Embellished Vases and Pots
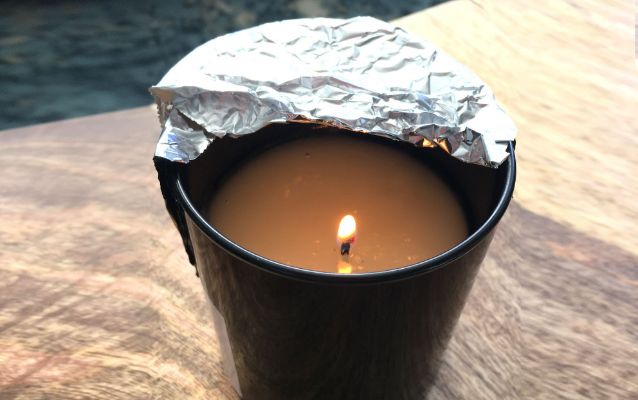
Foil Wrapped Candles and Candle Holders
Foil Accentuated Picture Frames
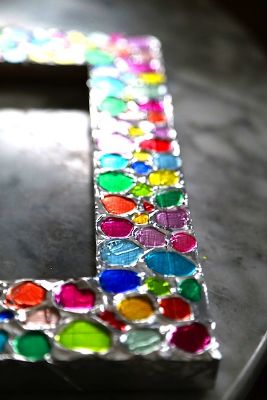
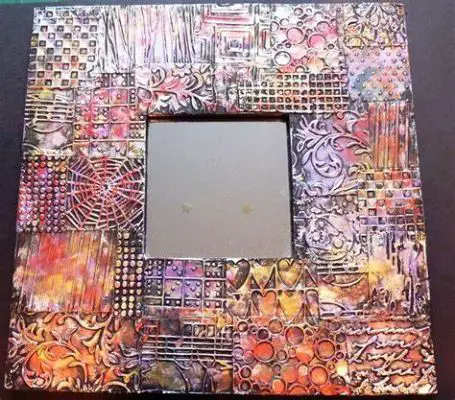
Foil Decorated Mirrors
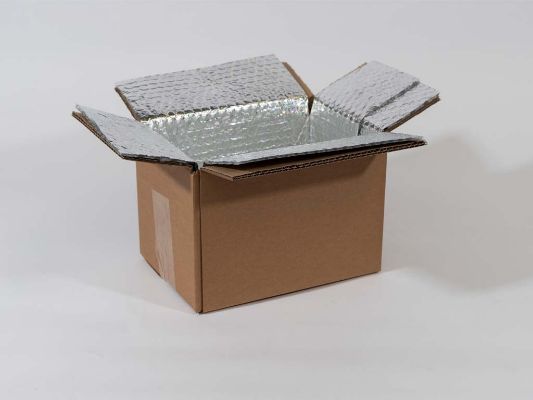
Foil Covered Storage Boxes
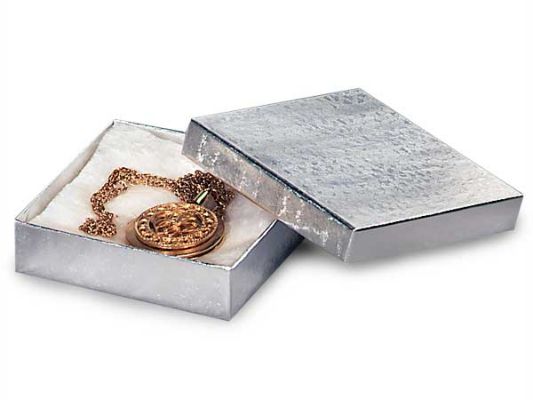
Foil Enhanced Jewelry Boxes
Foil Embossed Book Covers

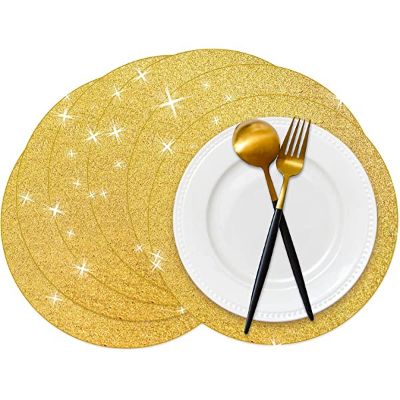
Foil Infused Coasters and Placemats
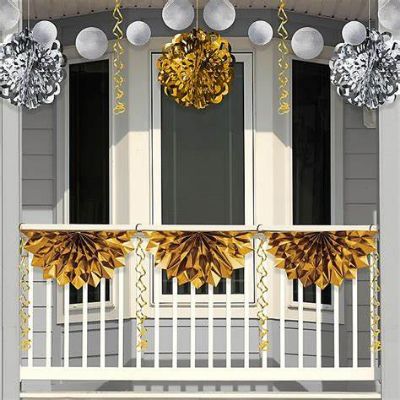
Foil Trimmed Home Décor Items
Experimental Techniques For Aluminium Foil Art – Texturing and Manipulating Foil
Crumpled Foil Sculptures
Creating dynamic three-dimensional sculptures by crumpling and shaping foil into intricate forms.
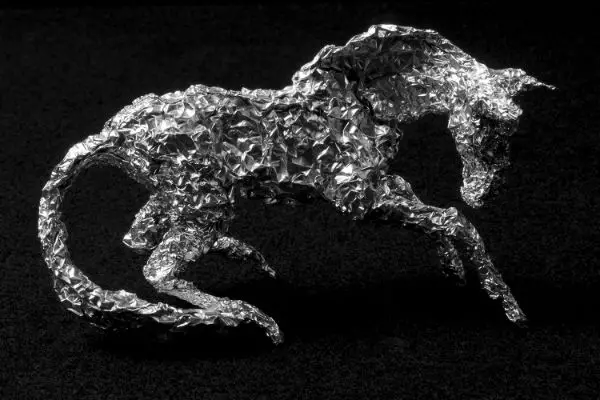
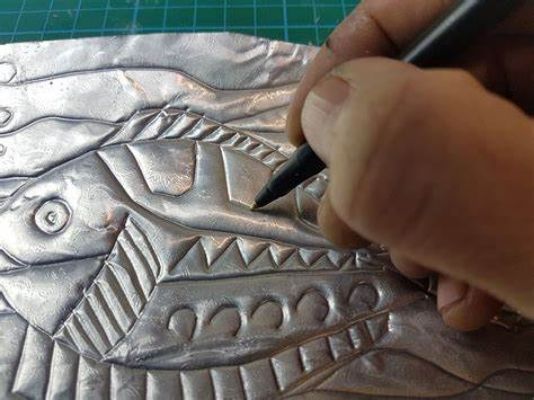
Foil Embossing
Adding raised patterns and designs to foil surfaces using embossing tools for a textured and visually appealing effect.

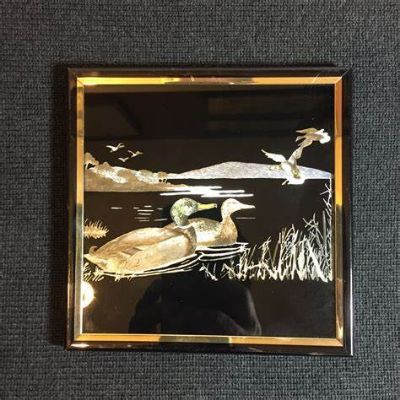
Foil Etching
Etching intricate designs and patterns onto the foil surface using pointed tools or etching solutions for a detailed, textured appearance.
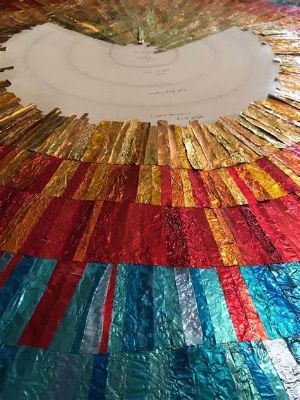
Foil Layering and Collage
Layering multiple pieces of foil with varying textures, colors, and shapes to create visually rich and textured collages.
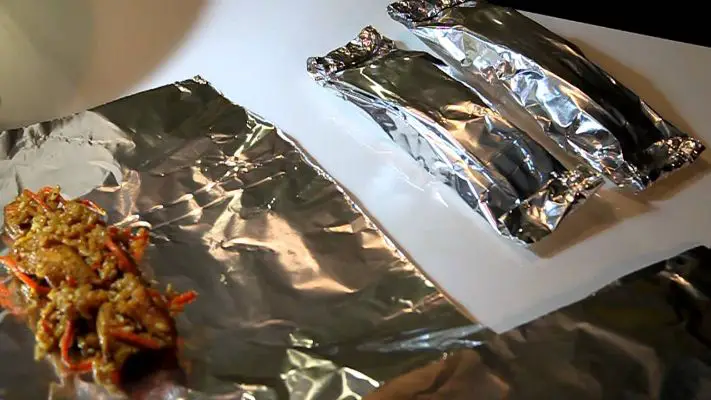
Foil Pleating and Folding
Manipulating foil into pleats and folds to create dimension and texture in artwork, such as origami-inspired designs.
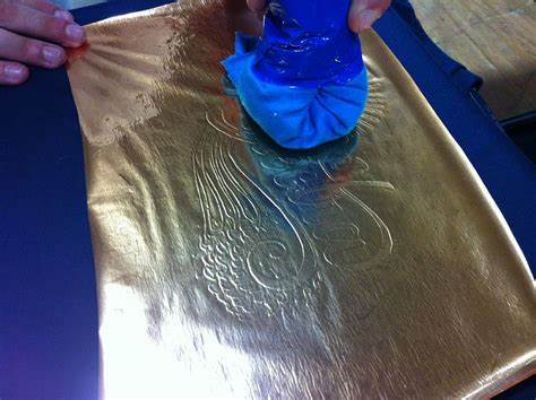
Foil Burnishing
Rubbing a smooth object or burnishing tool over the foil surface to create a polished and reflective effect.
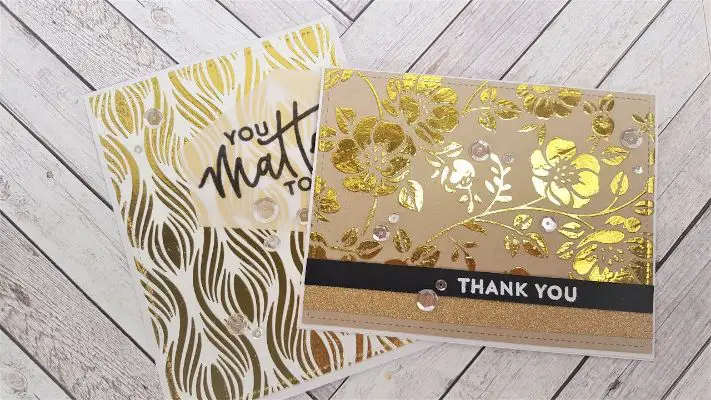
Foil Cutouts and Stencils
Cutting or using stencils to create intricate shapes and patterns on foil surfaces allows light to shine through and create visually striking effects.
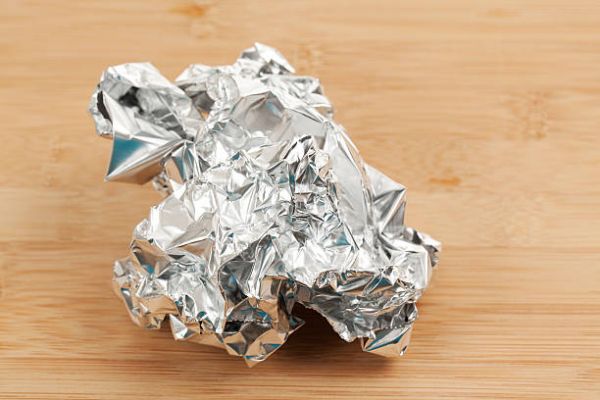
Foil Scrunching and Wrinkling
Scrunching and wrinkling foil create organic and textured surfaces that can be used in mixed media or sculptural pieces.
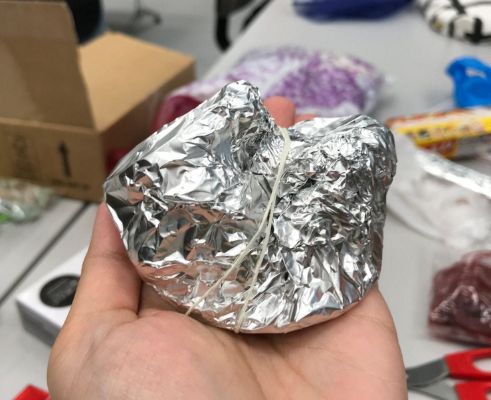
Foil Heat Manipulation
Applying heat to foil surfaces creates unique textures and patterns through oxidation, resulting in a weathered or aged appearance.
Foil Molding and Casting
Use foil as a mold or casting material for pouring liquid materials such as resin or plaster to create textured and dimensional artworks.
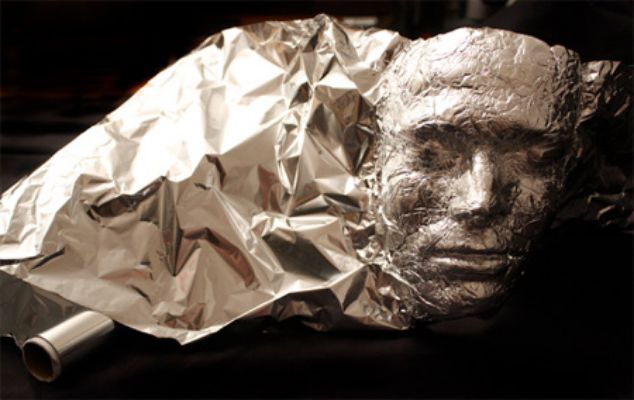
10 Personalized Foil Art Ideas
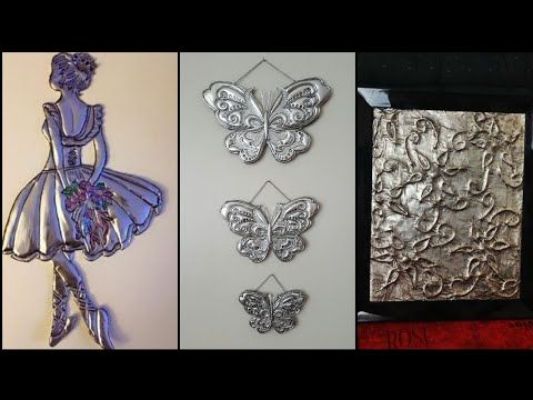
Foil Nameplates and Monograms
Craft personalized nameplates and monograms using foil to add a touch of elegance and customization.
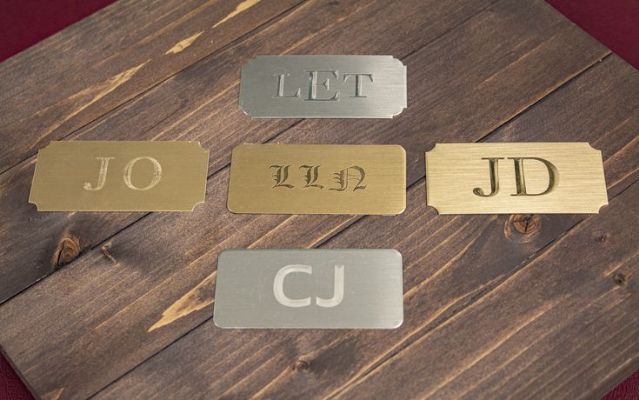
Foil Silhouette Portraits
Create unique and personalized silhouette portraits by cutting out detailed profiles from foil.
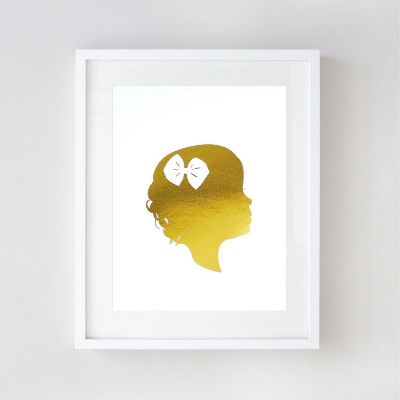
Foil Initial Jewelry
Design custom jewelry pieces by incorporating foil initials into necklaces, bracelets, or earrings.
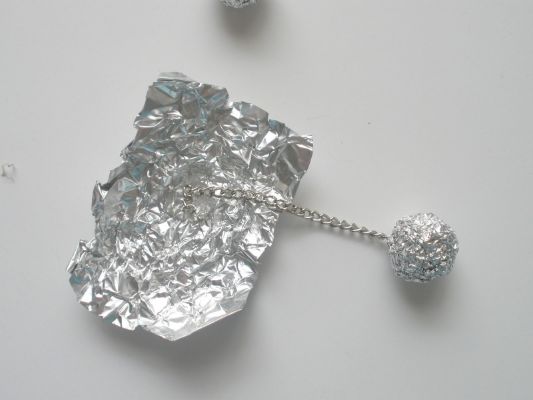
Foil Quote Art
Combine meaningful quotes and foil to create personalized art pieces that inspire and resonate with individuals.

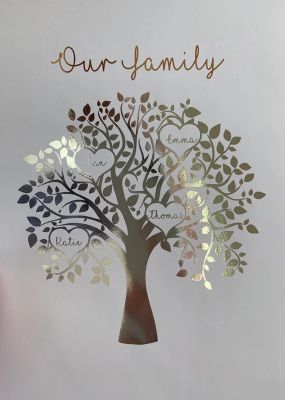
Foil Family Tree
Craft a personalized family tree using foil, highlighting each family member’s name and connection.
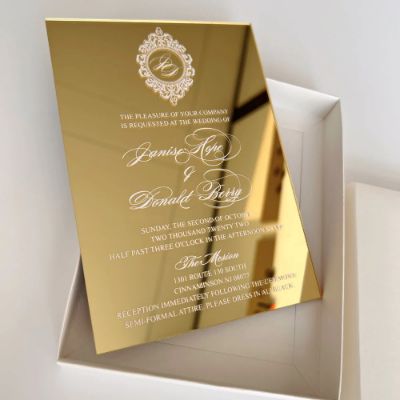
Foil Wedding Invitations
Add a luxurious and personalized touch to wedding invitations by incorporating foil accents and designs.
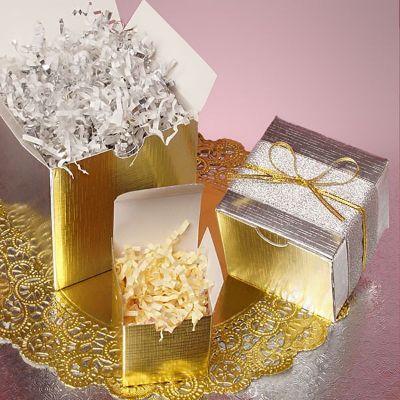
Foil Memory Boxes
Personalize memory boxes by decorating them with foil and showcasing special events, dates, or names.
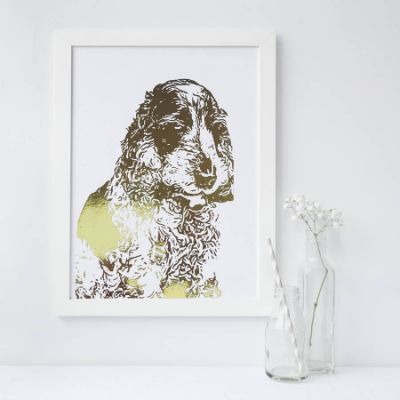
Foil Pet Portraits
Capture the essence of beloved pets by creating foil portraits that reflect their unique personalities.
Foil Zodiac Signs
Create customized foil art pieces featuring zodiac signs tailored to each person’s astrological symbol.

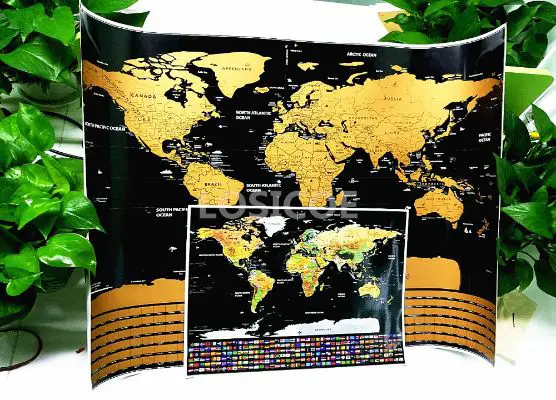
Foil Travel Maps
Design personalized maps using foil to mark visited destinations and memorable adventures.
20 Ideas of Tin Foil Crafts

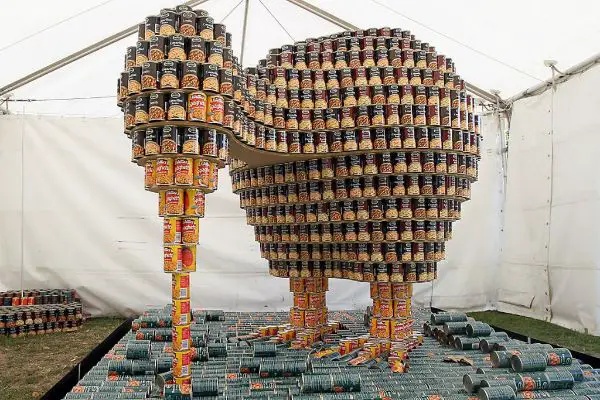
Tin Foil Sculptures
Shape and mold tin foil into three-dimensional sculptures with intricate details.
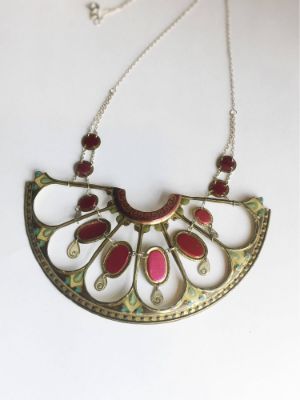
Tin Foil Jewelry
Design and craft jewelry pieces by shaping and wrapping tin foil into earrings, necklaces, or bracelets.
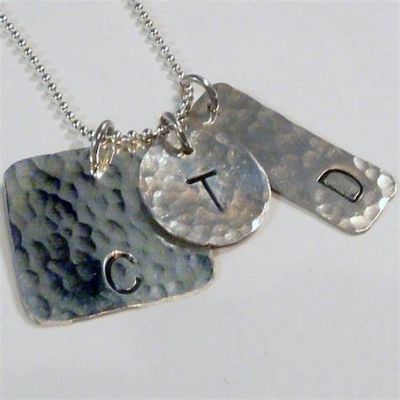
Tin Foil Embossing
Use embossing tools to create raised designs and patterns on tin foil surfaces, adding texture and depth.
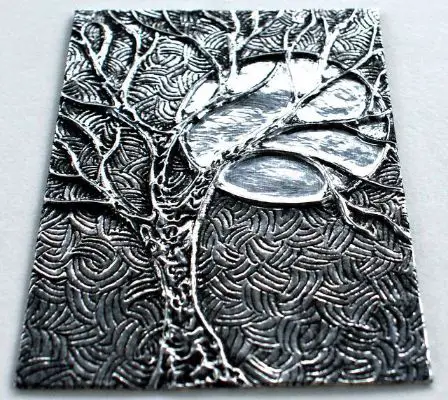
Tin Foil Lanterns
Fashion tin foil into lanterns, allowing light to shine through intricate cutouts for a captivating glow.
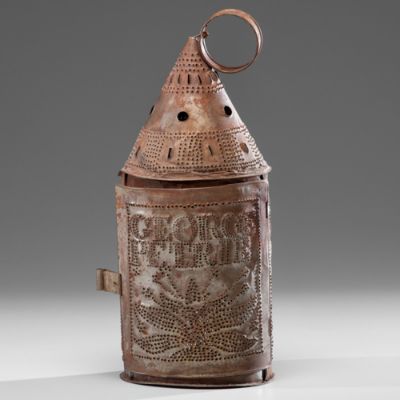
Tin Foil Collage
Cut, tear, and layer tin foil pieces to create stunning collages with reflective and metallic accents.

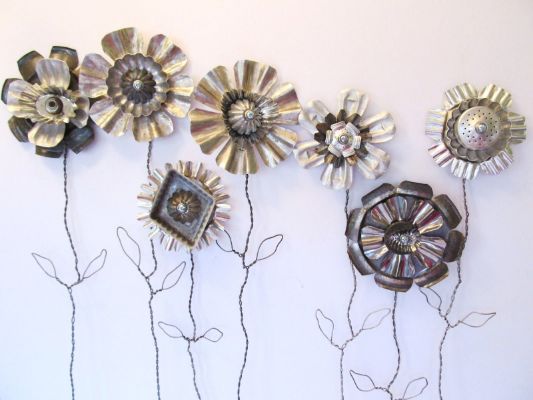
Tin Foil Flowers
Fold and shape tin foil into beautiful floral arrangements that never wilt and shimmer in the light.
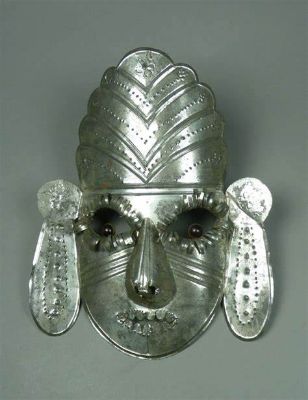
Tin Foil Face Masks
Create tin foil masks by molding and shaping the foil to fit facial contours and adding decorative elements.

Tin Foil Mobiles
Craft hanging mobiles with tin foil shapes, creating a mesmerizing display that catches and reflects light.

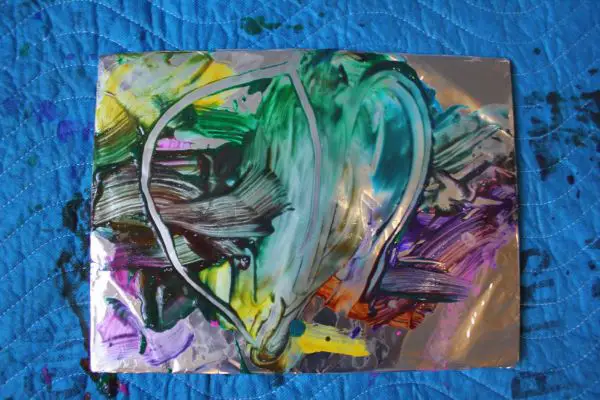
Tin Foil Painting
Use tin foil as a canvas and apply paint or ink to create unique and textured artwork.
Tin Foil Robots
Construct whimsical robots by folding, shaping, and assembling tin foil into futuristic figures.

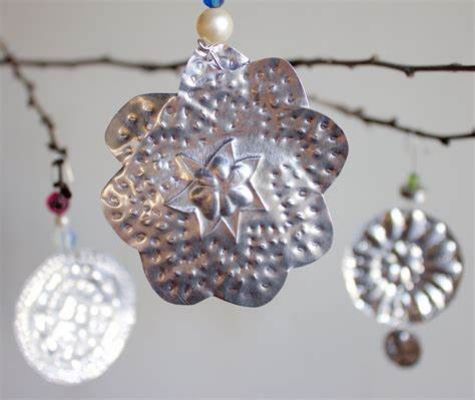
Tin Foil Ornaments
Make decorative ornaments for holidays or special occasions by shaping tin foil into various designs.
Tin Foil Puppets
Create puppets by forming tin foil into characters and attaching strings or sticks for animated play.

Tin Foil Sun Catchers
Cut and shape tin foil into dazzling sun catchers that radiate colorful reflections when hung in sunlight.
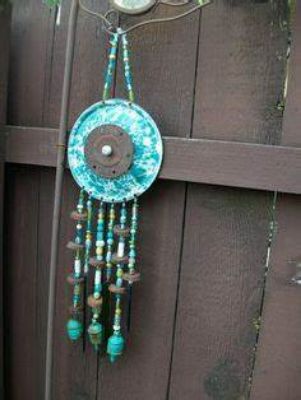
Tin Foil Masks
Design and decorate tin foil masks with paints, markers, or other craft materials for a personalized touch.
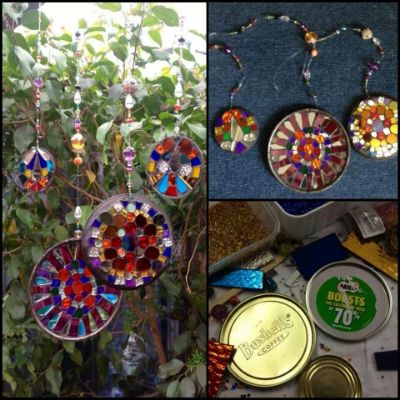
Tin Foil Mosaics
Cut tin foil into small pieces and arrange them to create mosaic patterns and designs.
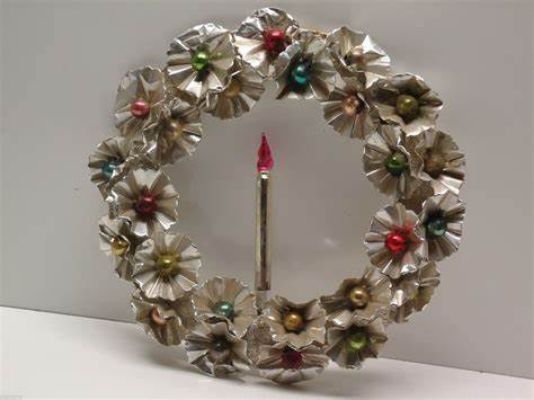
Tin Foil Wreaths
Bend and shape tin foil into wreath forms, then embellish with ribbons, ornaments, or other decorations.
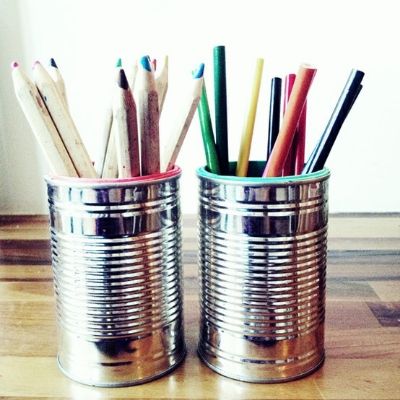
Tin Foil Pencil Holders
Roll and shape tin foil into cylindrical holders to store pens, pencils, or art supplies.
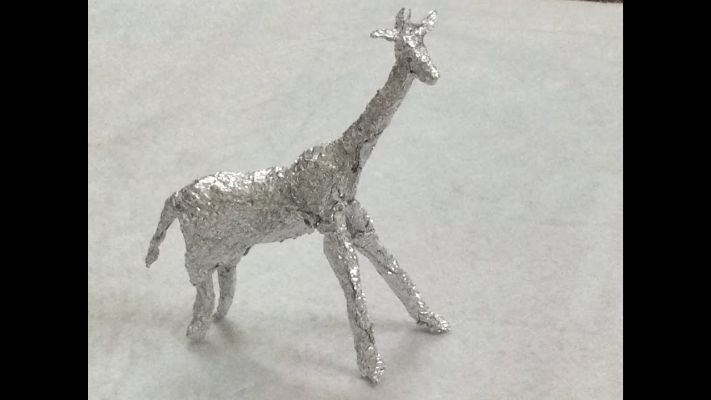
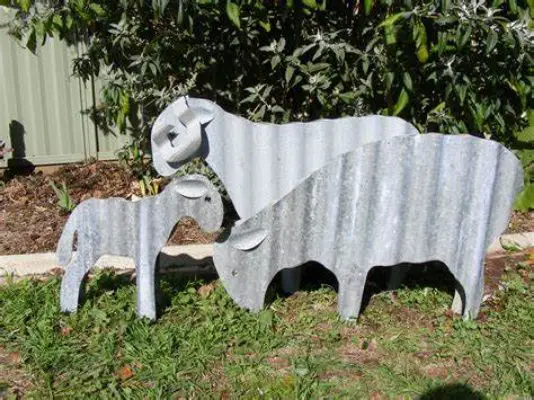
Tin Foil Animals
Sculpt tin foil into animal shapes, allowing for playful and imaginative creations.
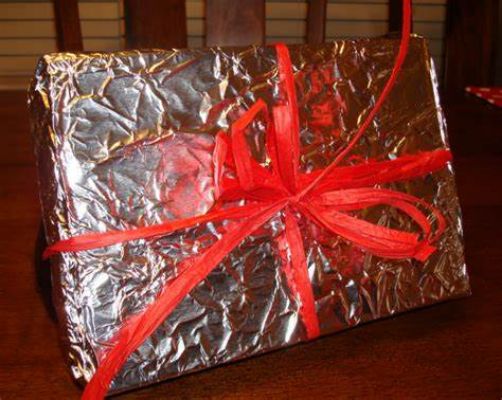
Tin Foil Gift Wrapping
Wrap presents in tin foil for a unique and eye-catching alternative to traditional wrapping paper.
Which Side of Tin Foil to Use? – Unveiling the Mystery
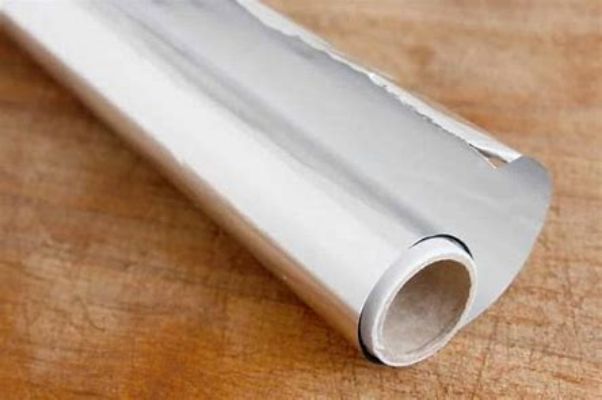
You might have wondered which side to use when using tin foil, as one side appears shinier than the other. Let’s explore this topic further:
The Two Sides of Tin Foil:
- Shiny Side: One side of tin foil has a bright and reflective surface, often called the shiny side.
- Dull Side: The other side is slightly matte or dull.
Heat Reflection:
- Myth: There is a common belief that the shiny side reflects heat better, making it ideal for wrapping food during cooking.
- Reality: The difference in heat reflection between the two sides is minimal and generally insignificant.
Manufacturing Process:
- How is Tin Foil Made? : Tin foil is created by rolling thin aluminum sheets, which are then processed and pressed.
- Rolling Process: During the rolling process, the foil passes through polished rollers that give it a smooth and shiny appearance on one side, while the other side contacts the rollers and retains a slightly duller finish.
Utility and Usage:
- No Distinct Functional Difference: In most everyday applications, there is no practical distinction between the two sides of tin foil.
- Versatility: Both sides of the foil can be used interchangeably for wrapping, covering, or cooking purposes without significant differences in performance.
Personal Preference:
- Some individuals prefer to use the shiny side of the foil for presentation purposes, as it offers a more visually appealing finish.
- Others may have personal habits or family traditions that dictate their choice of side.
20 Aluminum Foil Projects Ideas For Preschool To High School
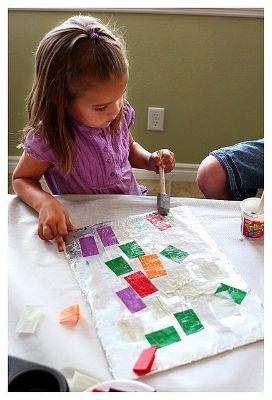
Preschool Projects
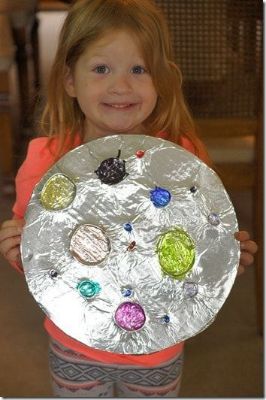
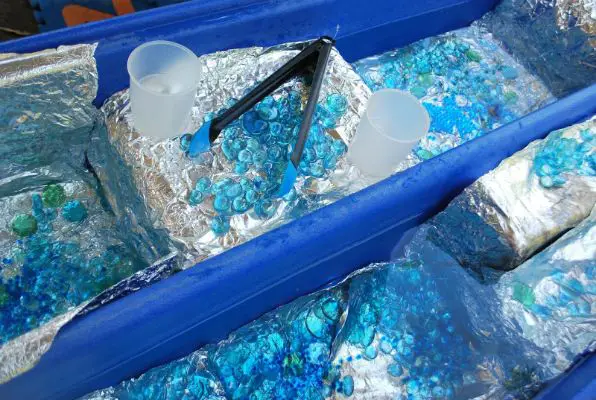
Foil Sensory Play Mat
Create a textured sensory mat by adhering crinkled aluminum foil to a cardboard base.
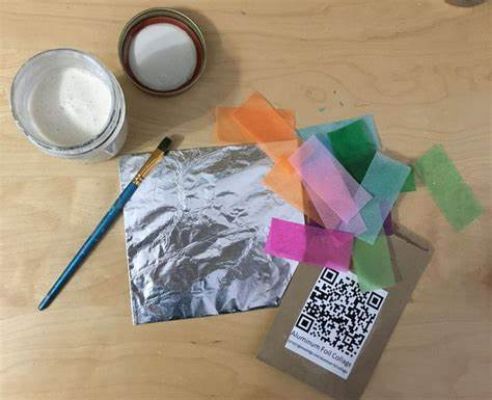
Foil Collage Art
Encourage creativity by providing children with foil pieces to cut, crumple, and glue onto paper to make unique collages.
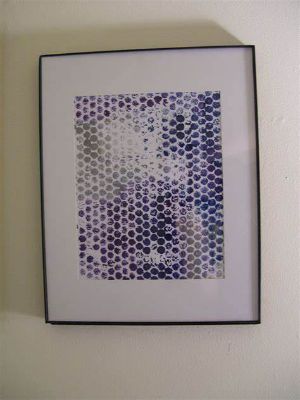
Foil Bubble Wrap Prints
Dip bubble wrap in paint and press it onto aluminum foil to create interesting textured prints.
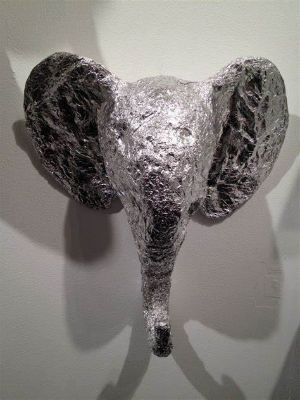
Foil Sculpture Exploration
Let children shape and mold aluminum foil into their sculptures.
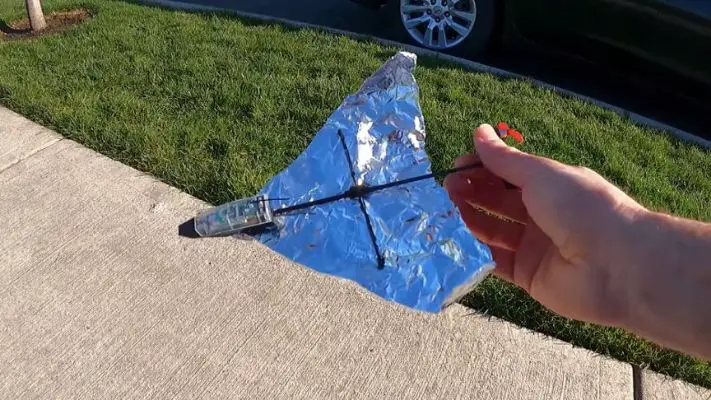
Foil Paper Airplanes
Fold paper airplanes and cover them with foil to add a shiny and reflective touch.
Elementary School Projects

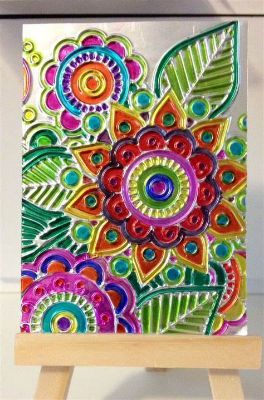
Foil Embossed Book Covers
Use foil and dull objects to create embossed designs on plain book covers.
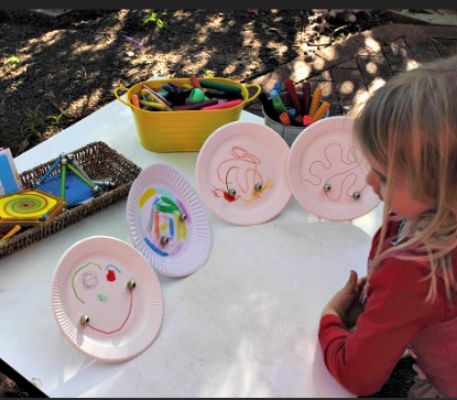
Foil Magnetic Maze
Design a magnetic maze on a piece of cardboard and cover it with foil for a fun and interactive game.
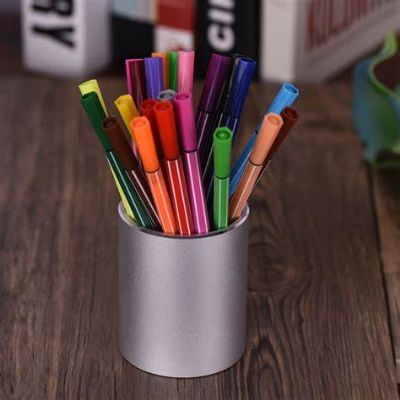
Foil Pencil Holders
Roll and shape foil to create decorative pencil holders for desks or as gifts.
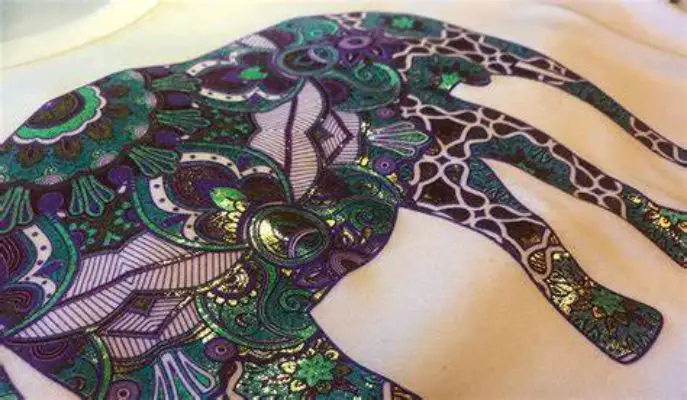
Foil-Printed T-Shirts
Use fabric paint and stencils to create unique designs on plain t-shirts by pressing foil onto the fabric.
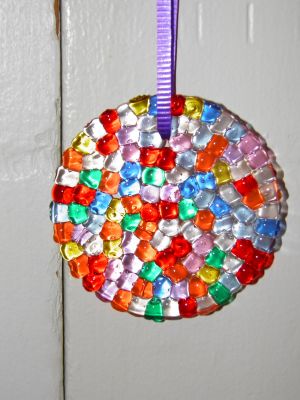
Foil Sun Catchers
Cut foil into different shapes, punch holes at the top and hang them near windows to catch and reflect sunlight.
Middle School Projects
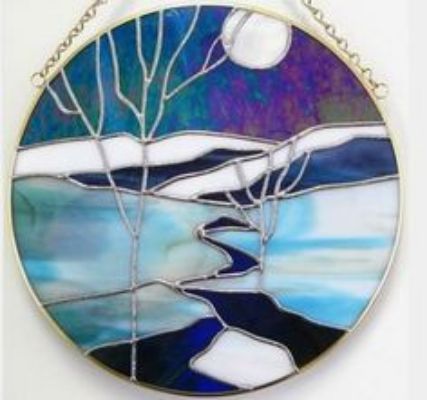
Foil Stained Glass Art
Create vibrant stained glass art by coloring foil sections and attaching them to a black poster board.
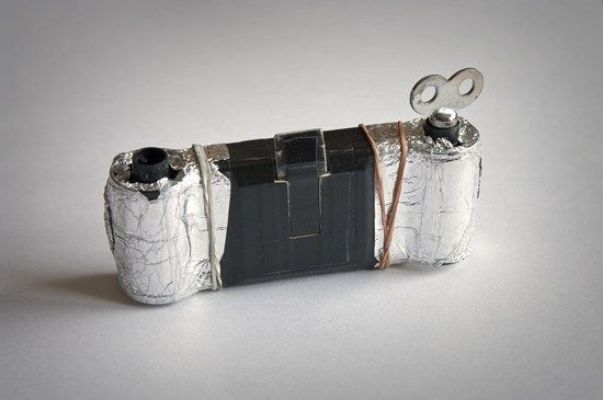
Foil Pinhole Cameras
Construct pinhole cameras using cardboard, foil, and photo-sensitive paper to capture unique images.
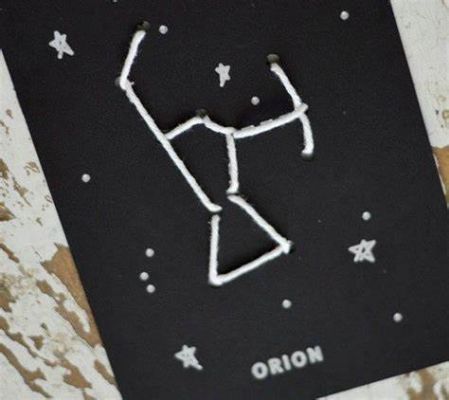
Foil Constellation Art
Use black construction paper as a background, poke holes through it, and then place foil behind the holes to represent constellations.
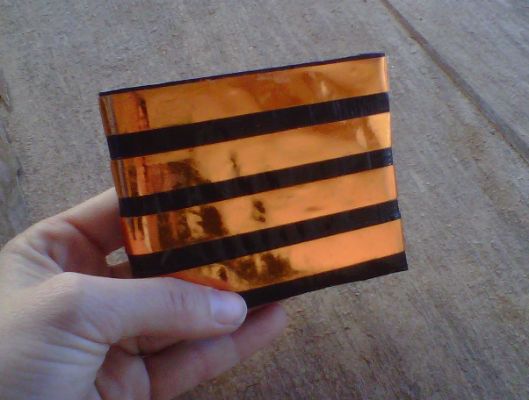
Foil Duct Tape Wallets
Make wallets by covering cardboard with decorative duct tape and adding foil accents for a touch of shine.
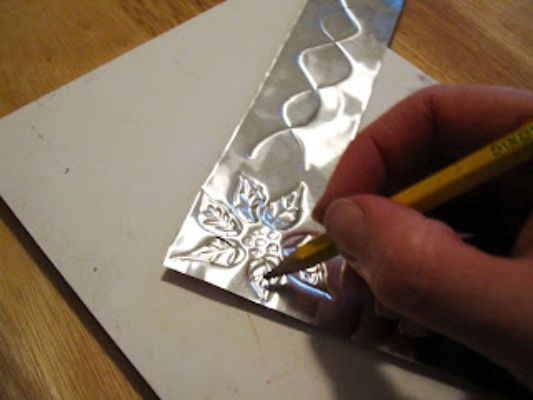
Foil Embellished Photo Frames
Decorate plain photo frames with foil accents and designs to showcase favorite pictures.
High School Projects
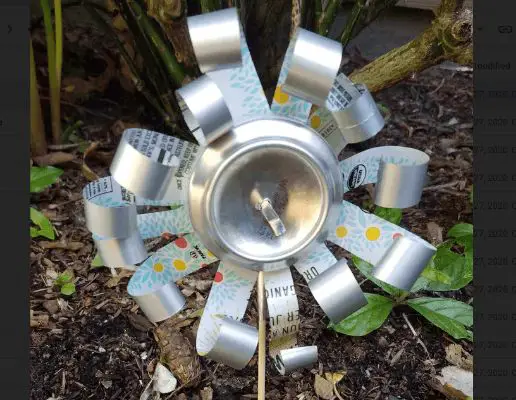
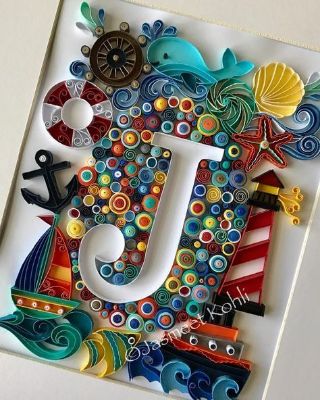
Foil Quilling Art
Create intricate designs using quilling techniques with thin strips of colored foil.
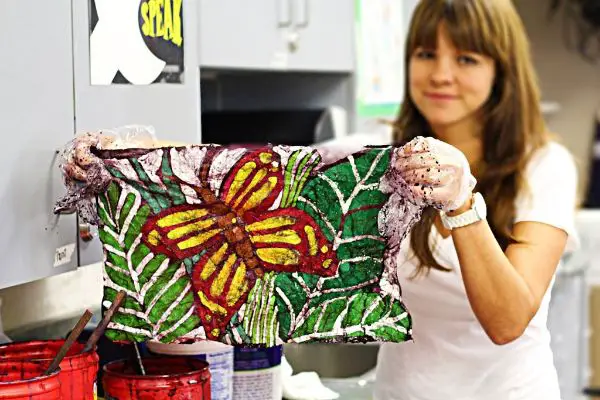
Foil Batik Textiles
Experiment with the ancient batik art form using melted wax and foil to create stunning fabric designs.
Foil Abstract Paintings
Combine acrylic paints with crumpled foil to add texture and metallic effects to abstract artworks.

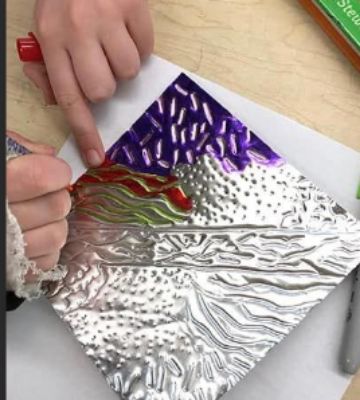
Foil Metal Etchings
Explore the art of etching by applying acid or etching solution onto foil-covered metal plates to create detailed designs.
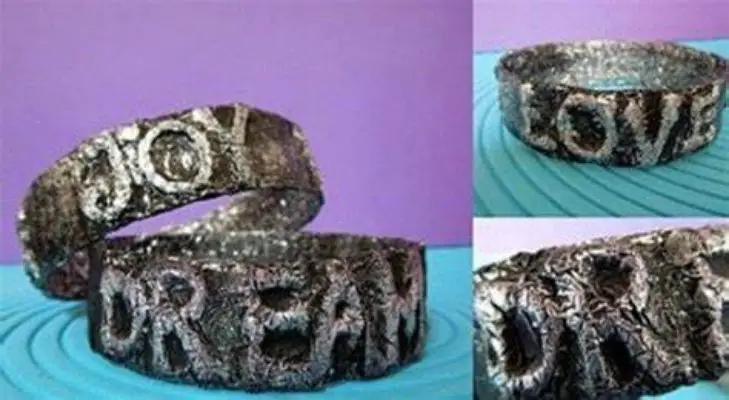
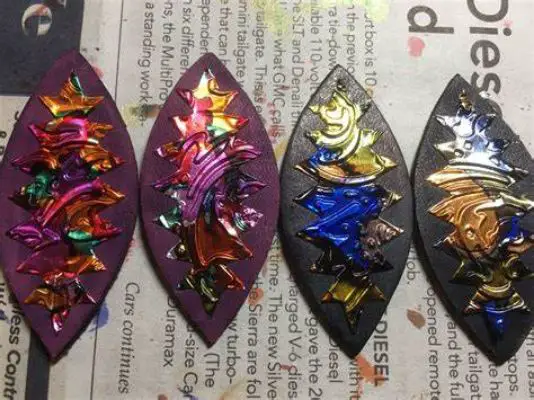
Foil Metal Jewelry
Design and craft unique jewelry pieces by incorporating folded or shaped foil with other metal components for a mixed-media effect.
| You can even engage your child in other art activities as well such as Postage Stamp Craft, puffy paints, and Leaf Painting |
Final Words
Aluminum foil offers endless possibilities for artistic expression and creative projects from preschool to high school. Whether it’s sensory play, sculpture, printmaking, or advanced techniques like etching and batik, working with foil sparks imagination and encourages experimentation. Let the shimmering brilliance of aluminum foil inspire your artistic endeavors at any age.
