Welcome to the captivating world of oil pastel art, where vibrant colors and smooth textures combine to create breathtaking works of art. Oil pastels are a unique artistic medium of pigment mixed with a non-drying oil and wax binder. With their rich, intense hues and creamy consistency, oil pastels offer artists a wide range of creative possibilities. In this introduction, we will explore the defining characteristics of oil pastels, from their vibrant pigmentation to their ability to blend and layer with ease. We will also delve into the historical background of oil pastels, highlighting notable artists who have embraced this medium. Finally, we will discuss oil pastels’ growing popularity and versatility in today’s art world. Join us as we embark on a colorful journey through the fascinating world of oil pastel art.
Materials Required For Oil Pastel Art For Beginners
| Material | Uses | Alternative Options |
| Oil Pastels | Primary medium for creating artwork | Soft pastels, oil sticks |
| Drawing Pad or Paper | Surface for drawing and painting | Mixed media paper, pastel paper |
| Pencil | Sketching outlines and guidelines | Graphite sticks, charcoal pencils |
| Blending Tool | Blending and smudging colors | Tortillon, cotton swabs, fingers |
| Palette Knife | Mixing and applying thick layers | Butter knife, old credit card |
| Fixative | Preserving finished artwork | Workable fixative spray |
| Cloth or Tissue | Cleaning and smudging colors | Paper towel, soft cloth |
| Easel | Supporting and displaying your artwork | Tabletop easel, DIY cardboard easel |
| Brushes | Applying mediums or removing excess | Hog bristle brushes, foam brushes |
| Palette | Mixing and blending colors | Disposable palette paper, palette pad |
Oil Pastels For Beginners Step-By-Step Guide
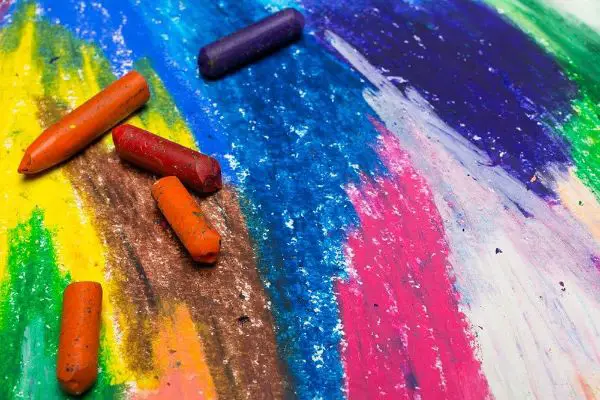
The journey of learning oil pastels is as exciting as the final artwork. Embrace this medium’s versatility and expressive qualities and let your creativity shine through your vibrant oil pastel creations.
Step 1: Gather Your Materials
Collect the necessary supplies for your oil pastel adventure. You’ll need a set of oil pastels, a drawing pad or paper specifically designed for oil pastels, a pencil for sketching, a blending tool (such as a tortillon or cotton swab), and a cloth or tissue for cleaning.
Step 2: Choose Your Subject
Decide what you want to create with your oil pastels. It could be a simple still life, a landscape, or a portrait. Start with something manageable and interesting to keep your motivation high.
Step 3: Sketch Your Composition
Using a pencil, lightly sketch your subject’s outlines and basic shapes on the drawing pad. This will serve as a guide for your oil pastel work.
Step 4: Layer the Colors
Begin by applying the base colors of your subject using light pressure. Layer the colors gradually, building up the intensity and depth. Experiment with different color combinations to achieve the desired effect.
Step 5: Blend and Mix Colors
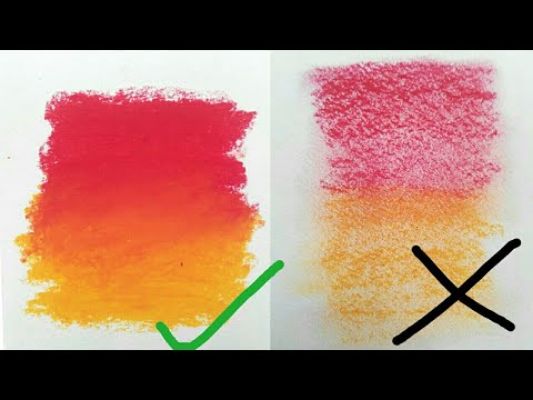
Use a blending tool or your fingers to blend and mix the colors on the paper. This technique helps to create smooth transitions and gradients. Feel free to experiment and discover new color combinations along the way.
Step 6: Add Details and Highlights
Once you’re satisfied with the overall color composition, add details and highlights to your artwork. Use lighter colors or even white to create highlights and bring out the finer elements of your subject.
Step 7: Texture and Effects
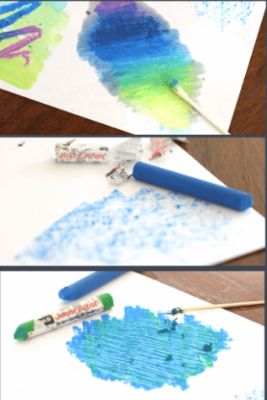
Try using various techniques to add texture and interest to your artwork. You can use the edge of the pastel to create lines or use a rougher surface to achieve a textured effect. Explore different techniques to make your artwork visually appealing.
Step 8: Fixative (Optional)
Consider using a fixative spray specifically designed for oil pastels to protect your finished artwork. Follow the instructions carefully and apply it in a well-ventilated area.
Step 9: Display and Share
Once your artwork is complete and dry, proudly display it in a frame or share it with others. Consider taking a high-quality photograph or scanning it to share digitally on social media or in online art communities.
Step 10: Practice and Explore
The key to mastering oil pastels is practice and experimentation. Keep exploring new subjects, techniques, and color combinations. Learn from other artists, take classes or workshops, and most importantly, enjoy creating with oil pastels.
Techniques for Creating Stunning Oil Pastel Artwork Ideas
Here are explanations of each technique for creating stunning oil pastel artworks, along with ten art ideas for each section:
10 Layering and Blending Oil Pastel Colors
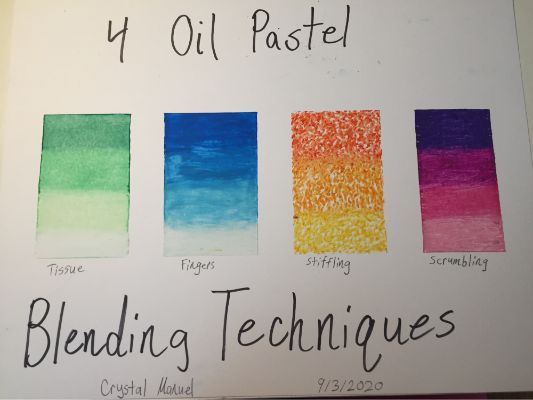
Layering and blending colors with oil pastels allows you to create depth, richness, and smooth transitions in your artwork. Here are ten art ideas to explore this technique:
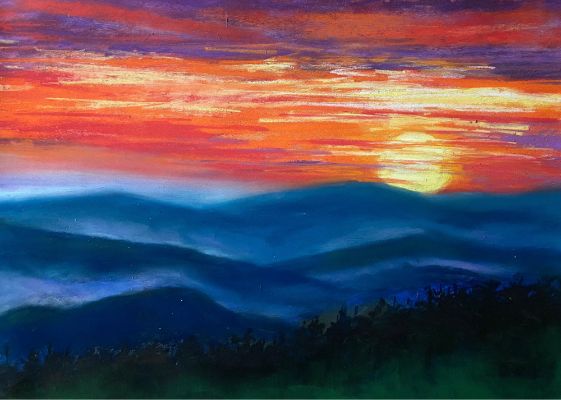
Create a vibrant sunset sky with layers of warm oranges, yellows, and purples.
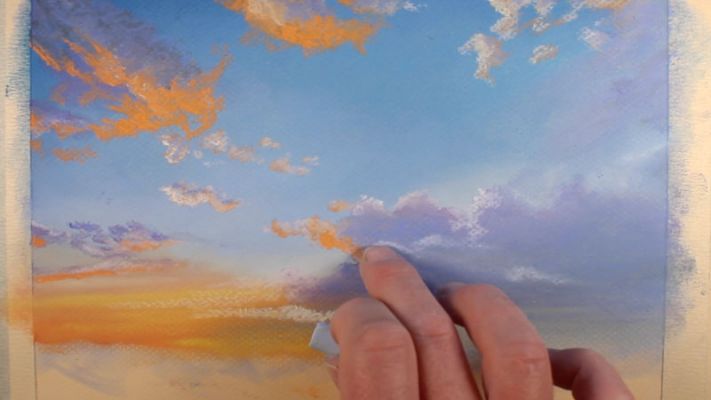
Paint a floral still life, layering different shades of petals and blending them for a soft, realistic effect.
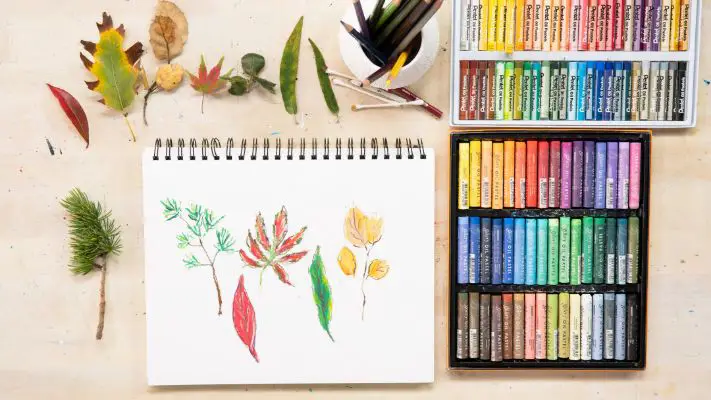
Experiment with layering complementary colors to create dynamic and visually striking compositions.
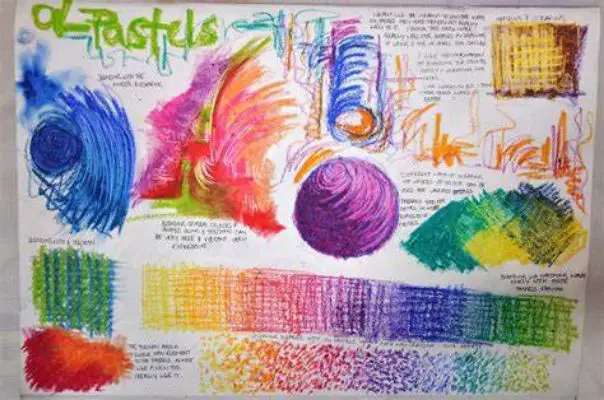
Paint a landscape, layering shades of green for foliage and blending them to achieve depth.
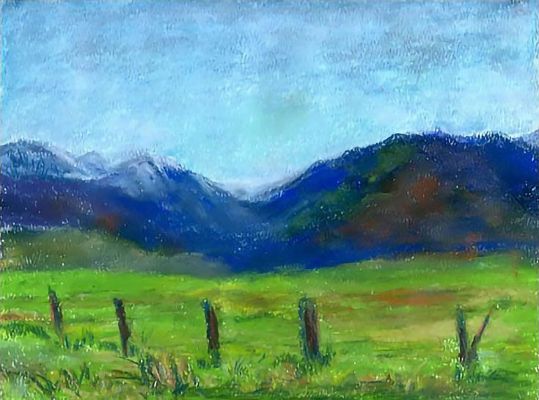
Explore layering and blending techniques to depict the texture and form of flowing water in a river or waterfall.
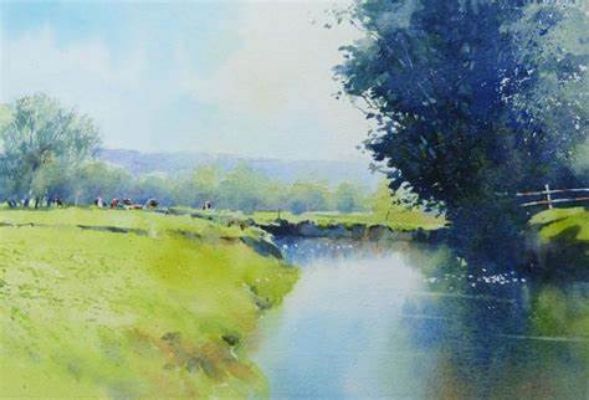
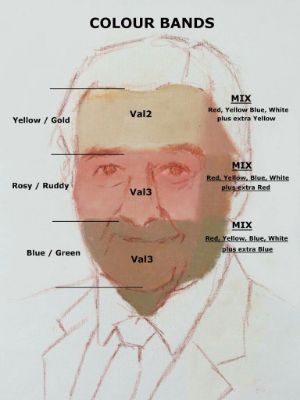
Create a portrait, layering and blending skin tones to capture realistic facial features and a sense of depth.
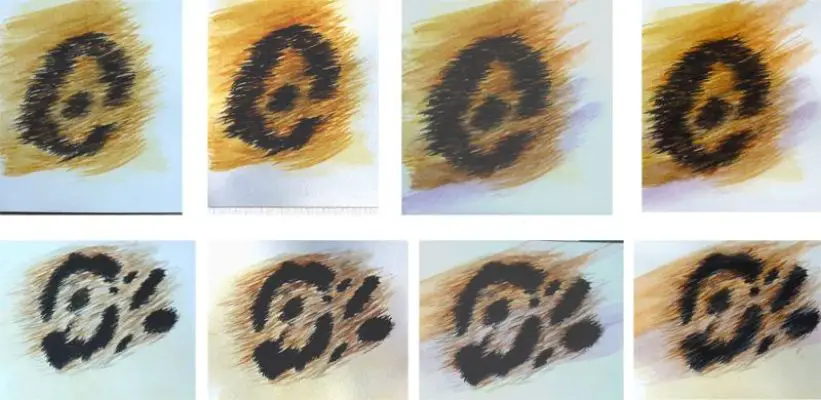
Use layering and blending to achieve a realistic fur texture in an animal artwork.
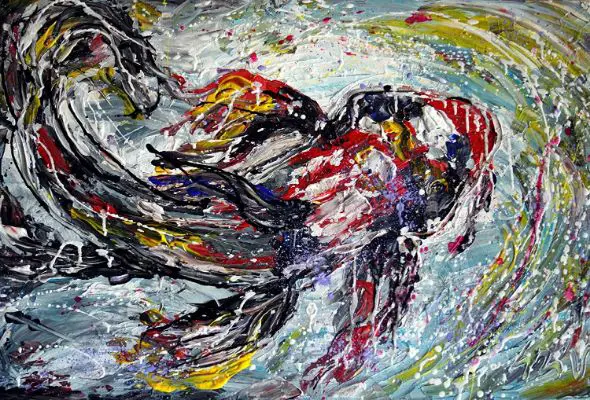
Experiment with layering and blending vibrant colors to create an abstract expressionist piece.
Paint a still life of fruits or vegetables, layering and blending various tones to capture realistic textures.
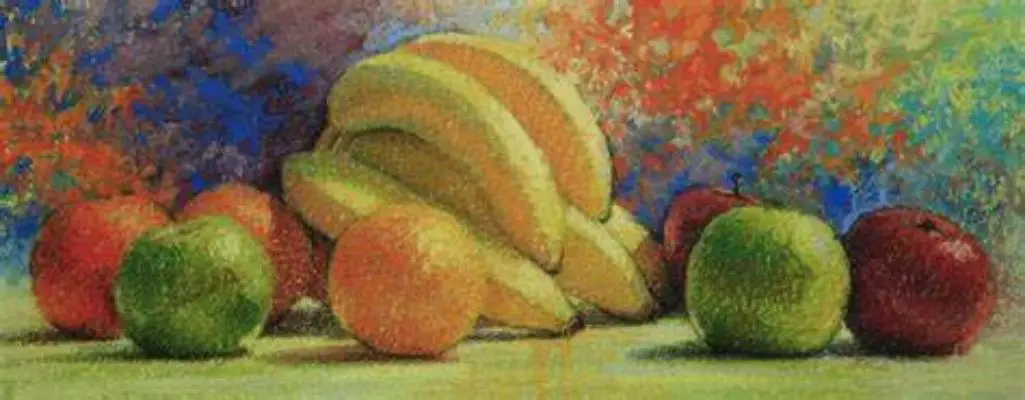
Create a seascape, layering different shades of blue and blending them to depict the movement of waves.

10 Creating Texture and Dimension Of Oil Pastels
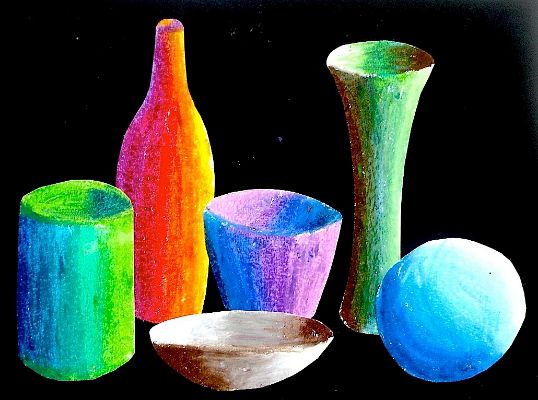
Adding texture and dimension to your oil pastel artworks can bring them to life and create visual interest. Here are ten art ideas to explore this technique:
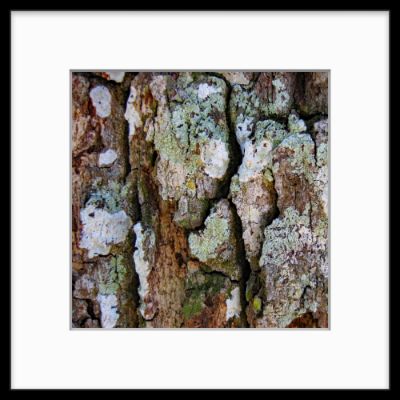
Create a textured landscape by adding oil pastel strokes representing grass, rocks, or tree bark.
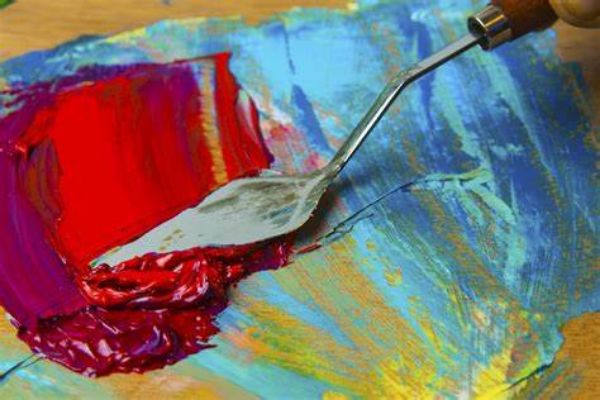
You use a palette knife to create thick impasto-like textures in specific areas of your artwork.
Explore using different tools or objects to create texture, such as scratching or etching into the pastel layer.
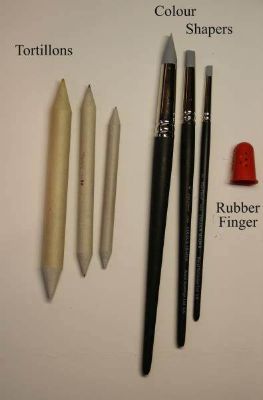
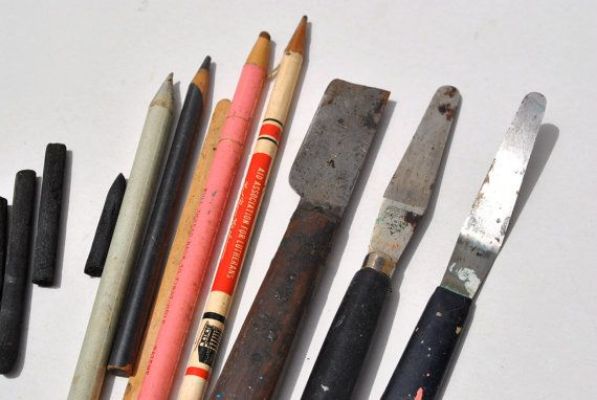
Create a still-life artwork with textured surfaces, such as a rough wooden table or a smooth glass vase.
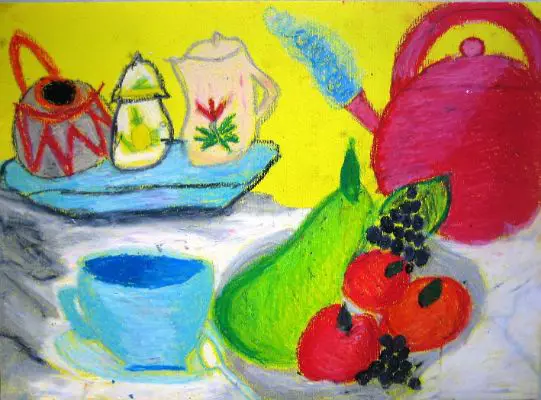
Paint a portrait, adding texture to the hair, skin, or clothing to create a realistic and tactile effect.
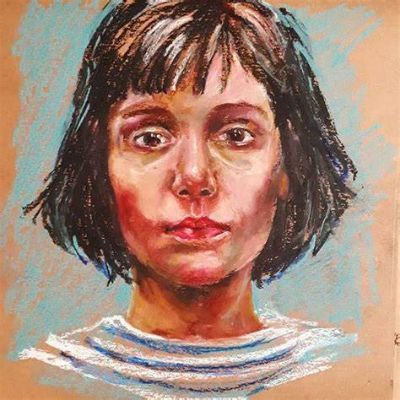
Depict a cityscape with textured buildings and streets using various pastel application techniques.
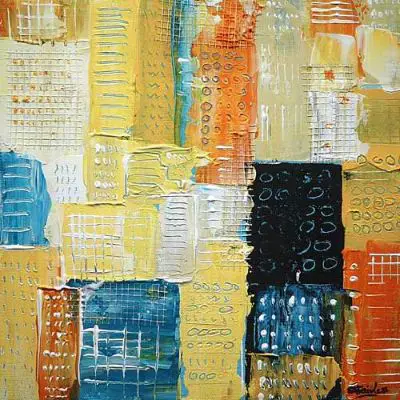
Experiment with layering and blending pastels to create a textured background for a focal point or subject.
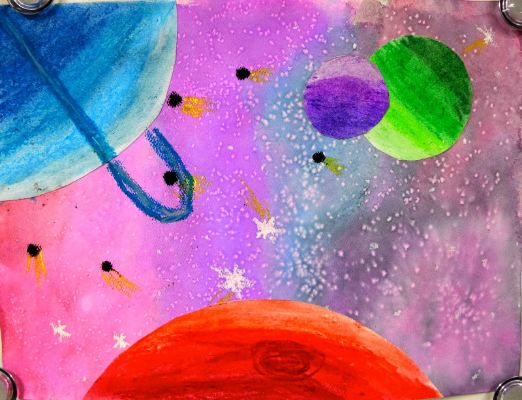
By varying the pressure and stroke direction, create a landscape with textured foliage, such as leaves or grass.
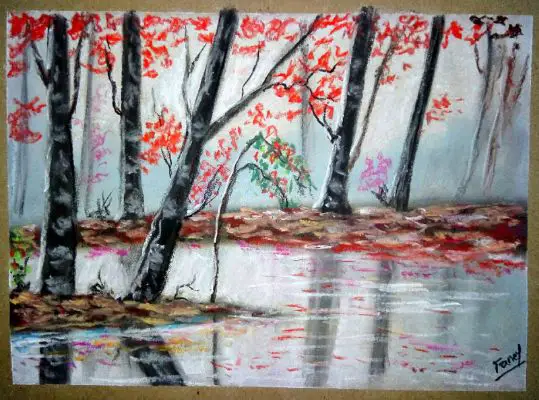
Explore incorporating mixed media elements, such as collage or texture paste, to enhance the dimension in your artwork.
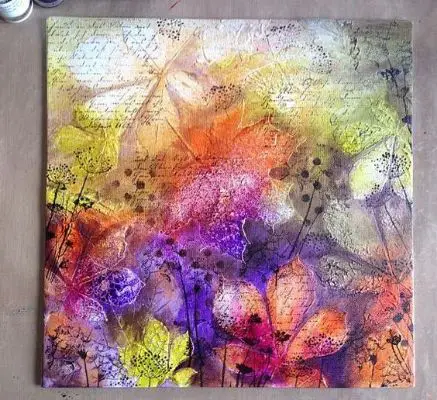
Use pastels to create a still life of objects with different textures, like smooth glass, a fuzzy fabric, or a rough piece of fruit.
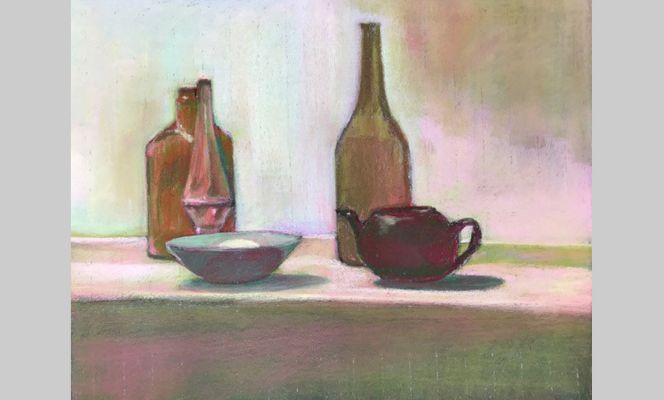
10 Mixing and Manipulating Oil Pastels
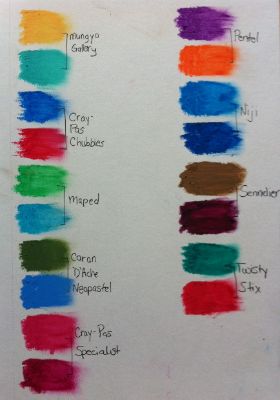
Mixing and manipulating oil pastels allow you to create unique colors, gradients, and effects. Here are ten art ideas to explore this technique:
- Mix two or more colors directly on the paper to create new hues and subtle transitions.
- Create a sunset or sunrise landscape, blending warm and cool colors to capture the vibrant sky.
- Explore creating a color gradient or ombre effect by blending multiple shades of a single color.
- Paint a portrait, mixing and manipulating pastels to capture the complex skin tones and subtle shadows.
- Experiment with creating a marbled effect by layering and blending contrasting or complementary colors.
- Create a still-life artwork with a reflective surface, such as a metallic object, using blending to capture its sheen.
- Mix and manipulate pastels to create a textured background or abstract pattern as a foundation for your artwork.
- Create a landscape, mixing and manipulating pastels to capture the changing seasons and atmospheric effects.
- Experiment with creating a monochromatic artwork, using different shades and tones of a single color for depth and variation.
- Explore using the edge of the pastels to create bold lines and defined shapes within your artwork.
10 Experimenting with Oil Pastel Art with Different Application Methods
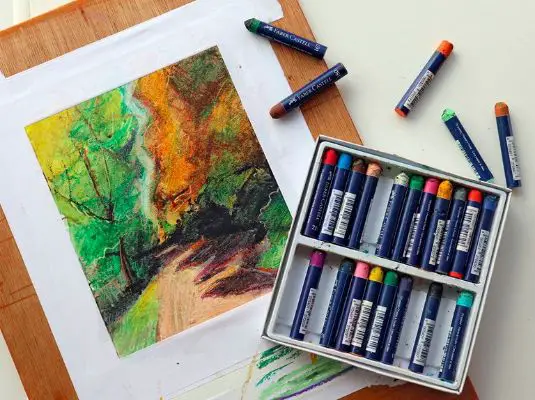
Exploring different application methods with oil pastels allows you to achieve diverse effects and styles. Here are ten art ideas to explore this technique:
Create a pointillism-style artwork by applying small dots or strokes of pastels to build up a larger image.

Experiment with the sgraffito technique, scratching or etching into a layer of pastel to reveal underlying colors or create texture.
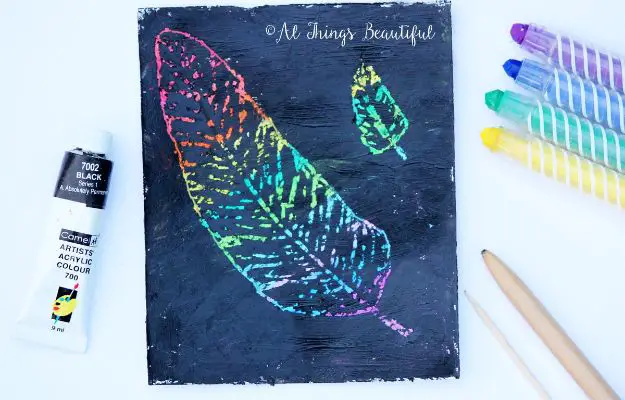
Use a bristle brush or sponge to apply pastels to create a soft, blended background or atmospheric effects.
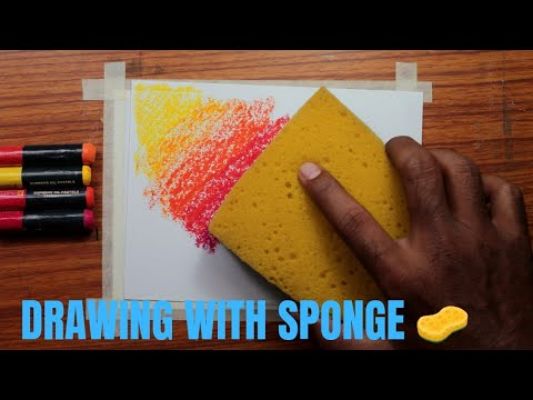
Create mixed media artwork by combining oil pastels with other mediums, such as acrylic paint or collage elements.
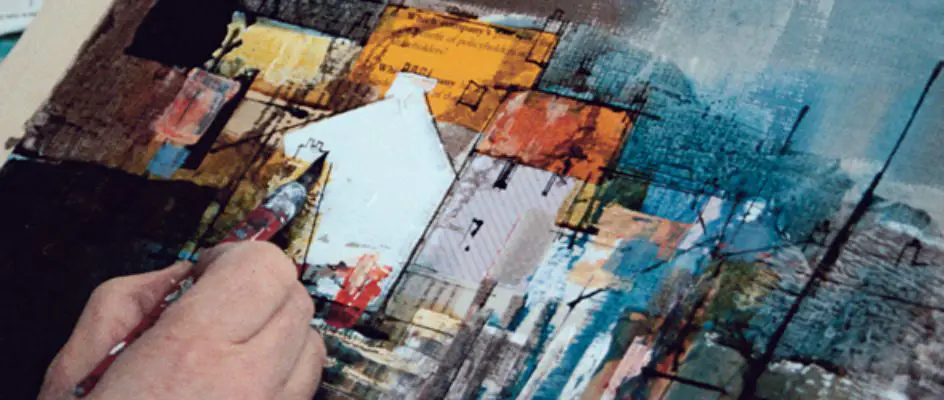
Try using a stencil or mask to create precise shapes or patterns within your artwork.
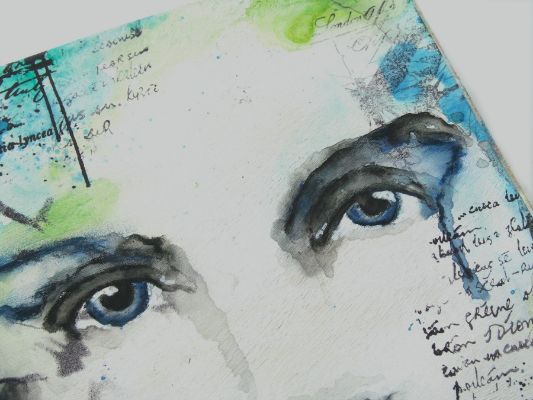
Experiment using your fingers or a cloth to smudge and blend pastels for a softer and more painterly effect.
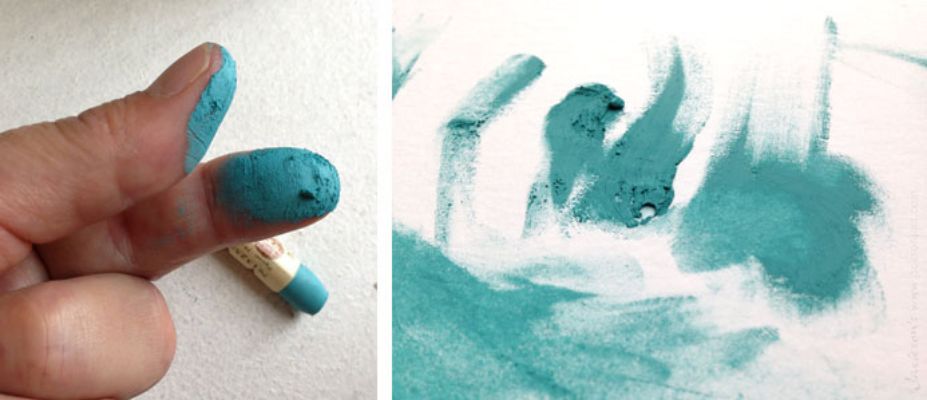
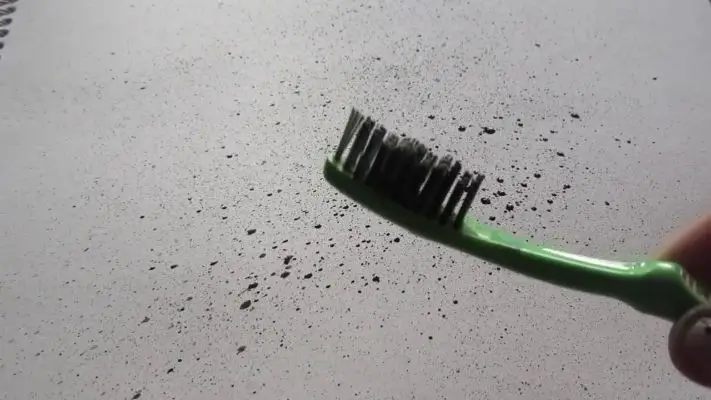
Using a toothbrush or splatter technique creates speckled or textured backgrounds or highlights.
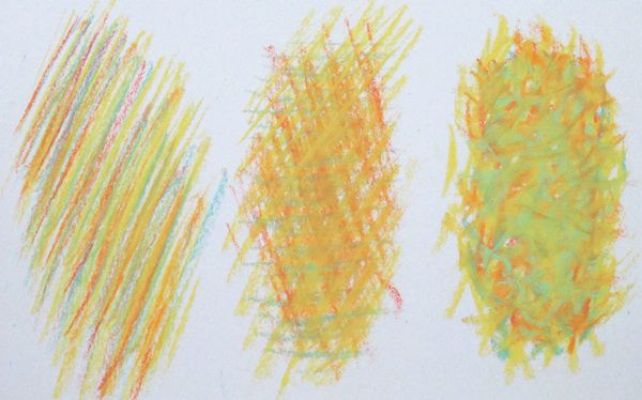
Try applying pastels in a cross-hatch or crisscross pattern for a structured and defined look.
Explore layering and scraping off pastels using a palette knife to create a textured and expressive surface.
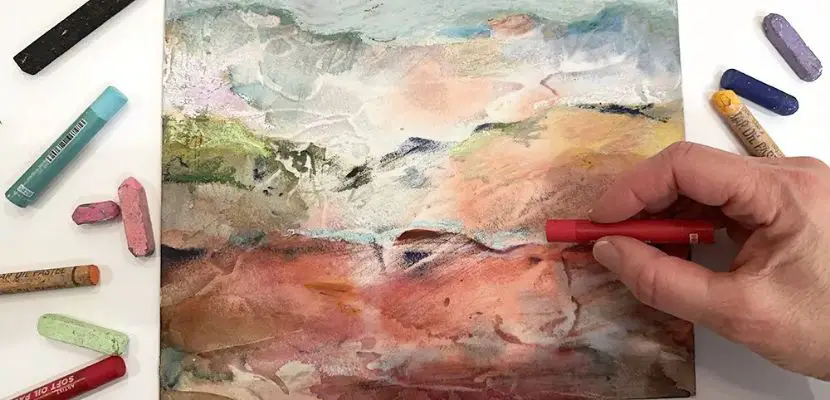
Use a resist technique, applying oil pastels over a watercolor wash or wax resist creating interesting visual contrasts.

10 Oil Pastel Art For Kids

Here are 10 fun and creative oil pastel art ideas for kids:
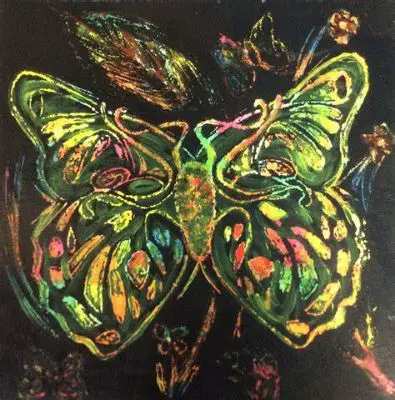
Colorful Butterflies
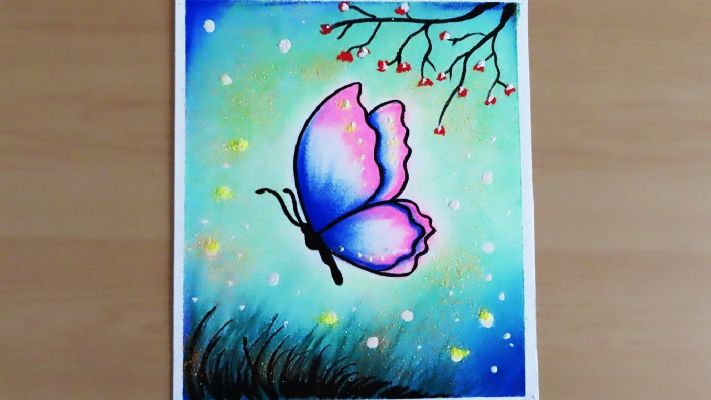
Let kids create vibrant and colorful butterflies by drawing the butterfly shapes with black oil pastels and filling them in with various bright colors.
Sunsets/Sunrises
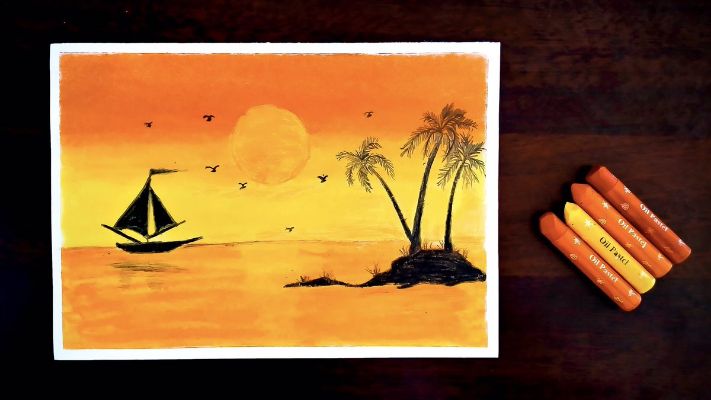
Have kids experiment with blending warm colors like oranges, yellows, and pinks to create beautiful sunset or sunrise landscapes.
Silhouette Art
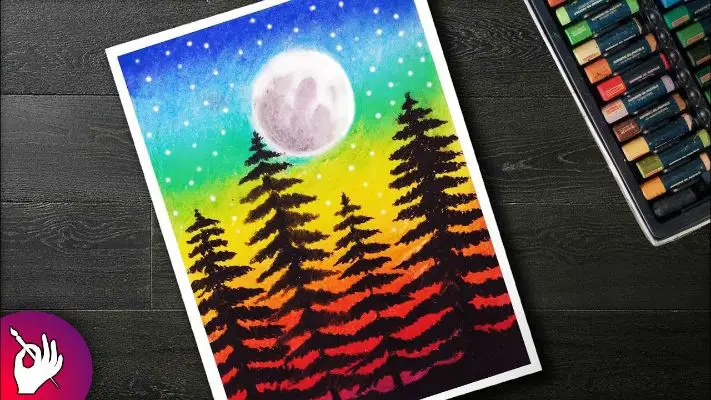
Encourage kids to create silhouette art by outlining an object or figure with black oil pastels and then filling the background with different colors.
Ocean Scenes
Let kids explore the ocean’s wonders by drawing underwater scenes with oil pastels. They can use shades of blue, green, and purple to depict fish, coral reefs, and other marine life.

Abstract Art
Encourage kids to express creativity by creating abstract artworks using oil pastels. They can experiment with different shapes, lines, and colors to create unique and imaginative compositions.

Flower Bouquets
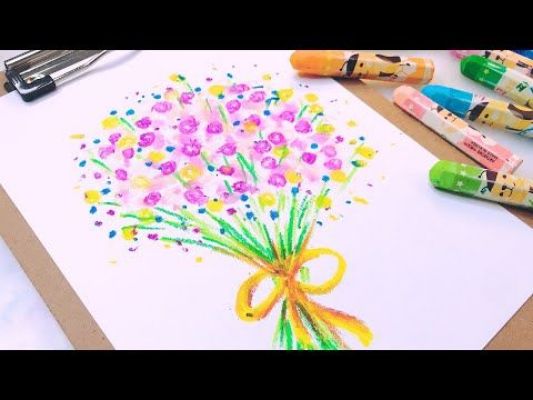
Have kids draw and color vibrant flower bouquets using oil pastels. They can mix and blend different colors to create various types of flowers.
Animal Portraits
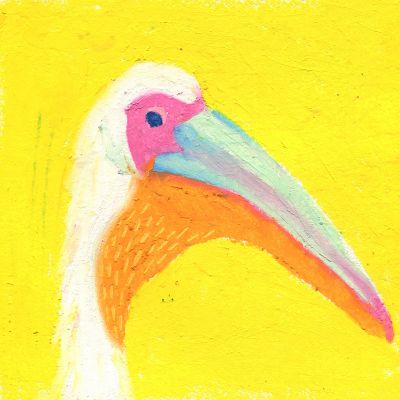
Encourage kids to draw their favorite animals using oil pastels. They can focus on capturing the animal’s features and textures using different shades and blending techniques.
Seasonal Art
Let kids create art inspired by the seasons. They can draw and color landscapes that reflect the colors and elements of spring, summer, fall, or winter.

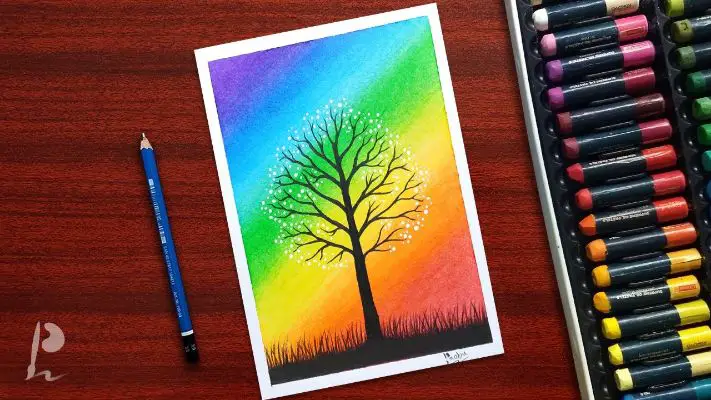
Rainbow Landscapes
Have kids create colorful landscapes by drawing landscapes with black oil pastels and then using vibrant colors to fill in the different areas of the scenery.
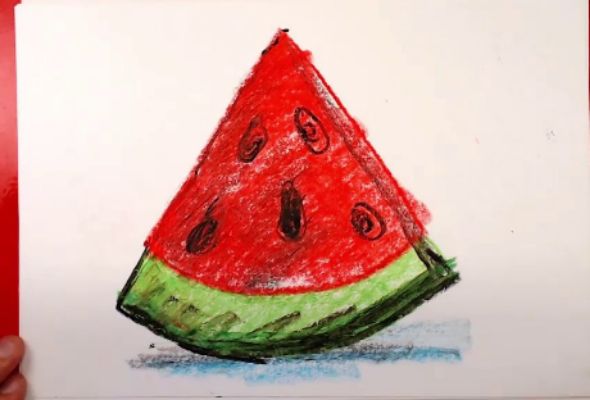
Food Art
Encourage kids to draw and color their favorite foods using oil pastels. They can use different shades and blending techniques to make the food look delicious and realistic.
How To Use Oil Pastels? – Step-By-Step Guide
Here’s a step-by-step guide on how to use oil pastels:
Step 1: Prepare Your Workspace
Set up a clean and well-lit workspace with a smooth surface, such as a drawing pad or canvas, where you can comfortably work with your oil pastels.
Step 2: Gather Your Materials
Collect your oil pastels, a drawing pad or canvas, a blending tool (such as a tortillon or cotton swab), a cloth or tissue for cleaning, and any additional materials you may want to use, like a pencil for sketching or a palette knife for mixing.
Step 3: Start with a Sketch (Optional)
If desired, lightly sketch your artwork’s outline or basic shapes using a pencil. This step helps provide a guideline for your composition.
Step 4: Choose Your Colors
Select the oil pastel colors you want to use in your artwork. Consider the mood, subject matter, and overall color scheme you have in mind.
Step 5: Apply the Base Colors
Begin by applying the base colors to your artwork. Hold the oil pastel like a pencil and use broad strokes or small marks to fill the areas with color. Layer and blend the colors as desired to achieve the desired effect.
Step 6: Layer and Blend Colors
To create depth and richness in your artwork, layer different colors on top of each other. Use lighter colors for highlights and darker colors for shadows. Blend the colors using a blending tool, fingers, or a cloth to achieve smooth transitions and gradients.
Step 7: Add Details and Texture
Once the base layer is established, use the tip or edge of the oil pastels to add details, texture, and highlights. Experiment with different mark-making techniques like cross-hatching, stippling, or scumbling to create interesting effects and textures.
Step 8: Explore Mixing and Manipulating
Mix and manipulate the oil pastels directly on the surface or a palette using a palette knife. This technique allows you to create new colors, gradients, and interesting effects.
Step 9: Clean and Blend
Regularly clean your blending tool, fingers, or cloth to avoid muddying the colors. Blend and smudge the pastels to achieve the desired effects and smoothness.
Step 10: Fix and Protect (Optional)
Apply a fixative spray to preserve and protect your finished artwork if desired. Follow the instructions on the fixative product carefully.
Step 11
- Enjoy and Display Once your artwork is complete and dry.
- Take a step back.
- Admire your work.
- Consider displaying it in a frame or sharing it with others.
15 Oil Pastel Drawing And Paintings
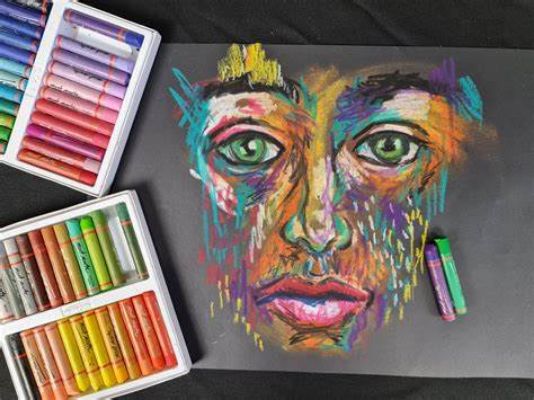
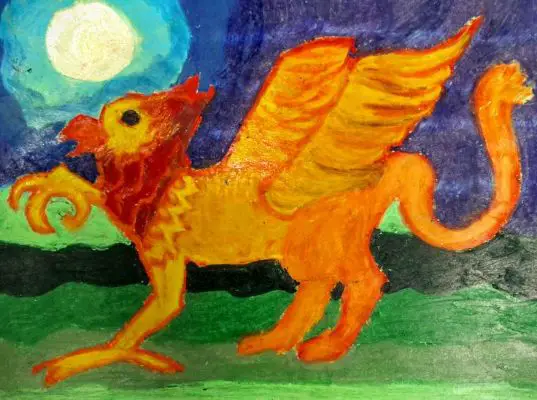
Fantasy Creatures
They can combine different animal features, add wings, horns, or scales, and use vibrant colors to bring their creatures to life.
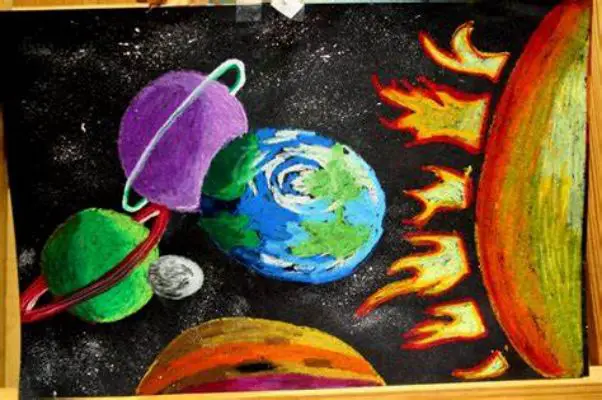
Outer Space Adventure
Draw an intergalactic scene using oil pastels with planets, rockets, and astronauts.
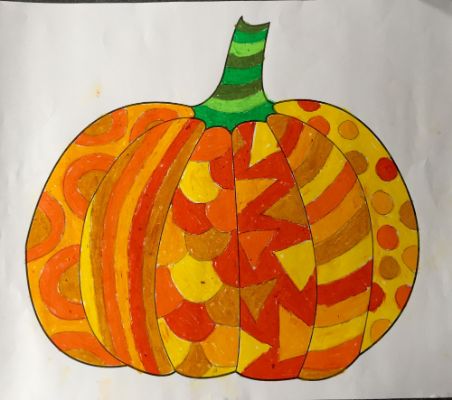
Doodle Art
They can fill the paper with intricate patterns, shapes, and designs using a variety of colors and textures.
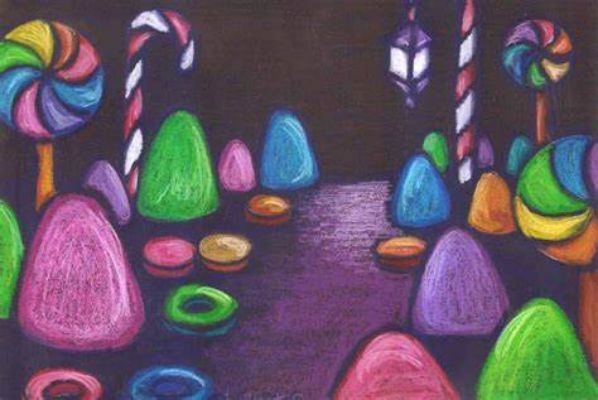
Land of Sweets
Kids can draw a mouthwatering landscape filled with their favorite sweet treats and experiment with different blending techniques to make them look tempting.
Jungle Safari
Using oil pastels, draw a lush jungle scene with exotic animals, trees, and foliage. Kids can explore shades of green and experiment with layering to create depth and texture in their artwork.
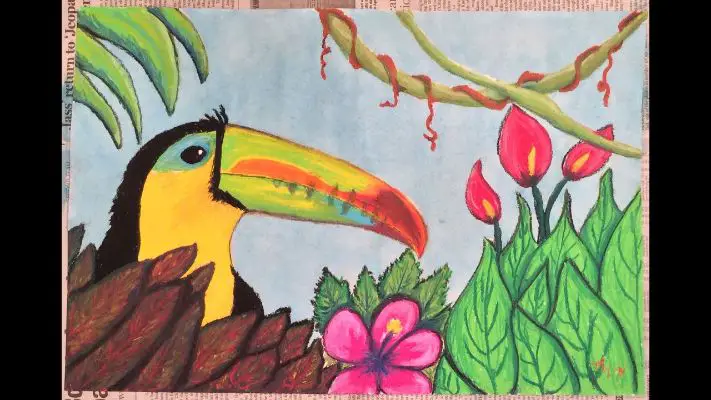
Pop Art Portraits
Take inspiration from pop art and have kids create bold and colorful portraits using oil pastels.
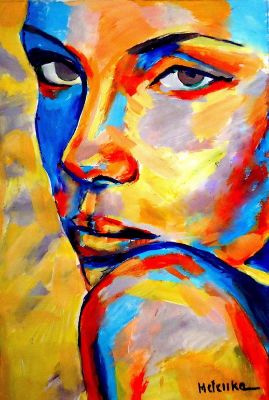
Enchanted Forest
Imagine a magical forest filled with fairies, unicorns, and talking trees. Kids can use oil pastels to bring this enchanting world to life by creating glowing mushrooms, shimmering waterfalls, and whimsical creatures.
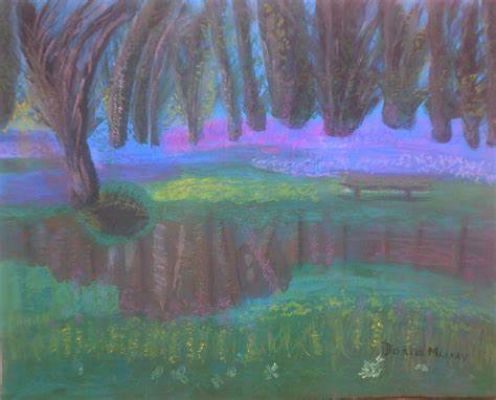
Abstract Nature
They can use oil pastels to create vibrant landscapes or elements such as swirling leaves, blooming flowers, or flowing rivers, focusing on shapes, colors, and textures rather than realistic representations.
Comic Strip
They can create characters, draw dynamic scenes, and add speech bubbles to narrate the story.
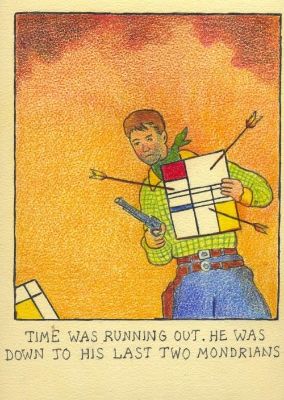
Carnival Fun
Capture the excitement of a carnival using oil pastels. Kids can draw colorful Ferris wheels, carousel horses, clowns, and other elements that represent the festive atmosphere of a carnival.
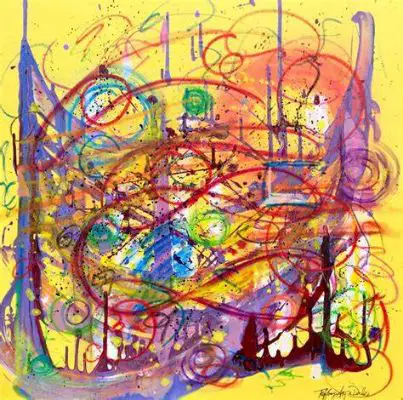
Sports Mania
Create an action-packed sports scene using oil pastels. Kids can draw their favorite sports, such as soccer, basketball, or gymnastics, depicting athletes in motion, cheering crowds, and animated backgrounds.
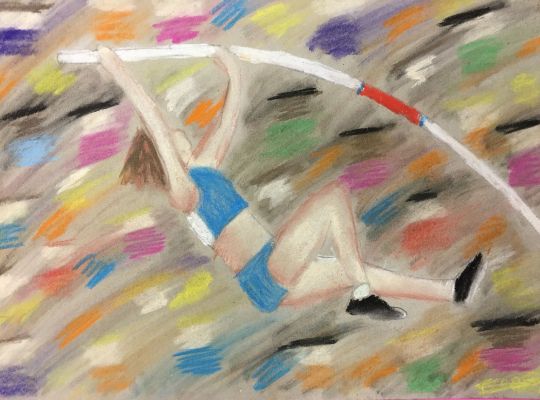
Ocean Adventure
Dive into an underwater world by drawing marine life with oil pastels. Kids can create vibrant coral reefs, playful dolphins, graceful sea turtles, and colorful fish.
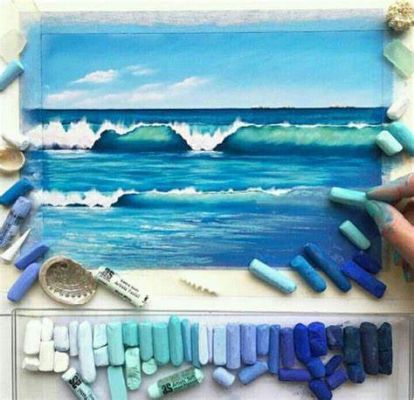
Music Melodies
Let kids express their love for music through oil pastels. They can create abstract representations of musical notes, instruments, and sound waves, using a variety of colors and shapes to evoke different emotions and rhythms.

Festive Celebrations
Use oil pastels to draw festive occasions like birthdays, holidays, or cultural celebrations.
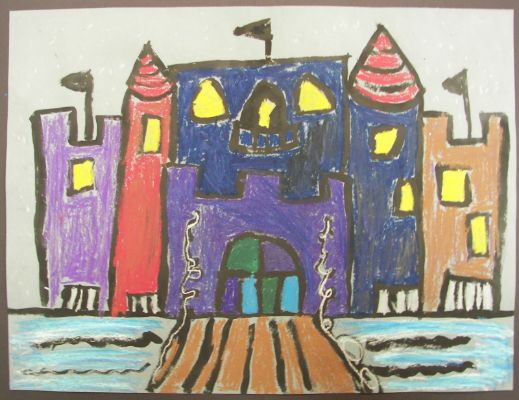
Fairytale Castles
Let imaginations soar by drawing magnificent fairytale castles using oil pastels. Kids can create intricate architectural details, draw towers, and decorate the castle with colorful flags and banners.
10 Oil Pastels And Acrylic Paint
Here are 10 creative ideas that combine oil pastels and acrylic paint:
Mixed Media Landscape
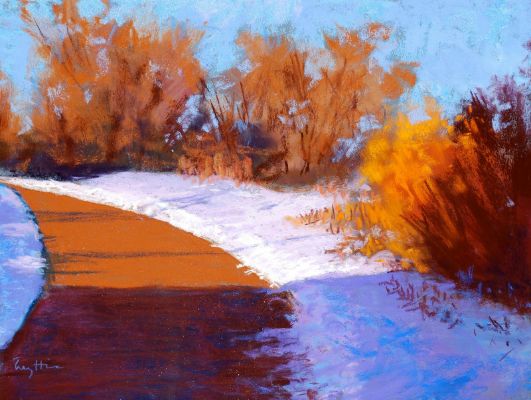
Create a landscape using acrylic paint as the base layer, and then use oil pastels to add details, textures, and highlights to enhance the scene.
Colorful Still Life
Set up a still life arrangement and use acrylic paint to establish the basic shapes and colors, then add depth and texture using oil pastels for a vibrant and expressive artwork.
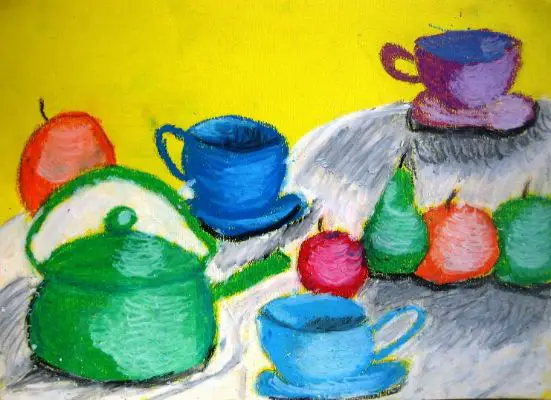
Abstract Expressionism
Begin by creating an abstract background with acrylic paint and then use oil pastels to add energetic lines, shapes, and pops of color to create a dynamic and visually captivating piece.
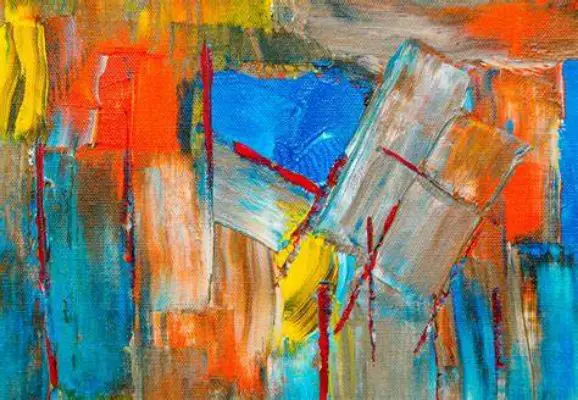
Portrait with Mixed Media
Start by painting a portrait in acrylics, then use oil pastels to add intricate details, enhance facial features, and add texture to bring the portrait to life.
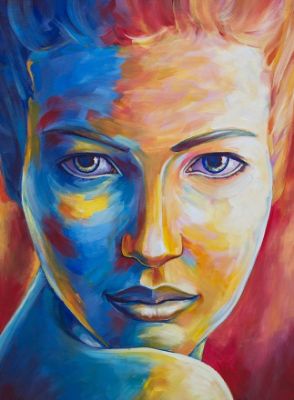
Textured Abstract
Create a textured abstract artwork by applying thick layers of acrylic paint and letting it dry. Then use oil pastels to add intricate patterns, lines, and additional layers of colors to create depth and interest.
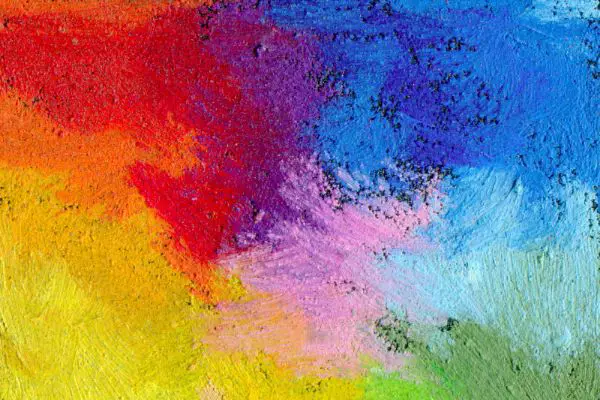
Wildlife Art
Paint a realistic wildlife scene using acrylics as the base, then use oil pastels to add finer details such as fur, feathers, or intricate patterns, adding depth and realism to the artwork.
Collage and Mixed Media
Combine acrylic paint, oil pastels, and collage elements to create a visually dynamic mixed media artwork. Paint the background with acrylics, incorporate collage elements, and use oil pastels to add details and highlights.

Abstract Nature
Use acrylic paint to create an abstract nature-inspired background, and then use oil pastels to add vibrant flowers, leaves, or other natural elements for a unique and expressive artwork.

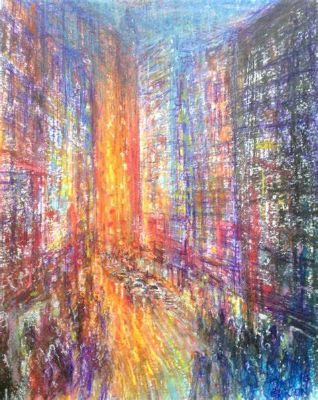
Cityscape with Mixed Media
Begin by painting a cityscape using acrylic paint and then use oil pastels to add pops of color, intricate details, and textures to capture the energy and vibrancy of an urban scene.
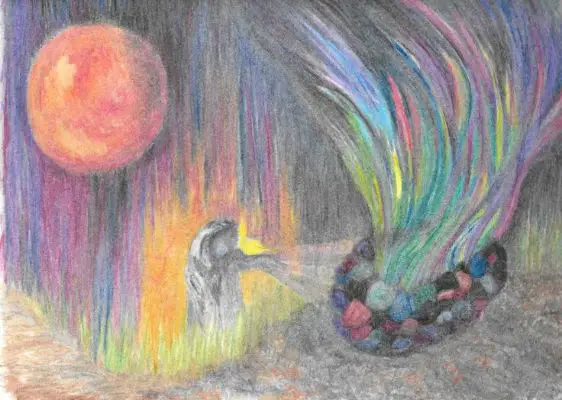
Fantasy Art
Create a whimsical fantasy artwork using acrylic paint to establish the background and main elements, and then use oil pastels to add magical and fantastical details, such as fairy wings, glowing effects, or other imaginative elements.
Materials Needed For Acrylic Paint For Kids

| Material | Uses | Alternative Options |
| Acrylic Paints | Primary medium for creating artwork | Acrylic paint markers, acrylic inks |
| Paint Brushes | Applying paint, creating different effects | Synthetic brushes, foam brushes |
| Palette | Mixing and blending colors | Disposable palette paper, palette knife |
| Canvas or Painting Surface | Support for your artwork | Canvas boards, wood panels, paper |
| Palette Knife | Mixing paints, applying thick layers | Butter knife, old credit card |
| Water Container | Cleaning brushes and diluting paint | Plastic cup, jar |
| Paint Palette | Holding and mixing paint | Wax paper, plastic plate |
| Masking Tape | Creating clean edges and straight lines | Painter’s tape, drafting tape |
| Easel | Supporting and displaying your artwork | Tabletop easel, DIY cardboard easel |
| Mediums | Altering paint properties and effects | Flow improver, texture gels, retarder |
10 Acrylic Paint Ideas Kids

Here are 10 fun and creative acrylic paint ideas for kids:
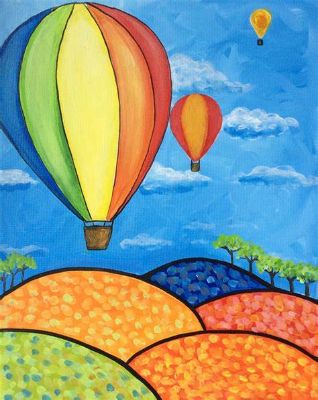
Colorful Abstract Art
Encourage kids to freely express themselves by creating abstract paintings using bold and vibrant acrylic colors.
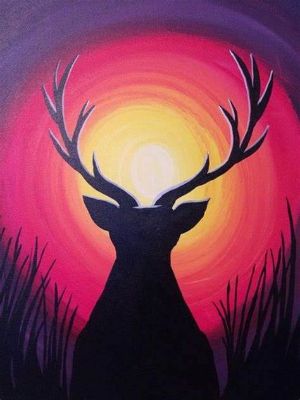
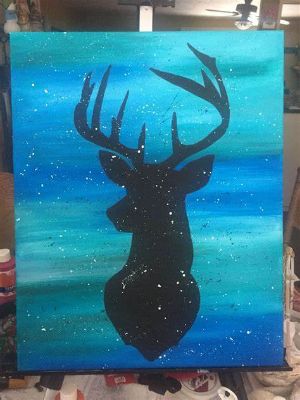
Animal Silhouette Paintings
Have kids paint animal silhouettes using acrylic paints. They can choose their favorite animals and create a colorful background or scenery to accompany the silhouette.
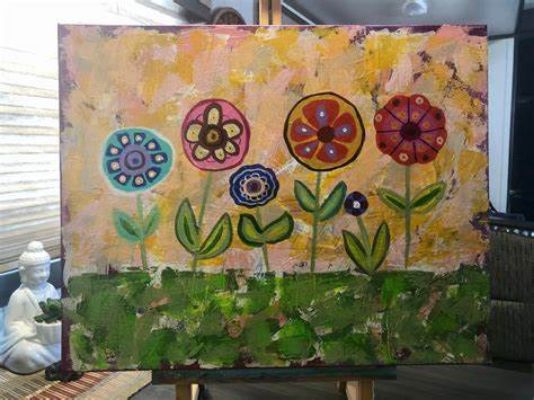
Flower Garden
Guide kids in painting a beautiful flower garden scene. They can learn about different flower shapes and colors and use acrylic paints to bring their garden to life.
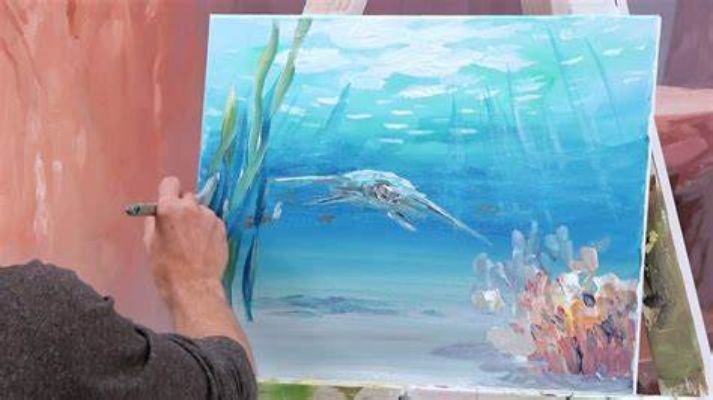
Underwater Adventures
Let kids explore an underwater world by painting ocean creatures like fish, corals, and turtles.
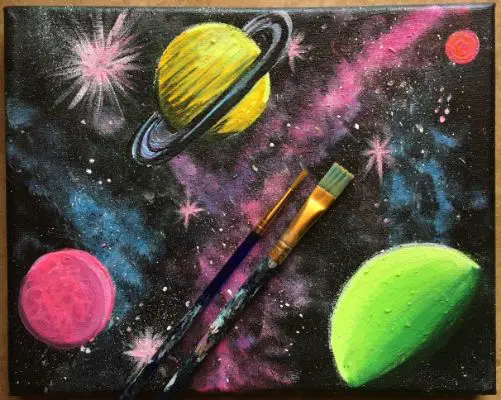
Galaxy Art
Introduce kids to the universe’s wonders by creating galaxy-inspired paintings. Using unique techniques, they can blend acrylic colors to create a starry night sky or paint planets and galaxies.
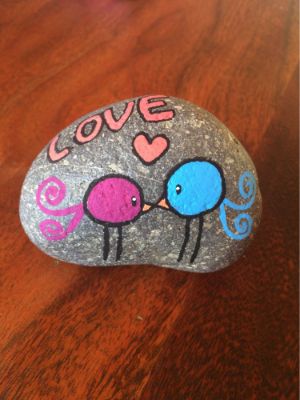
Painted Rocks
Take the creativity outside by having kids paint rocks with acrylics. They can turn ordinary rocks into ladybugs or animals or create imaginative designs.
Colorful Self-Portraits
Help kids create self-portraits using acrylic paints. Encourage them to use vibrant colors to capture their personalities and express their individuality.

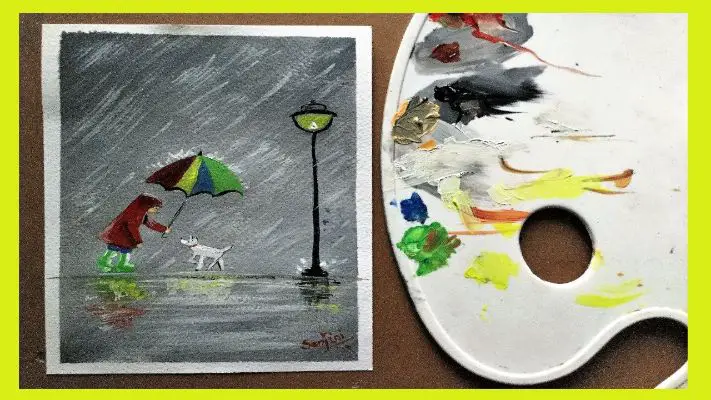
Rainy Day Art
Have kids create a rainy day scene using acrylic paints with umbrellas, raindrops, and puddles. They can experiment with different techniques to create texture and movement in their artwork.
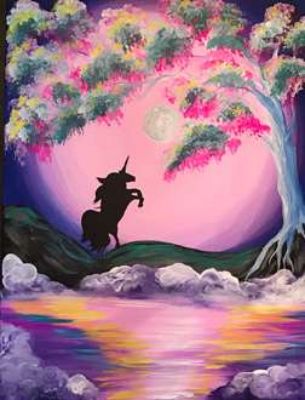
Fantasy Creatures
Let kids unleash their imagination by painting fantastical creatures like unicorns, dragons, or mermaids.
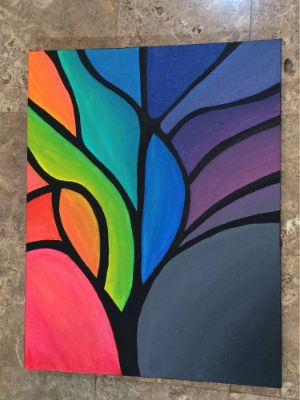
Abstract Nature Art
Encourage kids to observe nature and create abstract interpretations of trees, flowers, or landscapes using acrylic paints.
Conclusion
Oil pastel art offers a vibrant and versatile medium for creativity. With its rich colors and blend-ability, kids can easily express their imagination and create stunning artwork. From fantasy creatures to abstract designs, the possibilities are endless. Let their artistic journey flourish with the magic of oil pastels.
