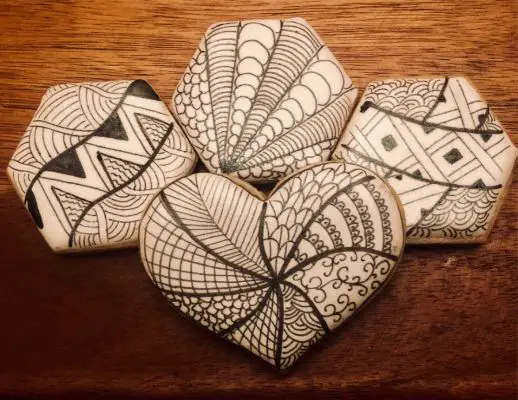
Step into a world where creativity knows no bounds, and art becomes an exhilarating adventure. This blog post warmly invites you to immerse yourself in the enchanting realm of Zentangle patterns. Whether you’re a blossoming artist or a caring parent seeking captivating art projects, prepare to be captivated.
Let your imagination run wild as you navigate easy-to-follow tutorials and encounter stimulating ideas. Embrace the therapeutic benefits, and let Zentangle unleash the artist within. Grab hold of your pens and let the magic unravel as you embark on a transformative journey of self-discovery and artistic freedom.
Are you ready to unlock your creative potential? Let’s embark on this extraordinary adventure together, where Zentangle patterns pave the way to a world of endless inspiration and artistic expression.
The one interested in zentangle art can also use a pattern of creating woman womb art in zentangle. If you are wondering how you can click here and find the magic.
Materials Needed For Zentangle Patterns Art
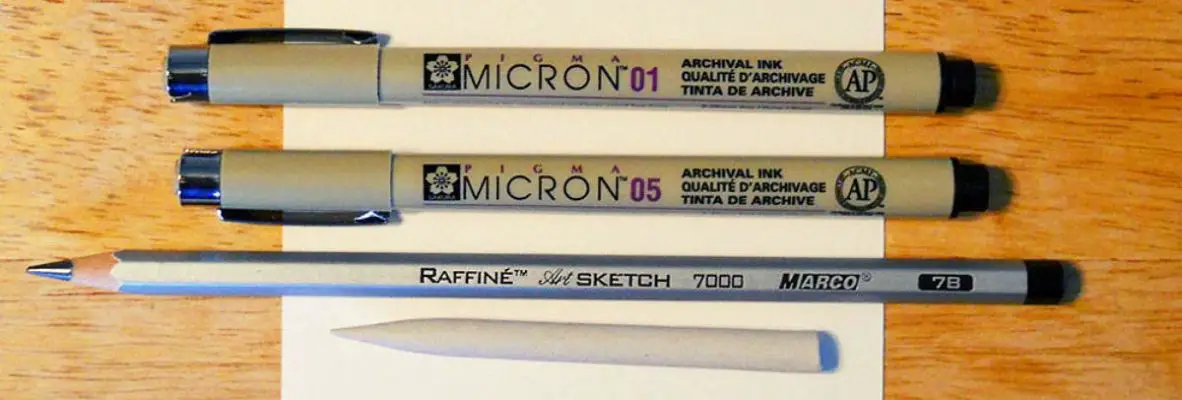
| Materials | Uses | Alternative Options |
| Fine-Tipped Pens | Inking Zentangle patterns with consistent flow and precision | Gel pens, ballpoint pens |
| Paper | Creating Zentangle designs on acid-free, bleed-proof surfaces | Regular drawing paper, sketchbooks |
| Pencil | Sketching initial outlines or guidelines for Zentangle designs | Mechanical pencil, charcoal pencil |
| Tortillon/Blending Stump | Blending and smudging graphite or ink for shading effects | Tissue paper, cotton swabs |
| Eraser | Making corrections or lightening pencil lines in Zentangle artwork | Kneaded eraser, vinyl eraser |
Essential Materials for Zentangle Explanation
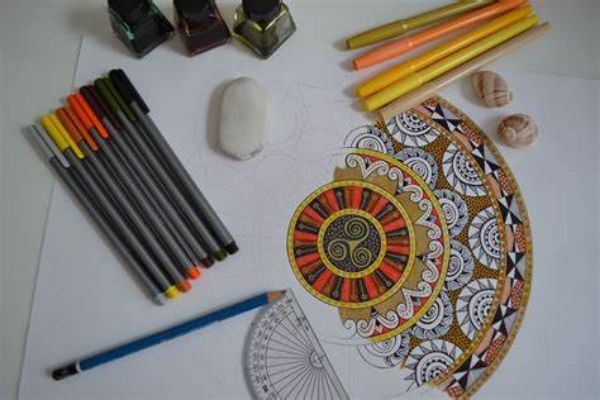
To begin your Zentangle journey, gather the following materials:
- Pens: Fine-tipped pens with archival ink, such as Sakura Pigma Micron pens, are commonly used for Zentangle. These pens offer a consistent ink flow in various nib sizes.
- Paper: High-quality, acid-free paper is ideal for Zentangle to prevent ink bleeding and maintain the longevity of your artwork. Tiles or square paper measuring 3.5 x 3.5 inches (8.9 x 8.9 cm) are often used, but you can also use larger or smaller sizes based on your preference.
- Pencil: A graphite pencil will be useful for sketching initial outlines or guidelines before inking your Zentangle design.
- Tortillon or Blending Stump: These tools blend and smudge graphite or shading techniques in Zentangle.
- Eraser: A soft eraser is useful for correcting or lighting pencil lines in your Zentangle artwork.
Alternative Options
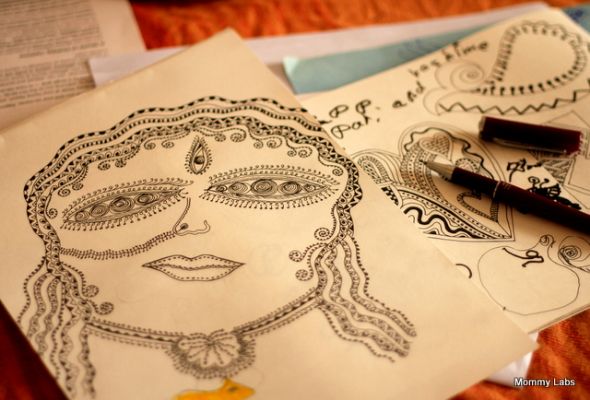
If you don’t have access to specific Zentangle materials, don’t worry! Zentangle is all about embracing creativity and making do with what you have. Here are some alternative options:
- Pens: If you don’t have fine-tipped pens, you can use any pen with a consistent ink flow, such as gel pens or even ballpoint pens. Experiment with different pens to find the ones that work best for you.
- Paper: While acid-free paper is preferred, you can start practicing Zentangle on drawing paper or sketchbooks. Ensure the paper is thick enough to handle ink without bleeding through.
Discover the creative world of Zentangle Patterns and unlock your artistic potential. Looking to explore another vibrant medium? Dive into the rich textures and colors of Oil Pastel Art for endless inspiration.
Creating Your First Zentangle Design: Step-by-Step Guide For Beginners and Kids
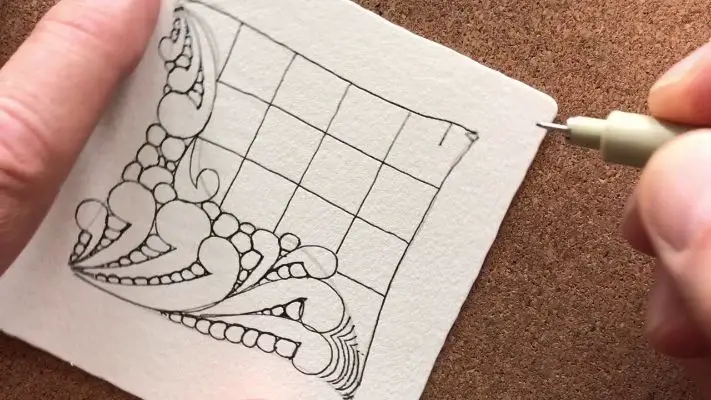
Follow these steps to create your initial Zentangle design:
Step 1: Begin with a square or tile-shaped piece of paper.
Step 2: Using a pencil, lightly sketch a border or frame for your design. This is optional but can provide a visual boundary.
Step 3: Divide the interior space with random pencil lines or shapes, creating “sections” within your design.
Step 4: Inside each section, choose a tangle pattern (a repetitive pattern) and fill it with ink using your pen. Feel free to explore different patterns or experiment with your creations.
Step 5: Continue filling each section with different tangle patterns, ensuring no two patterns are repeated in adjacent sections.
Step 6: Once you’ve completed all sections, you can optionally add shading to create depth and dimension to your Zentangle design.
Step 7: Erase any visible pencil lines, leaving only the inked Zentangle patterns.
| Remember, there are no mistakes in Zentangle, so embrace imperfections and enjoy the process of creating your unique design. |
Exploring Techniques to Enhance Your Patterns
Zentangle offers various techniques to add interest and depth to your patterns. Here are a few popular techniques:
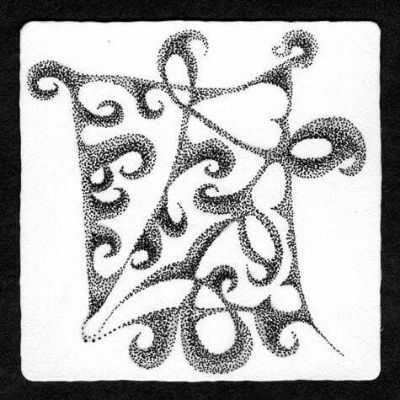
- Stippling: This involves creating patterns or shading using a series of small dots. Stippling can add texture and dimension to your Zentangle designs.
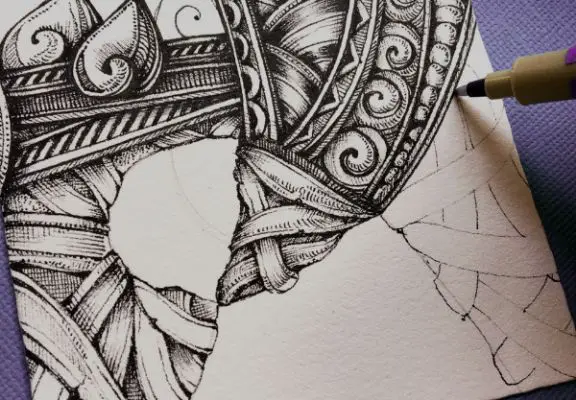
- Hatching: Hatching involves drawing parallel lines to create shading or patterns. Varying the spacing between the lines can create different effects.
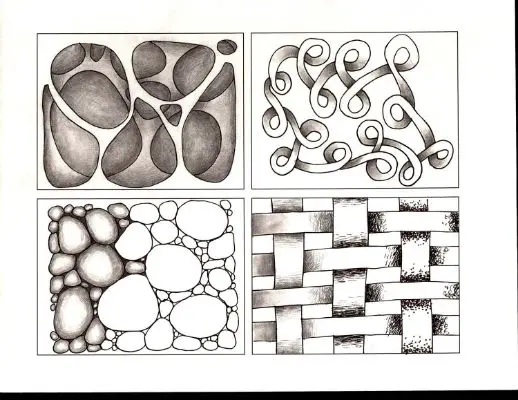
- Shading: Shading is an essential technique in Zentangle that adds depth and contrast. Use a tortillon or blending stump to blend and smudge graphite or ink to achieve smooth shading transitions.
Discover how to create stunning patterns with Zentangle Art, and if you want to explore another fun technique, learn about Tape Resist Art.
Easy Zentangle Patterns – Personalizing and Adding Unique Touches

Step-by-Step Guide
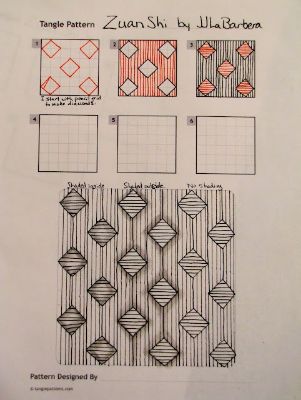
Start with a Foundation: Follow a Zentangle pattern or create your basic design. Use light pencil lines to sketch the initial framework of your pattern on the paper.
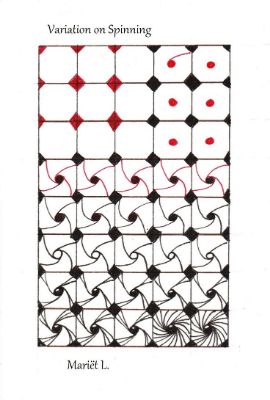
Add Your Elements: Think about elements that resonate with you. It could be symbols, shapes, or objects that hold significance or bring you joy. Incorporate these elements into your Zentangle design, intertwining them with the existing pattern.
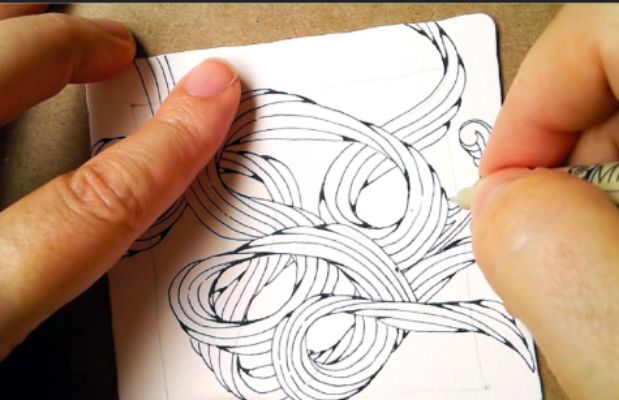
Experiment with Line Variations: Explore different line styles and thicknesses to add depth and dimension to your Zentangle. Try using curved, straight, or wavy lines to create interesting textures and contrast within your pattern.
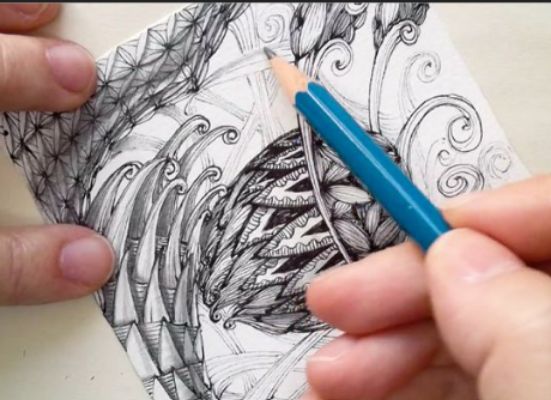
Play with Shading Techniques: Enhance the visual impact of your Zentangle by incorporating shading. Use a pencil or fine-tipped pen to add shadows and highlights, giving your design a three-dimensional effect. Experiment with hatching, cross-hatching, or stippling techniques to create different shading effects.
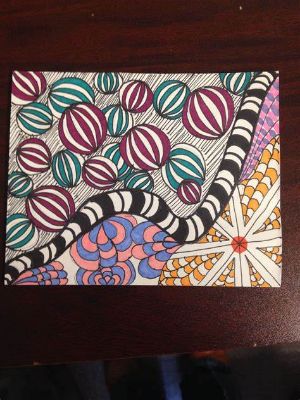
Introduce Color: While Zentangle traditionally uses black and white, feel free to introduce color to your design if desired. Use colored pens, markers, or watercolor pencils to add pops of color to specific elements or sections of your Zentangle pattern.
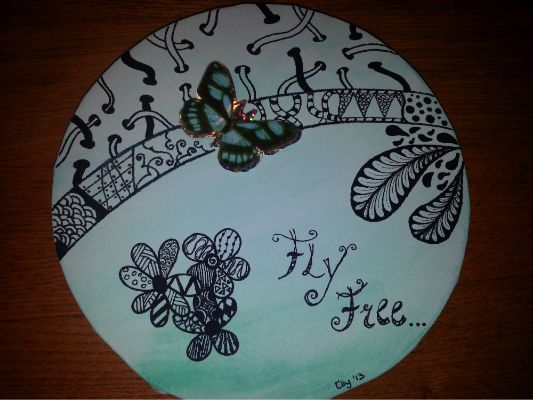
Explore Mixed Media: Expand your artistic horizons by combining Zentangle with other mediums. Consider incorporating collage elements, decorative papers, or even small objects that complement your Zentangle design. This will add texture and visual interest to your artwork.
Embrace Imperfections: Remember that Zentangle is all about embracing the process and enjoying the journey. Feel free to make mistakes or stray from the original plan. Embrace the unexpected and allow room for creative exploration and improvisation.
Ideas for Personalization
- Incorporate symbols or imagery representing your interests, hobbies, or passions. It could be musical notes, sports equipment, or elements from your favorite book or movie.
- Integrate elements from nature that hold personal significance, such as flowers, animals, or natural landscapes.
- Explore cultural influences by incorporating traditional patterns, motifs, or symbols from your heritage or cultures that inspire you.
- Infuse your Zentangle with personal affirmations or meaningful words. Write them in decorative lettering within the pattern to create an empowering message.
- Experiment with different paper types, such as colored or textured, to add another layer of uniqueness to your Zentangle design.
If you’re looking for more artistic techniques, why not explore the world of Shaving Cream Art? Learn how to make vibrant and abstract designs using just shaving cream and a few drops of color. Check out our article on Shaving Cream Art for an exciting new way to express yourself!
20 Varieties of Zentangle Patterns
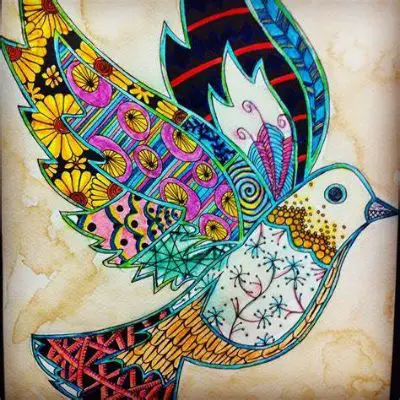
Floral Bliss
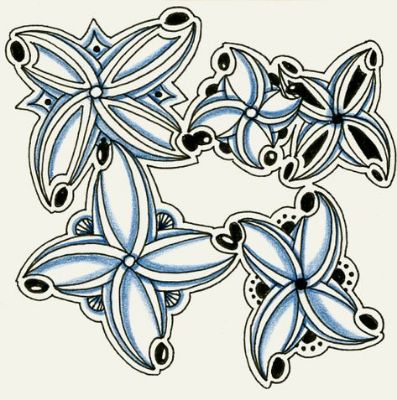
Delicate and intricate patterns inspired by the beauty of flowers.
Geometric Symphony
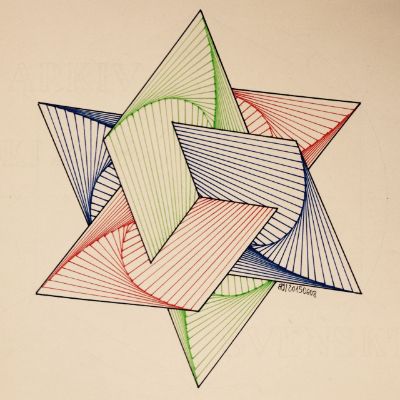
Harmonious designs are composed of geometric shapes and lines.
Nature’s Tapestry
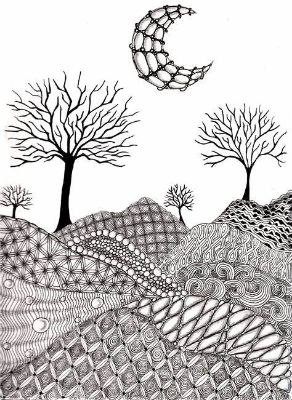
Organic patterns inspired by leaves, trees, and natural elements.
Whimsical Doodles
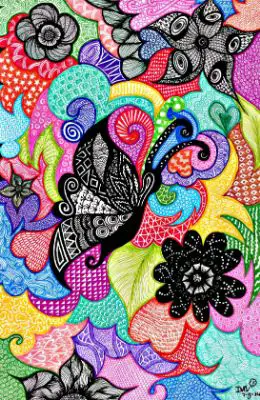
Playful and imaginative patterns that incorporate whimsical doodles and characters.
Tribal Fusion
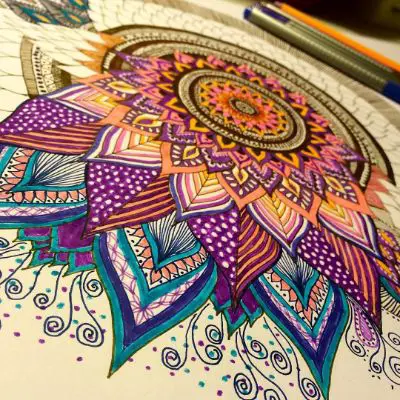
Bold and tribal-inspired patterns merge cultural motifs and symbols.
Zen Mandalas
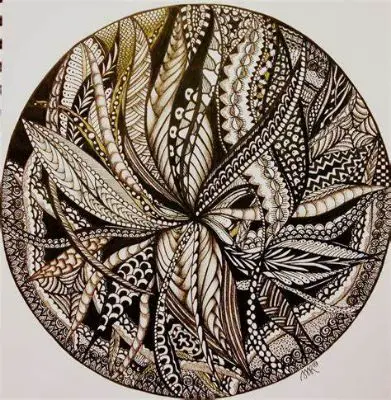
Intricate circular patterns radiate tranquility and balance.
Oceanic Rhythms
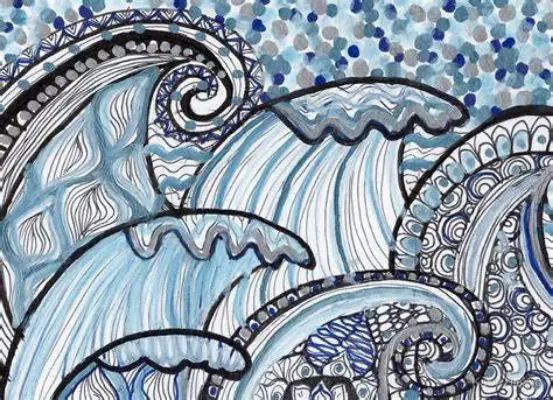
Flowing and wave-like patterns are reminiscent of the calming ocean.
Paisley Elegance
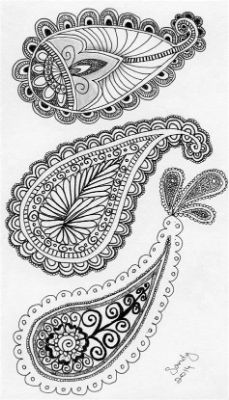
The paisley design motif influences Elegant and intricate patterns.
Celestial Magic
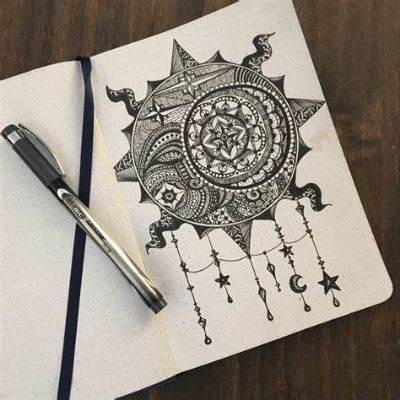
Stars, moons, and celestial bodies inspire cosmic patterns.
Architectural Wonders
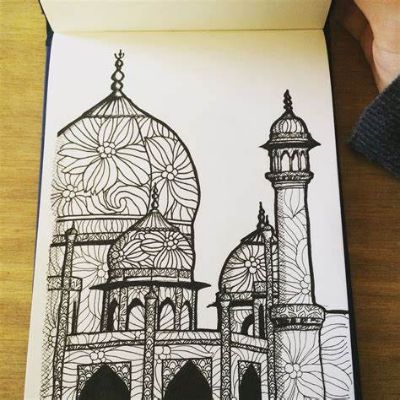
Geometric patterns inspired by architectural structures and buildings.
Zen Garden
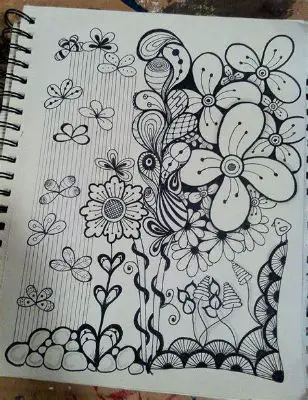
Serene patterns reflect the peacefulness and tranquility of a Zen garden.
Animal Kingdom
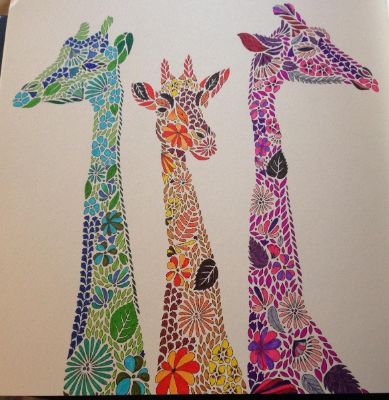
Patterns featuring animal motifs such as feathers, scales, or paw prints.
Abstract Illusions
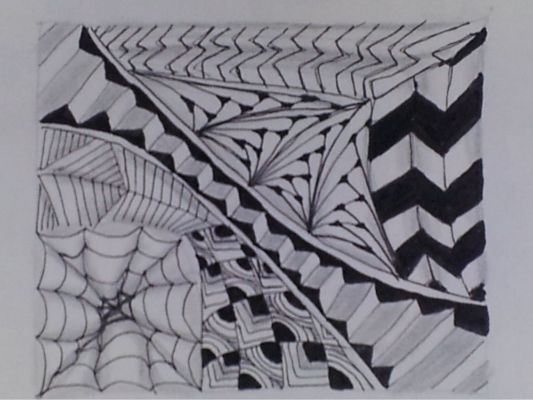
Mind-bending patterns play with optical illusions and abstract forms.
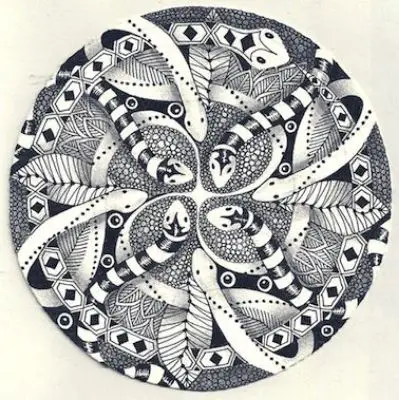
Serpent Swirls Curvaceous and winding patterns inspired by serpents and snakes.
Elemental Harmony
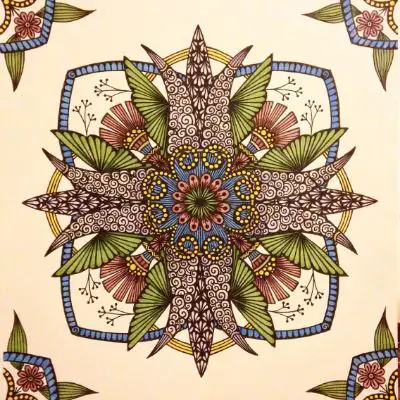
Patterns are inspired by the four elements—earth, water, fire, and air.
Cosmic Energy
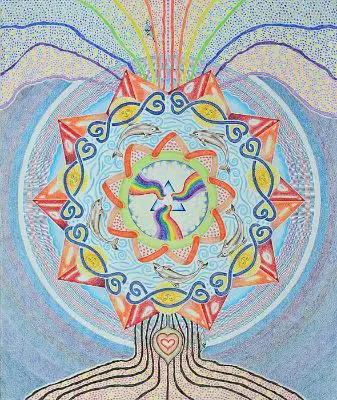
Patterns infused with cosmic energy and celestial themes.
Dreamy Feathers
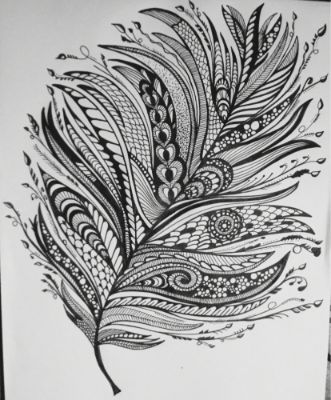
Feather patterns evoke a sense of lightness and ethereal beauty.
Interlocking Tiles
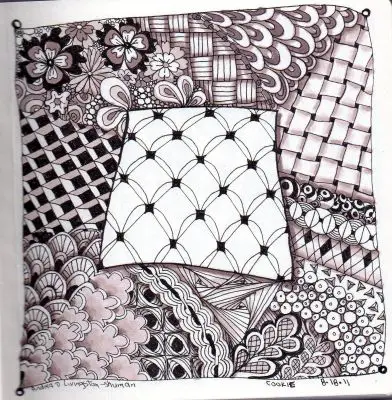
Intricate patterns formed by interlocking tiles and repeated motifs.
Whirlwind Spirals
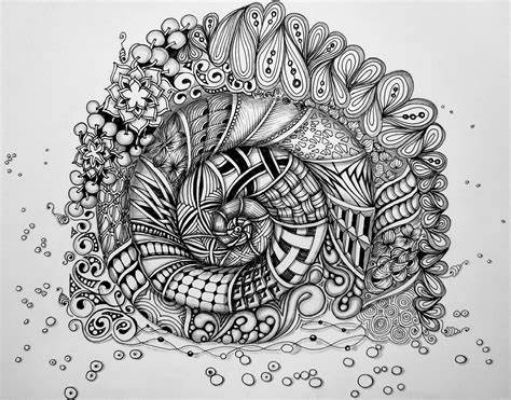
Spiraling patterns that create a sense of movement and energy.
Timeless Lace
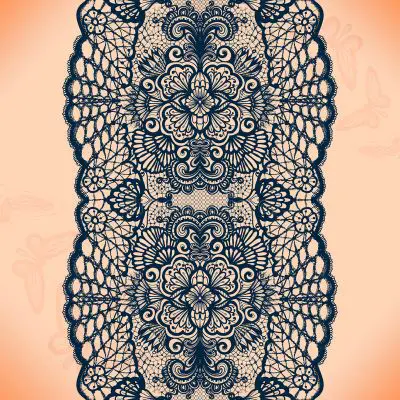
Delicate and intricate lace-like patterns with a touch of vintage elegance.
10 Creative Ideas and Prompts for Zentangle Patterns
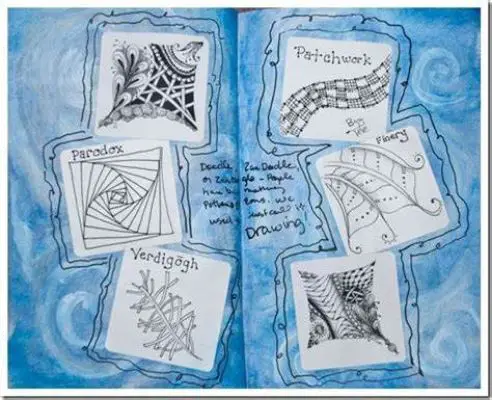
Literary Inspiration
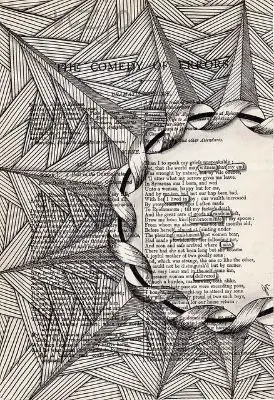
Create a Zentangle pattern inspired by your favorite book or character, capturing the essence of the story in your artwork.
Colorful Bliss
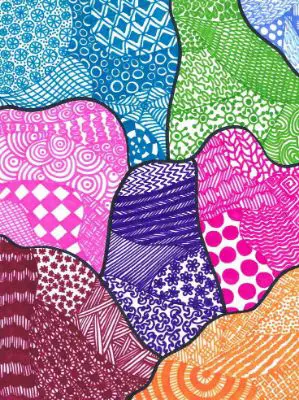
Experiment with a vibrant, bold color palette to infuse your Zentangle patterns with energy and excitement.
Travel Memories
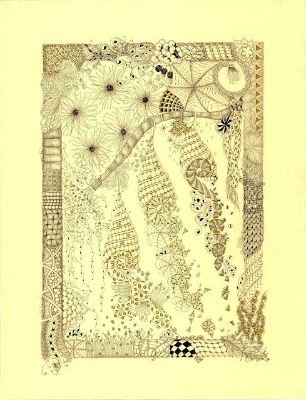
Recall a memorable travel experience and translate it into a Zentangle design, incorporating elements and motifs that remind you of that destination.
Elemental Exploration
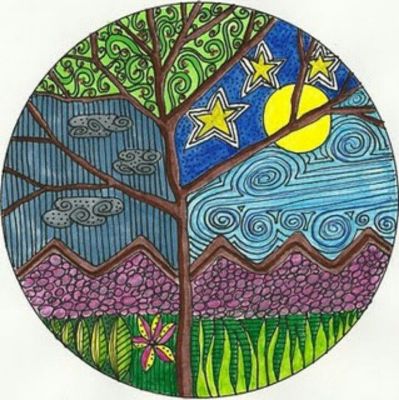
Explore the four elements (earth, water, fire, and air) and incorporate their qualities into your Zentangle patterns, representing the power and beauty of nature.
Music in Motion
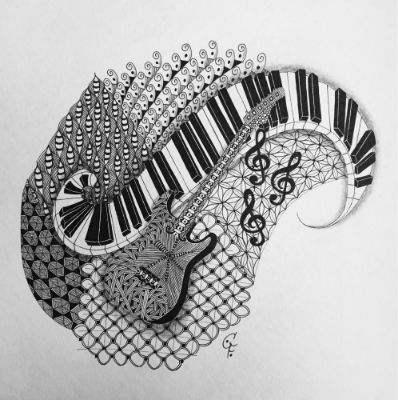
Listen to a favorite song or piece of music and let the rhythm and melodies inspire your Zentangle patterns, translating the auditory experience into a visual form.
Seasonal Serenity
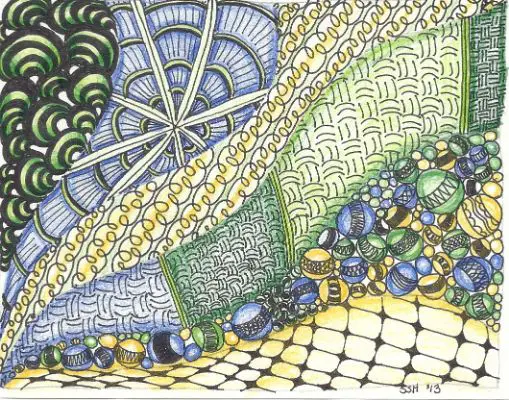
Create Zentangle patterns that reflect each season’s unique characteristics and colors, capturing the essence of spring, summer, autumn, or winter.
Retro Revival
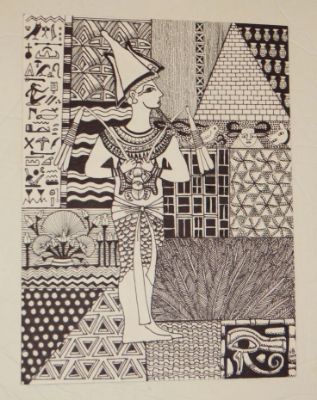
Returning in time, creating Zentangle patterns inspired by a specific era or decade, incorporating design elements and motifs that evoke nostalgia and retro vibes.
Heritage and Culture
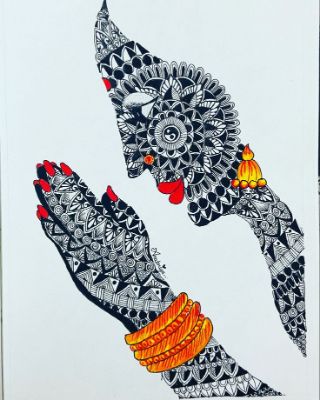
Explore your cultural heritage or a culture that fascinates you and incorporate traditional motifs and symbols into your Zentangle designs, celebrating diversity and heritage.
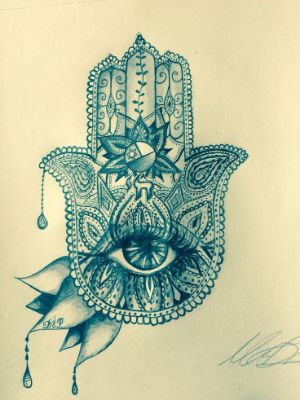
Dreamscape Exploration
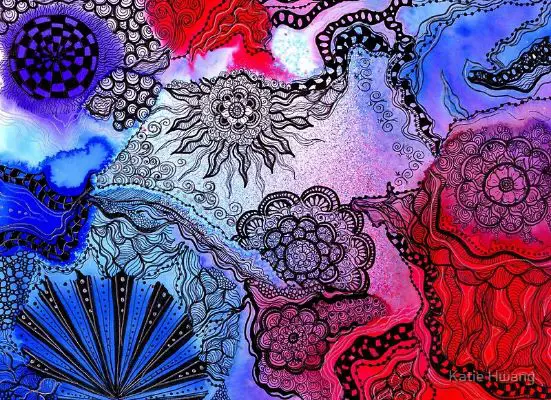
Dive into the world of dreams and create Zentangle patterns inspired by your dreams or visions, exploring your subconscious mind’s surreal and imaginative aspects.
Emotions Unleashed
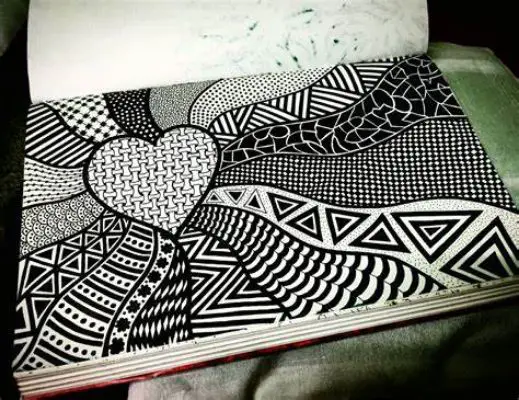
Use Zentangle as a form of emotional expression by creating patterns that reflect your current mood or feelings, allowing the art to represent your inner world visually.
10 Zentangle Patterns For Kids
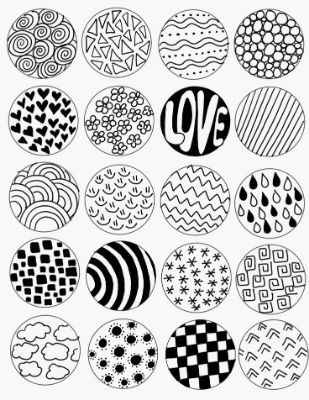
Dotty Delight
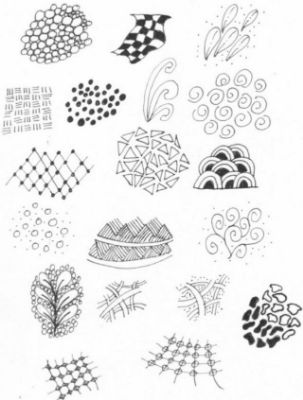
Create a pattern of small dots across the paper, varying their size and spacing. Connect some dots with curved or straight lines to form simple shapes.
Wavy Waves
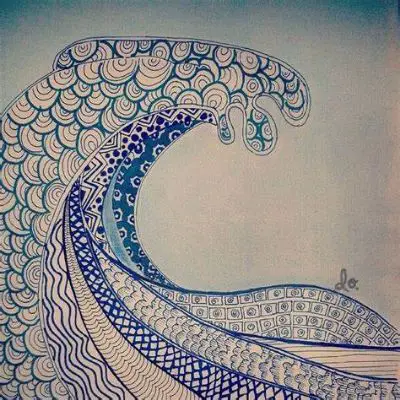
Draw wavy lines across the paper, overlapping and crisscrossing them. Fill each section with a different pattern, such as dots, stripes, or swirls.
Zigzag Zest
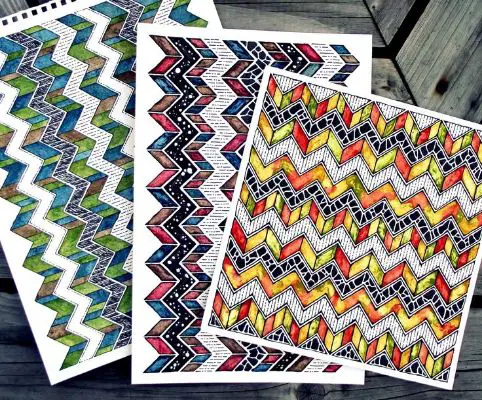
Draw zigzag lines horizontally or vertically on the paper. Fill each section with a different pattern, like checkerboards, spirals, or squiggles.
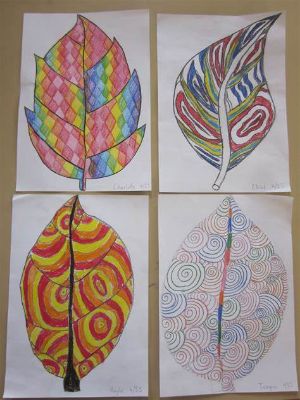
Leafy Fun
- Draw simple leaf shapes randomly on the paper.
- Fill each leaf with patterns such as lines, dots, or hatching.
- Add veins to the leaves for added detail.
Bubble Blast
- Create clusters of bubbles in different sizes on the paper.
- Fill each bubble with patterns like circles, dots, or small swirls.
- Connect some bubbles with lines to create a floating effect.
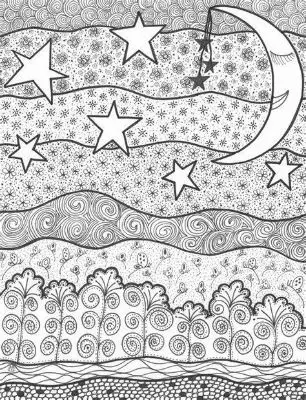
Starry Sky
- Draw stars of different sizes all over the paper.
- Fill each star with patterns like zigzags, spirals, or dots.
- Connect some stars with lines to form constellations.
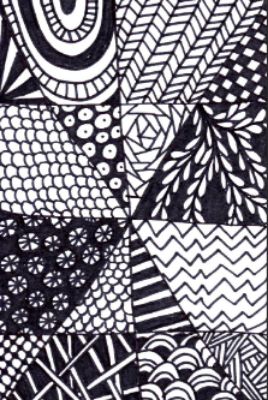
Swirl Sensation
- Draw swirling lines across the paper, creating loops and curves.
- Fill each section with patterns like waves, spirals, or squiggles.
- Experiment with different line thicknesses.
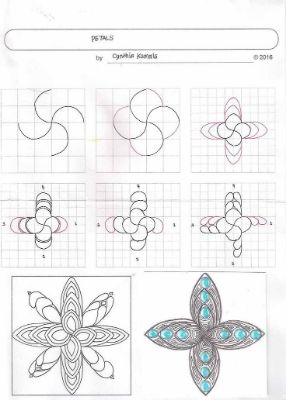
Petal Power
- Draw simple flower petals randomly on the paper.
- Fill each petal with patterns like stripes, dots, or hatching.
- Add a circular center to each flower and decorate it with patterns.
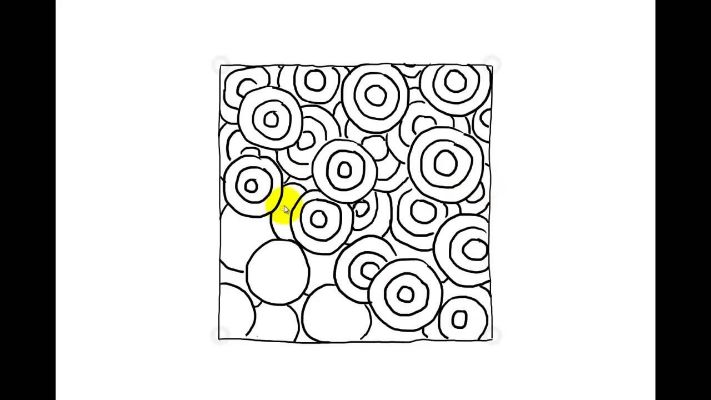
Sunny Circles
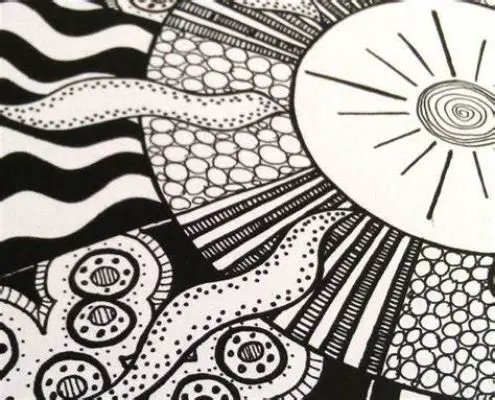
Draw overlapping circles on the paper in various sizes. Fill each circle with patterns like sunbursts, dots, or radiating lines. Experiment with different circle placements and sizes.
Animal Friends
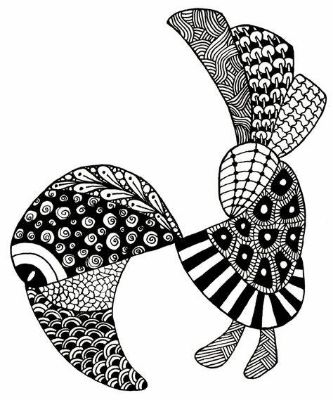
- Choose a favorite animal and draw its simple outline on the paper.
- Fill the animal’s body with patterns like swirls, dots, or stripes.
- Add eyes, nose, and other details to complete the animal.
If you’re interested in exploring creative patterns, check out our article on Zentangle Patterns. Looking for inspiration to incorporate natural elements into your art? Dive into our article on Leaf Painting Ideas for unique ways to use leaves in your artwork.
Final Words
Zentangle offers a creative and meditative outlet for kids to explore. These easy and unique Zentangle patterns encourage imagination, fine motor skills, and self-expression. Through drawing simple shapes and patterns, children can experience the joy of creating beautiful artwork while developing focus, concentration, and a sense of personal accomplishment.
